- DEC MicroVAX I
- MicroVAX I Disassembly
- MicroVAX I Emulation
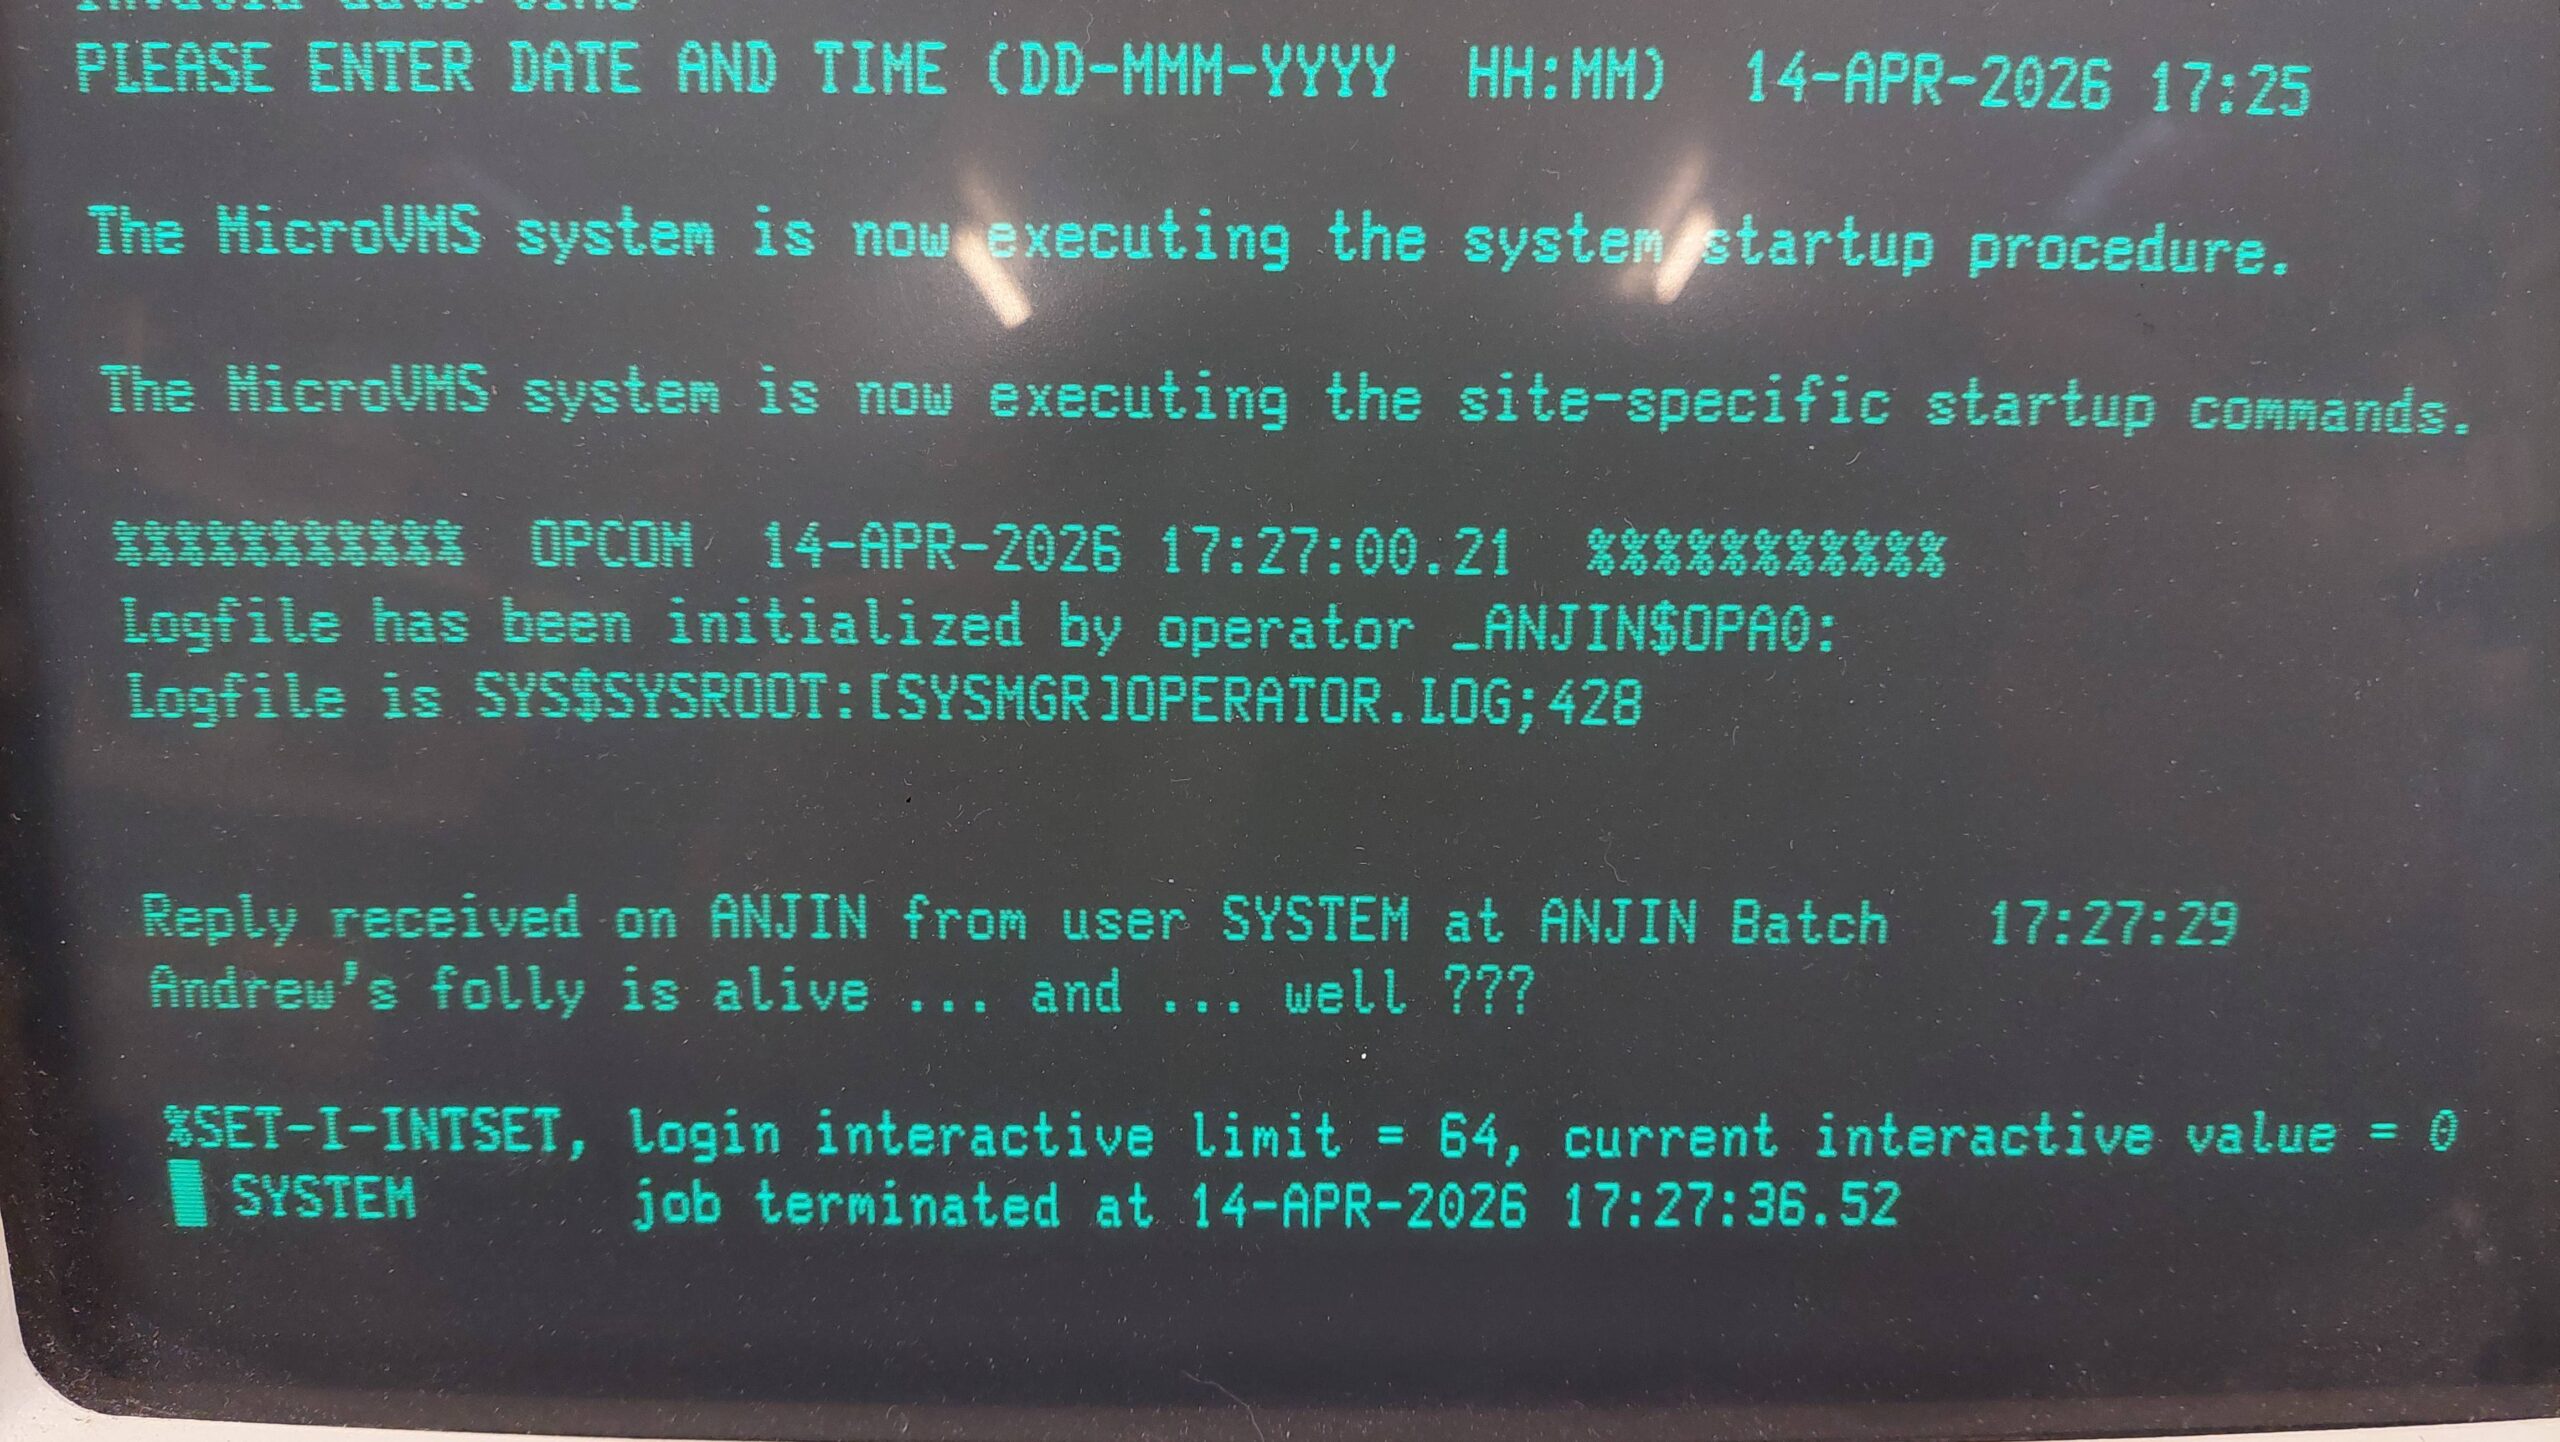
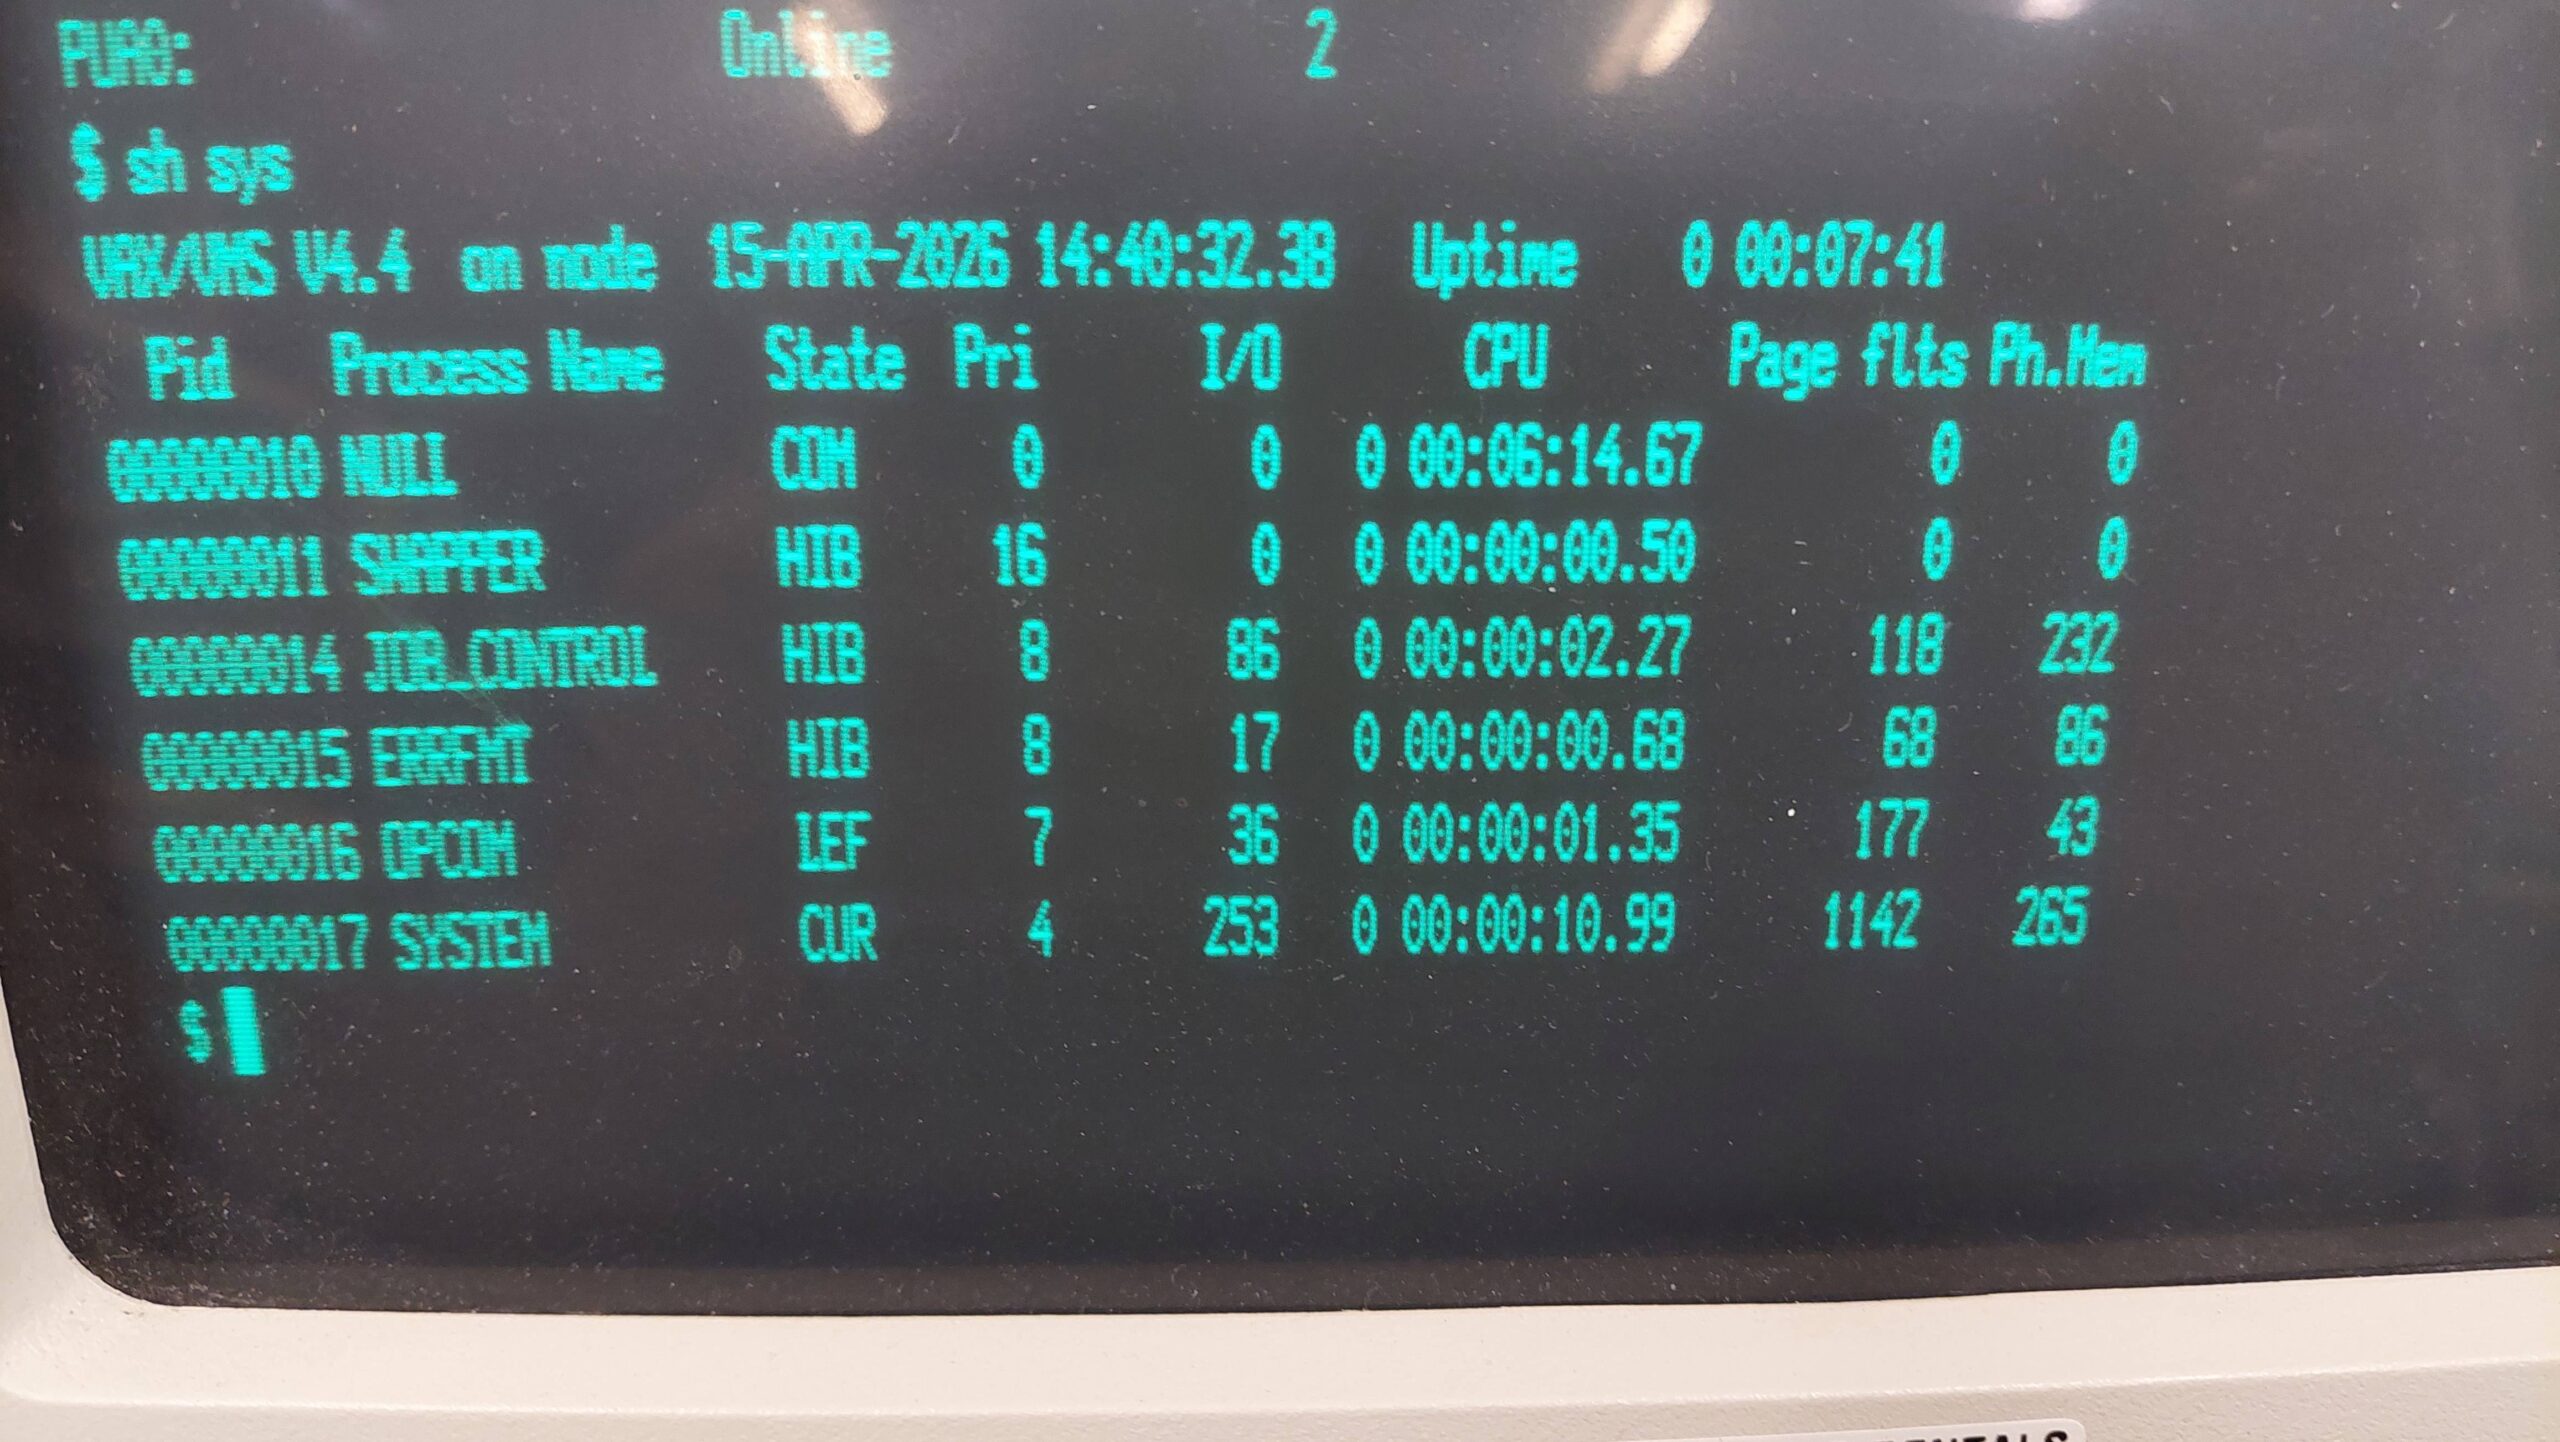
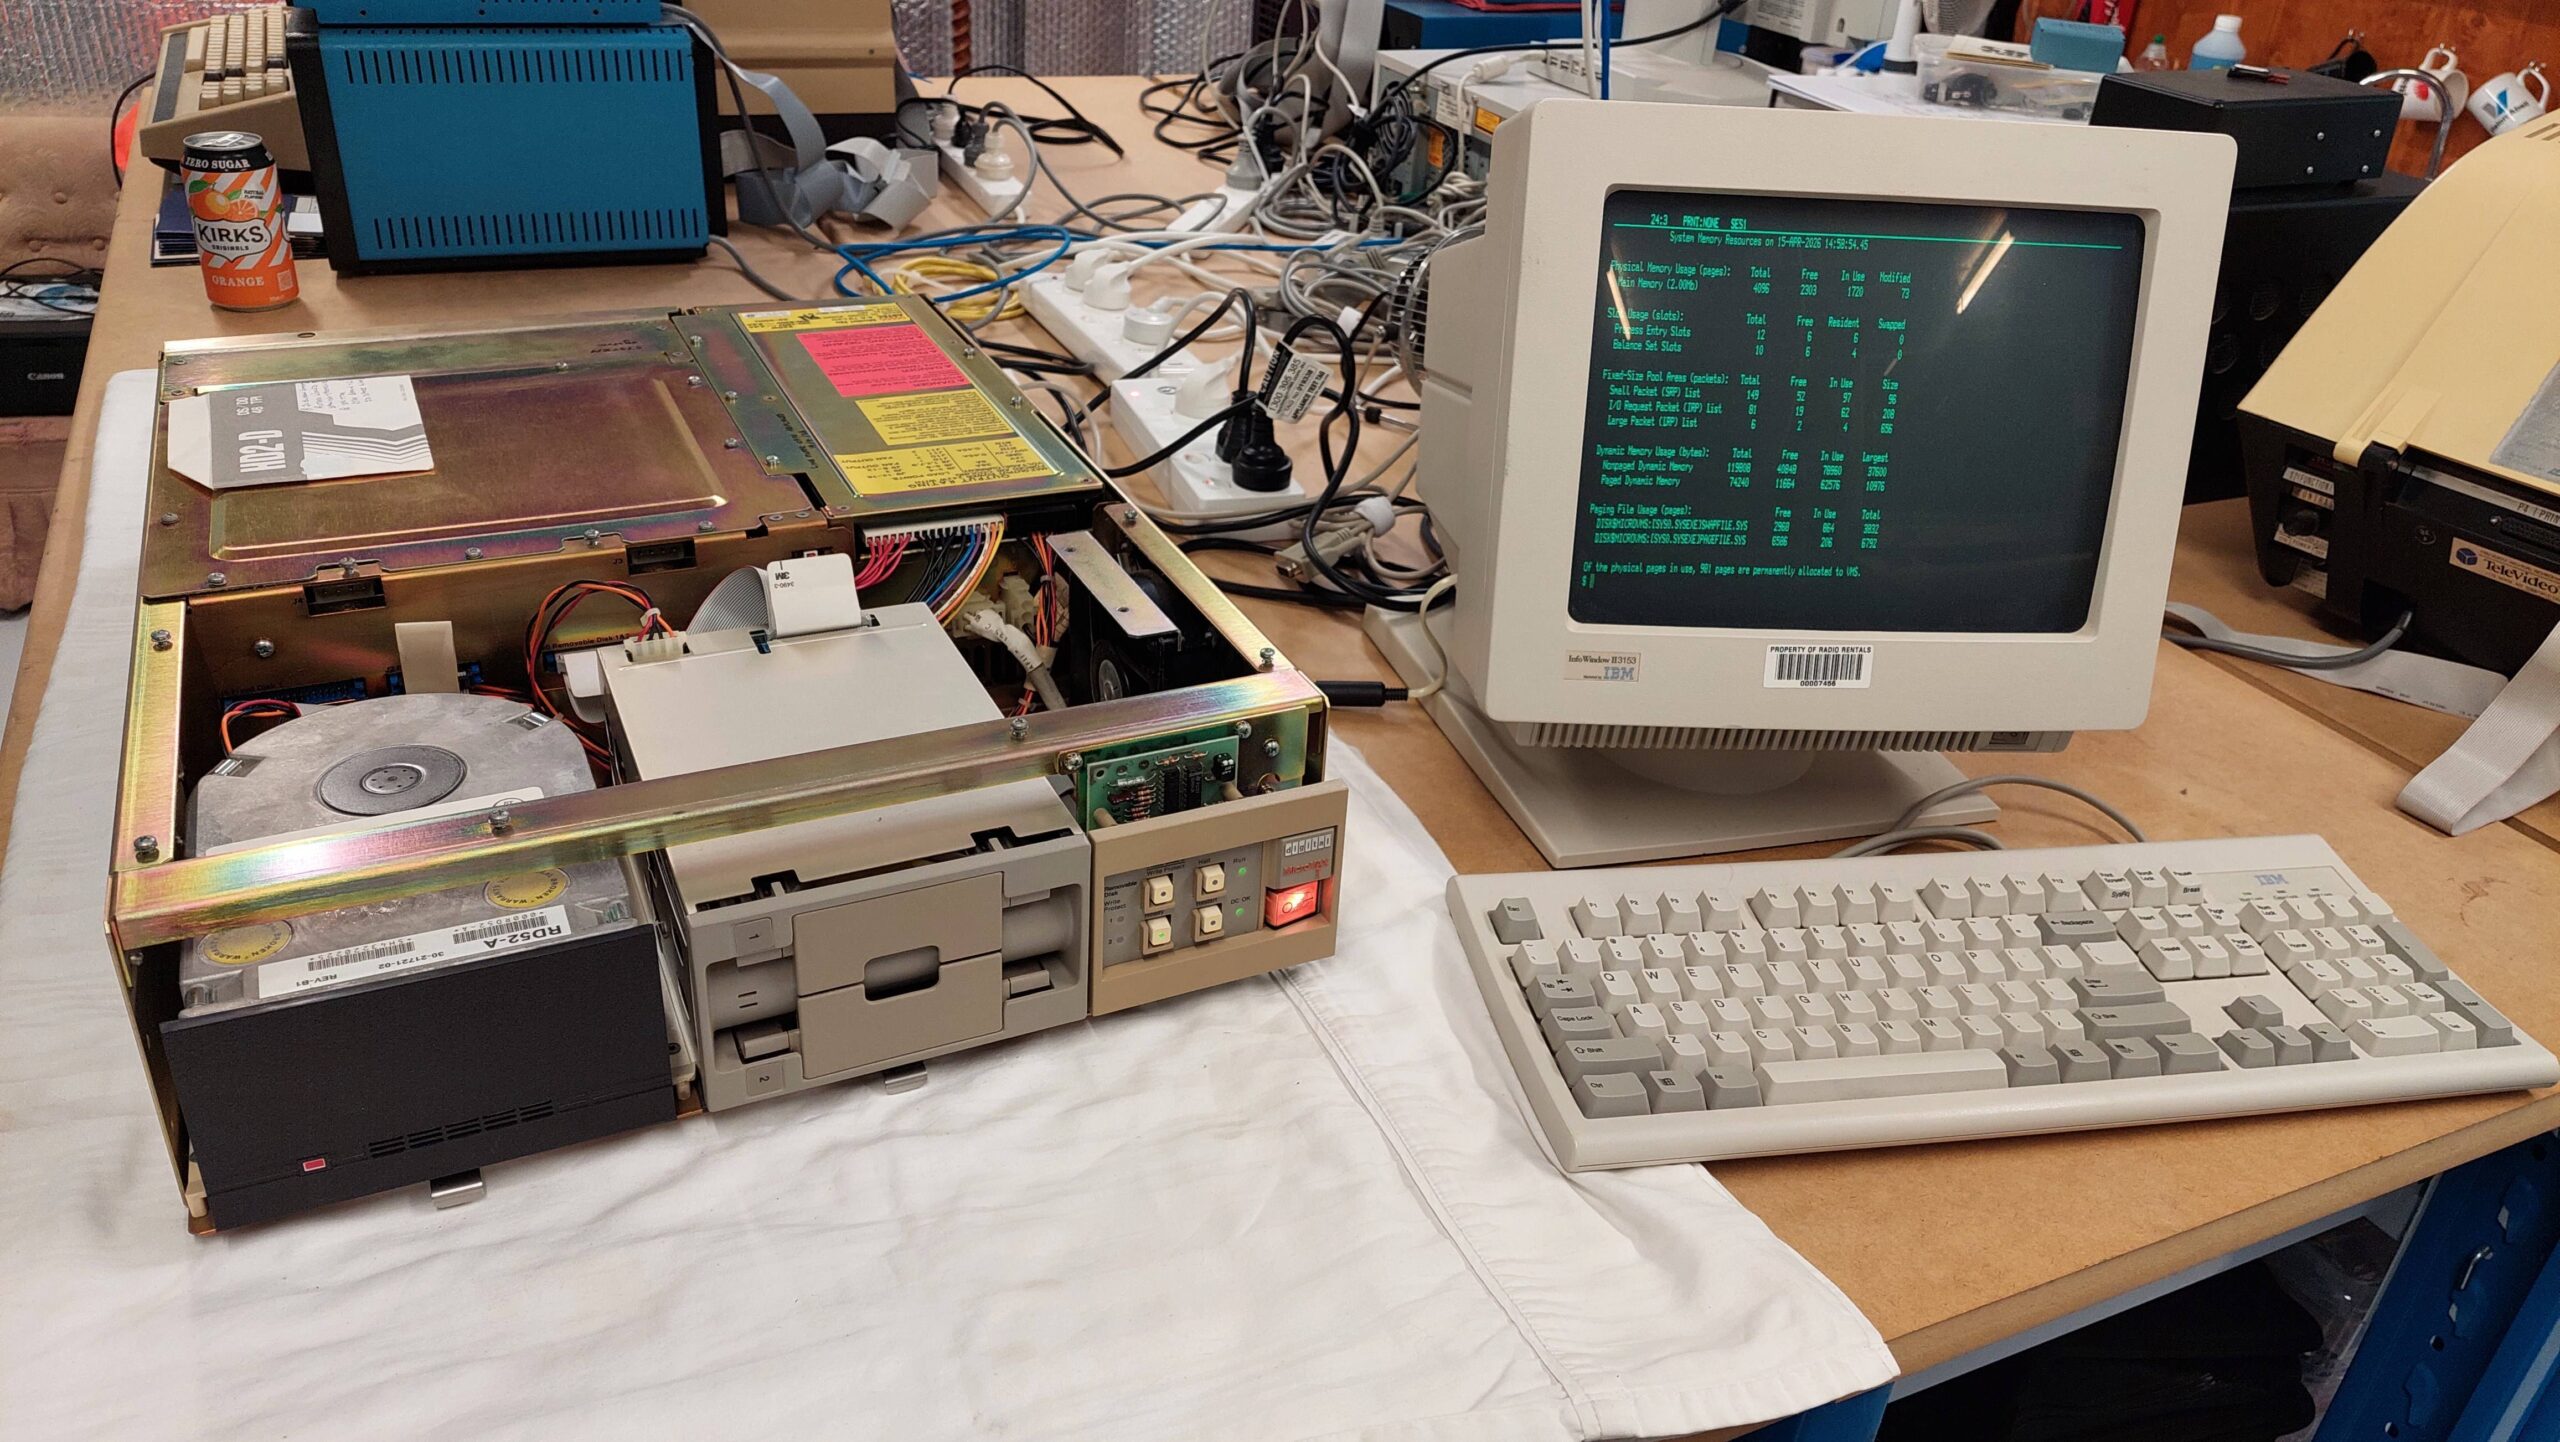
- MicroVAX I Startup
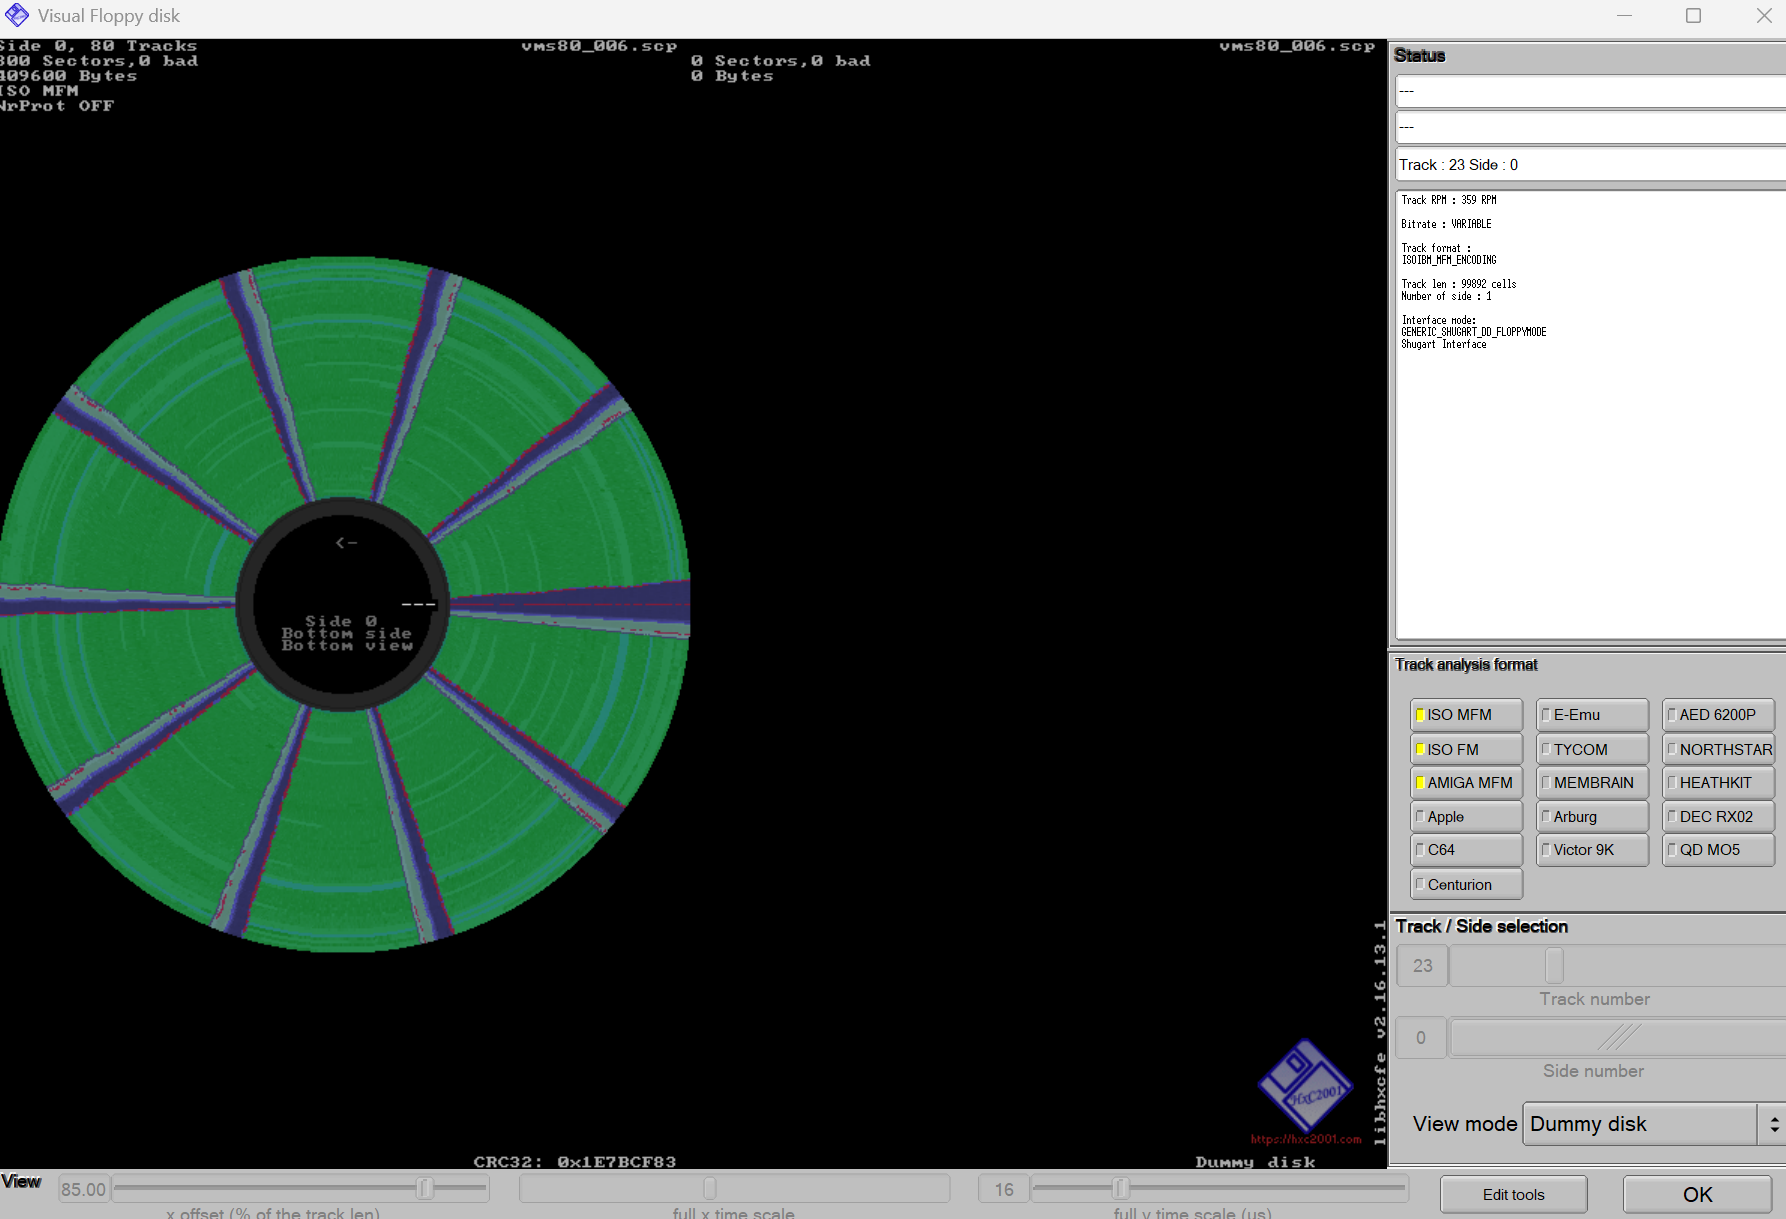
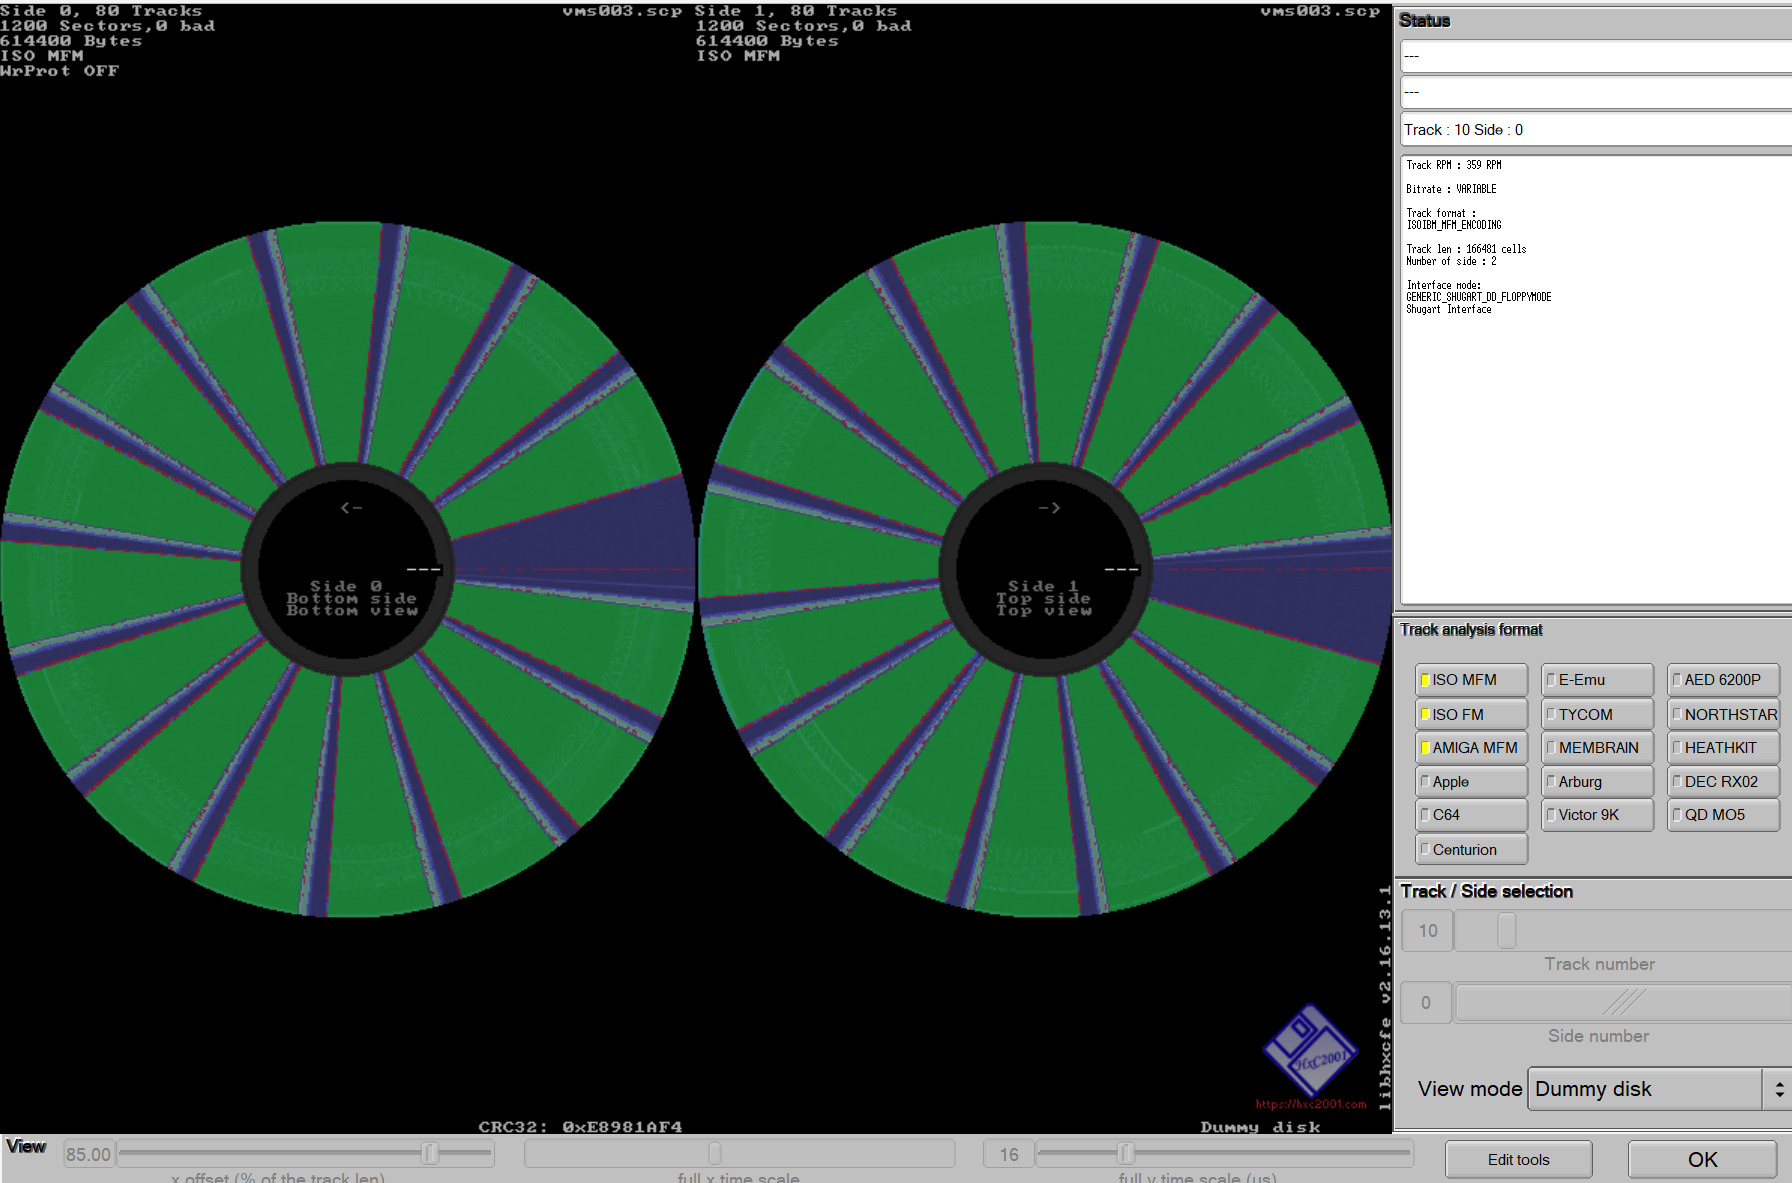
- MicroVAX I Archiving Floppy Disks
- MicroVAX I Floppy Drive
- MicroVAX I Disk Images
- MicroVAX I Gotek/Flashfloppy
- MicroVAX I Hard Disk Backup
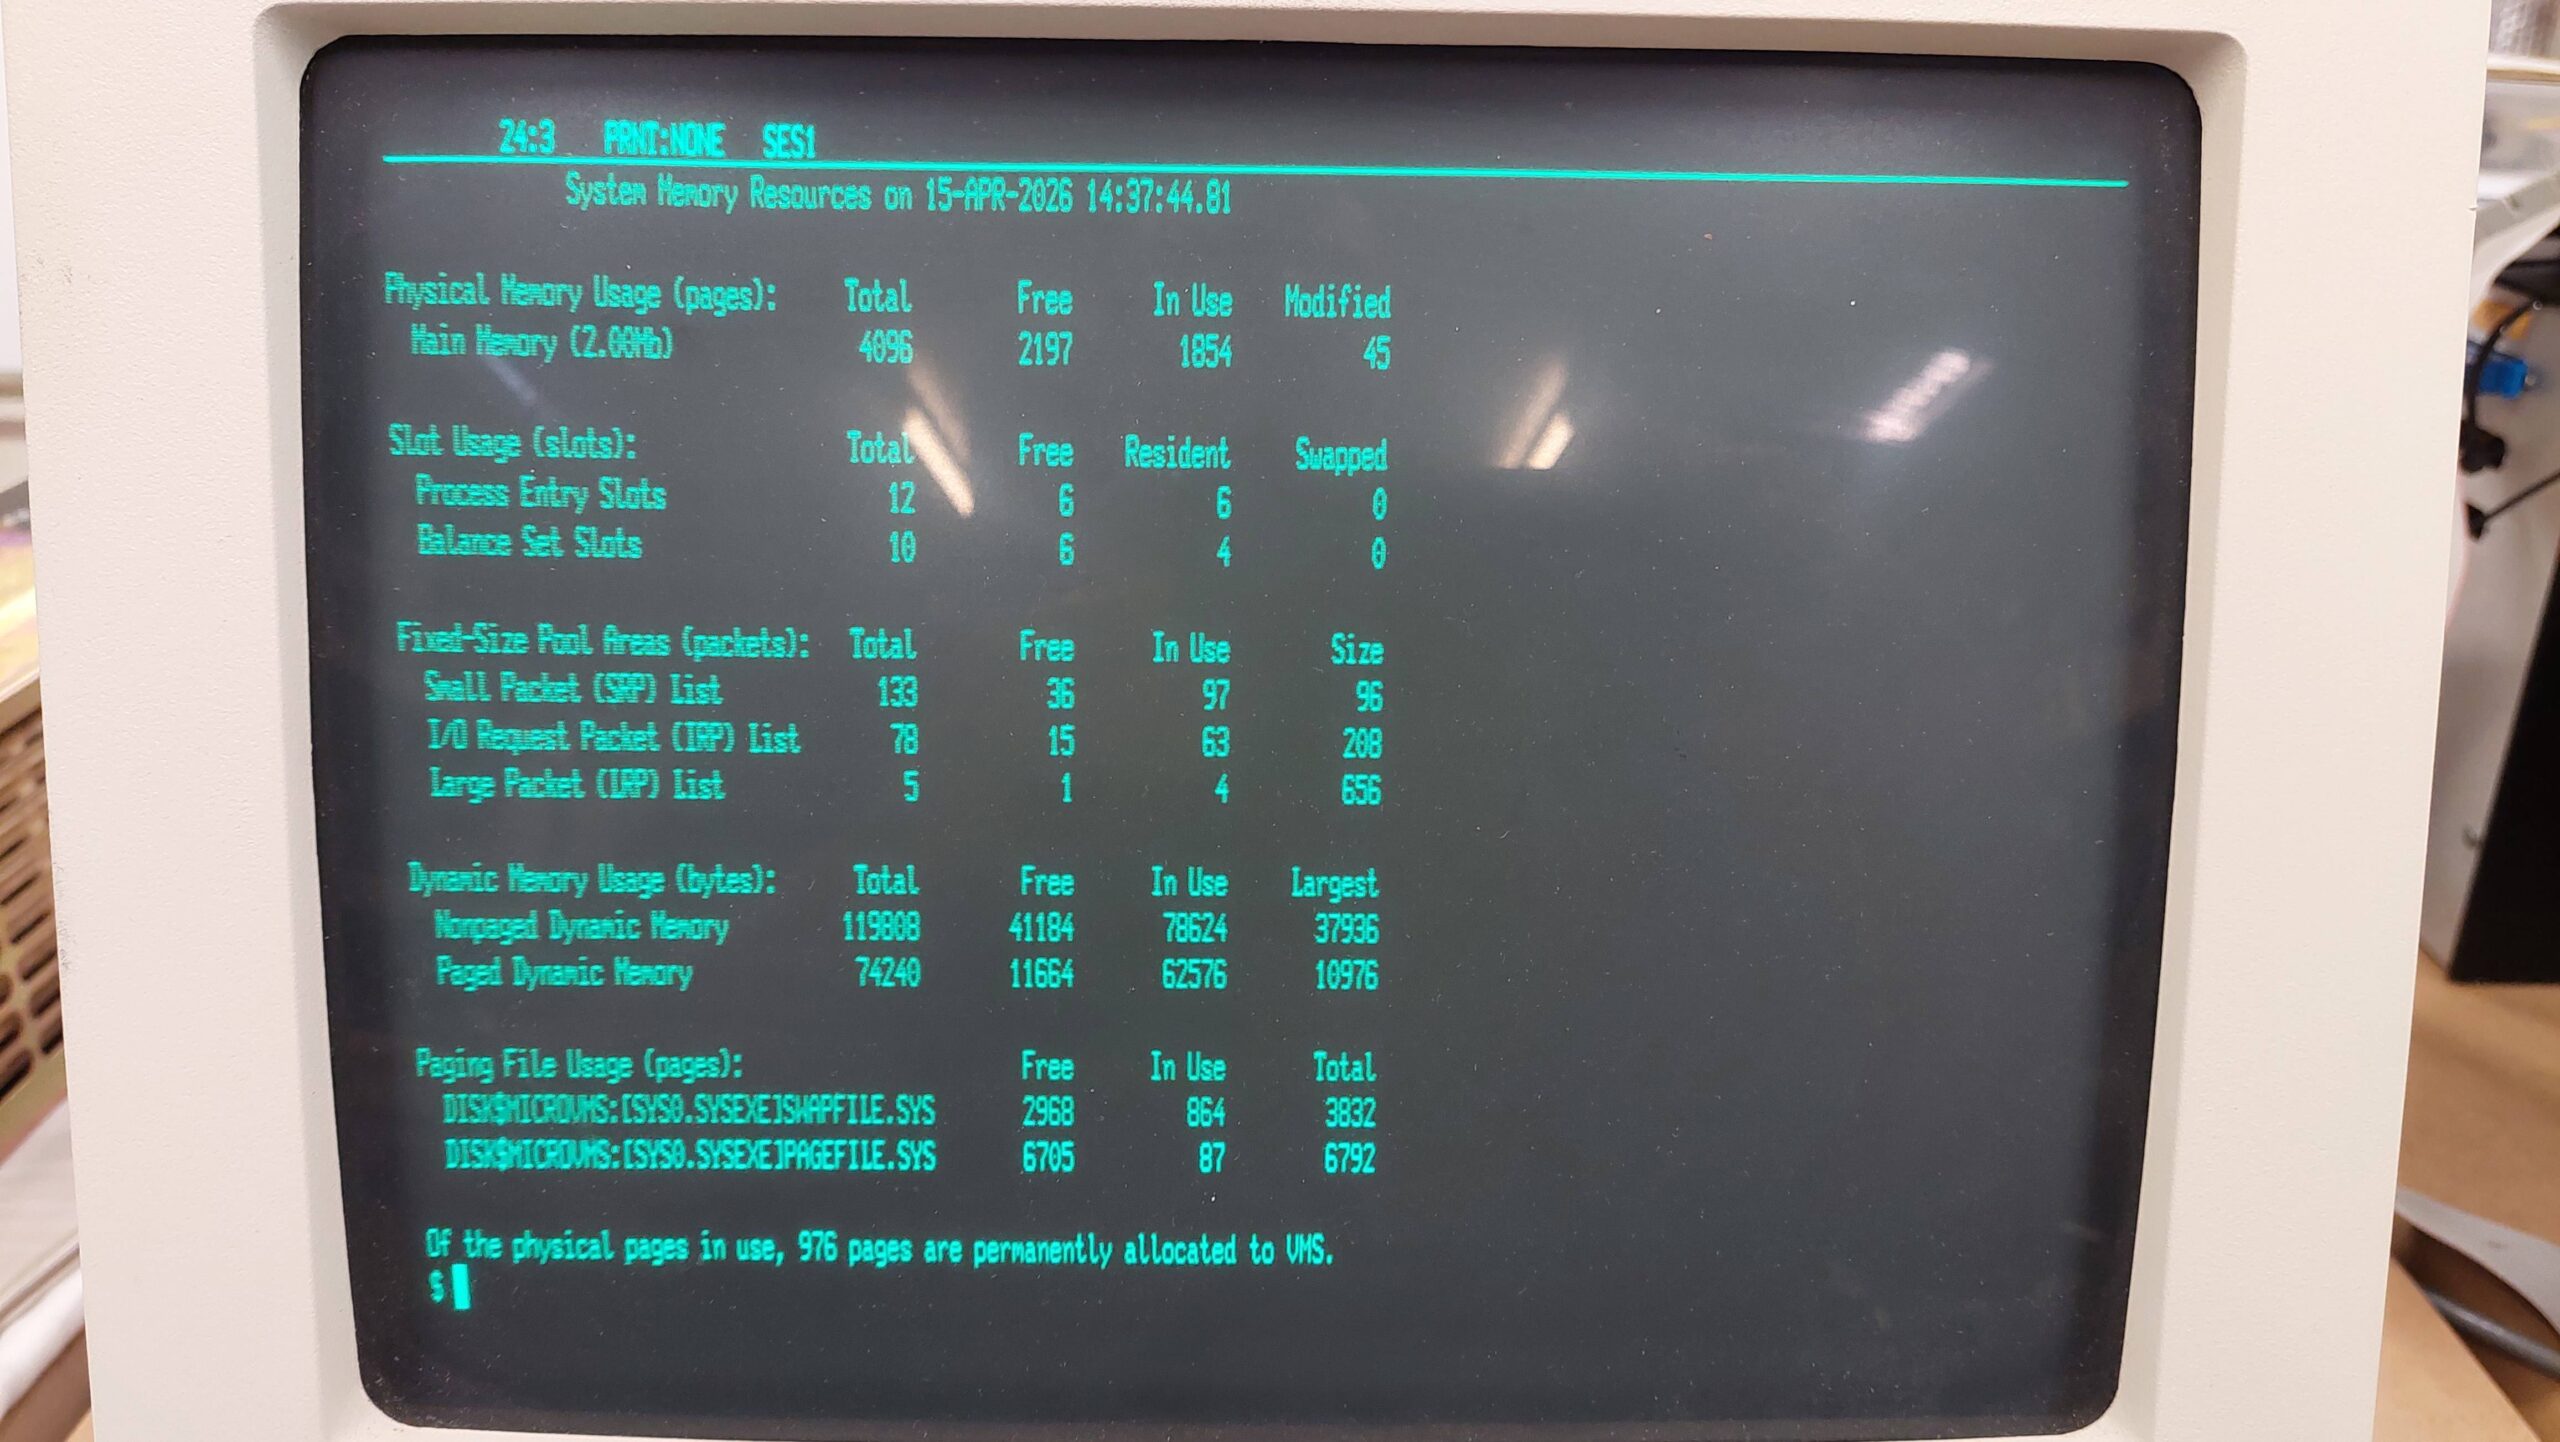
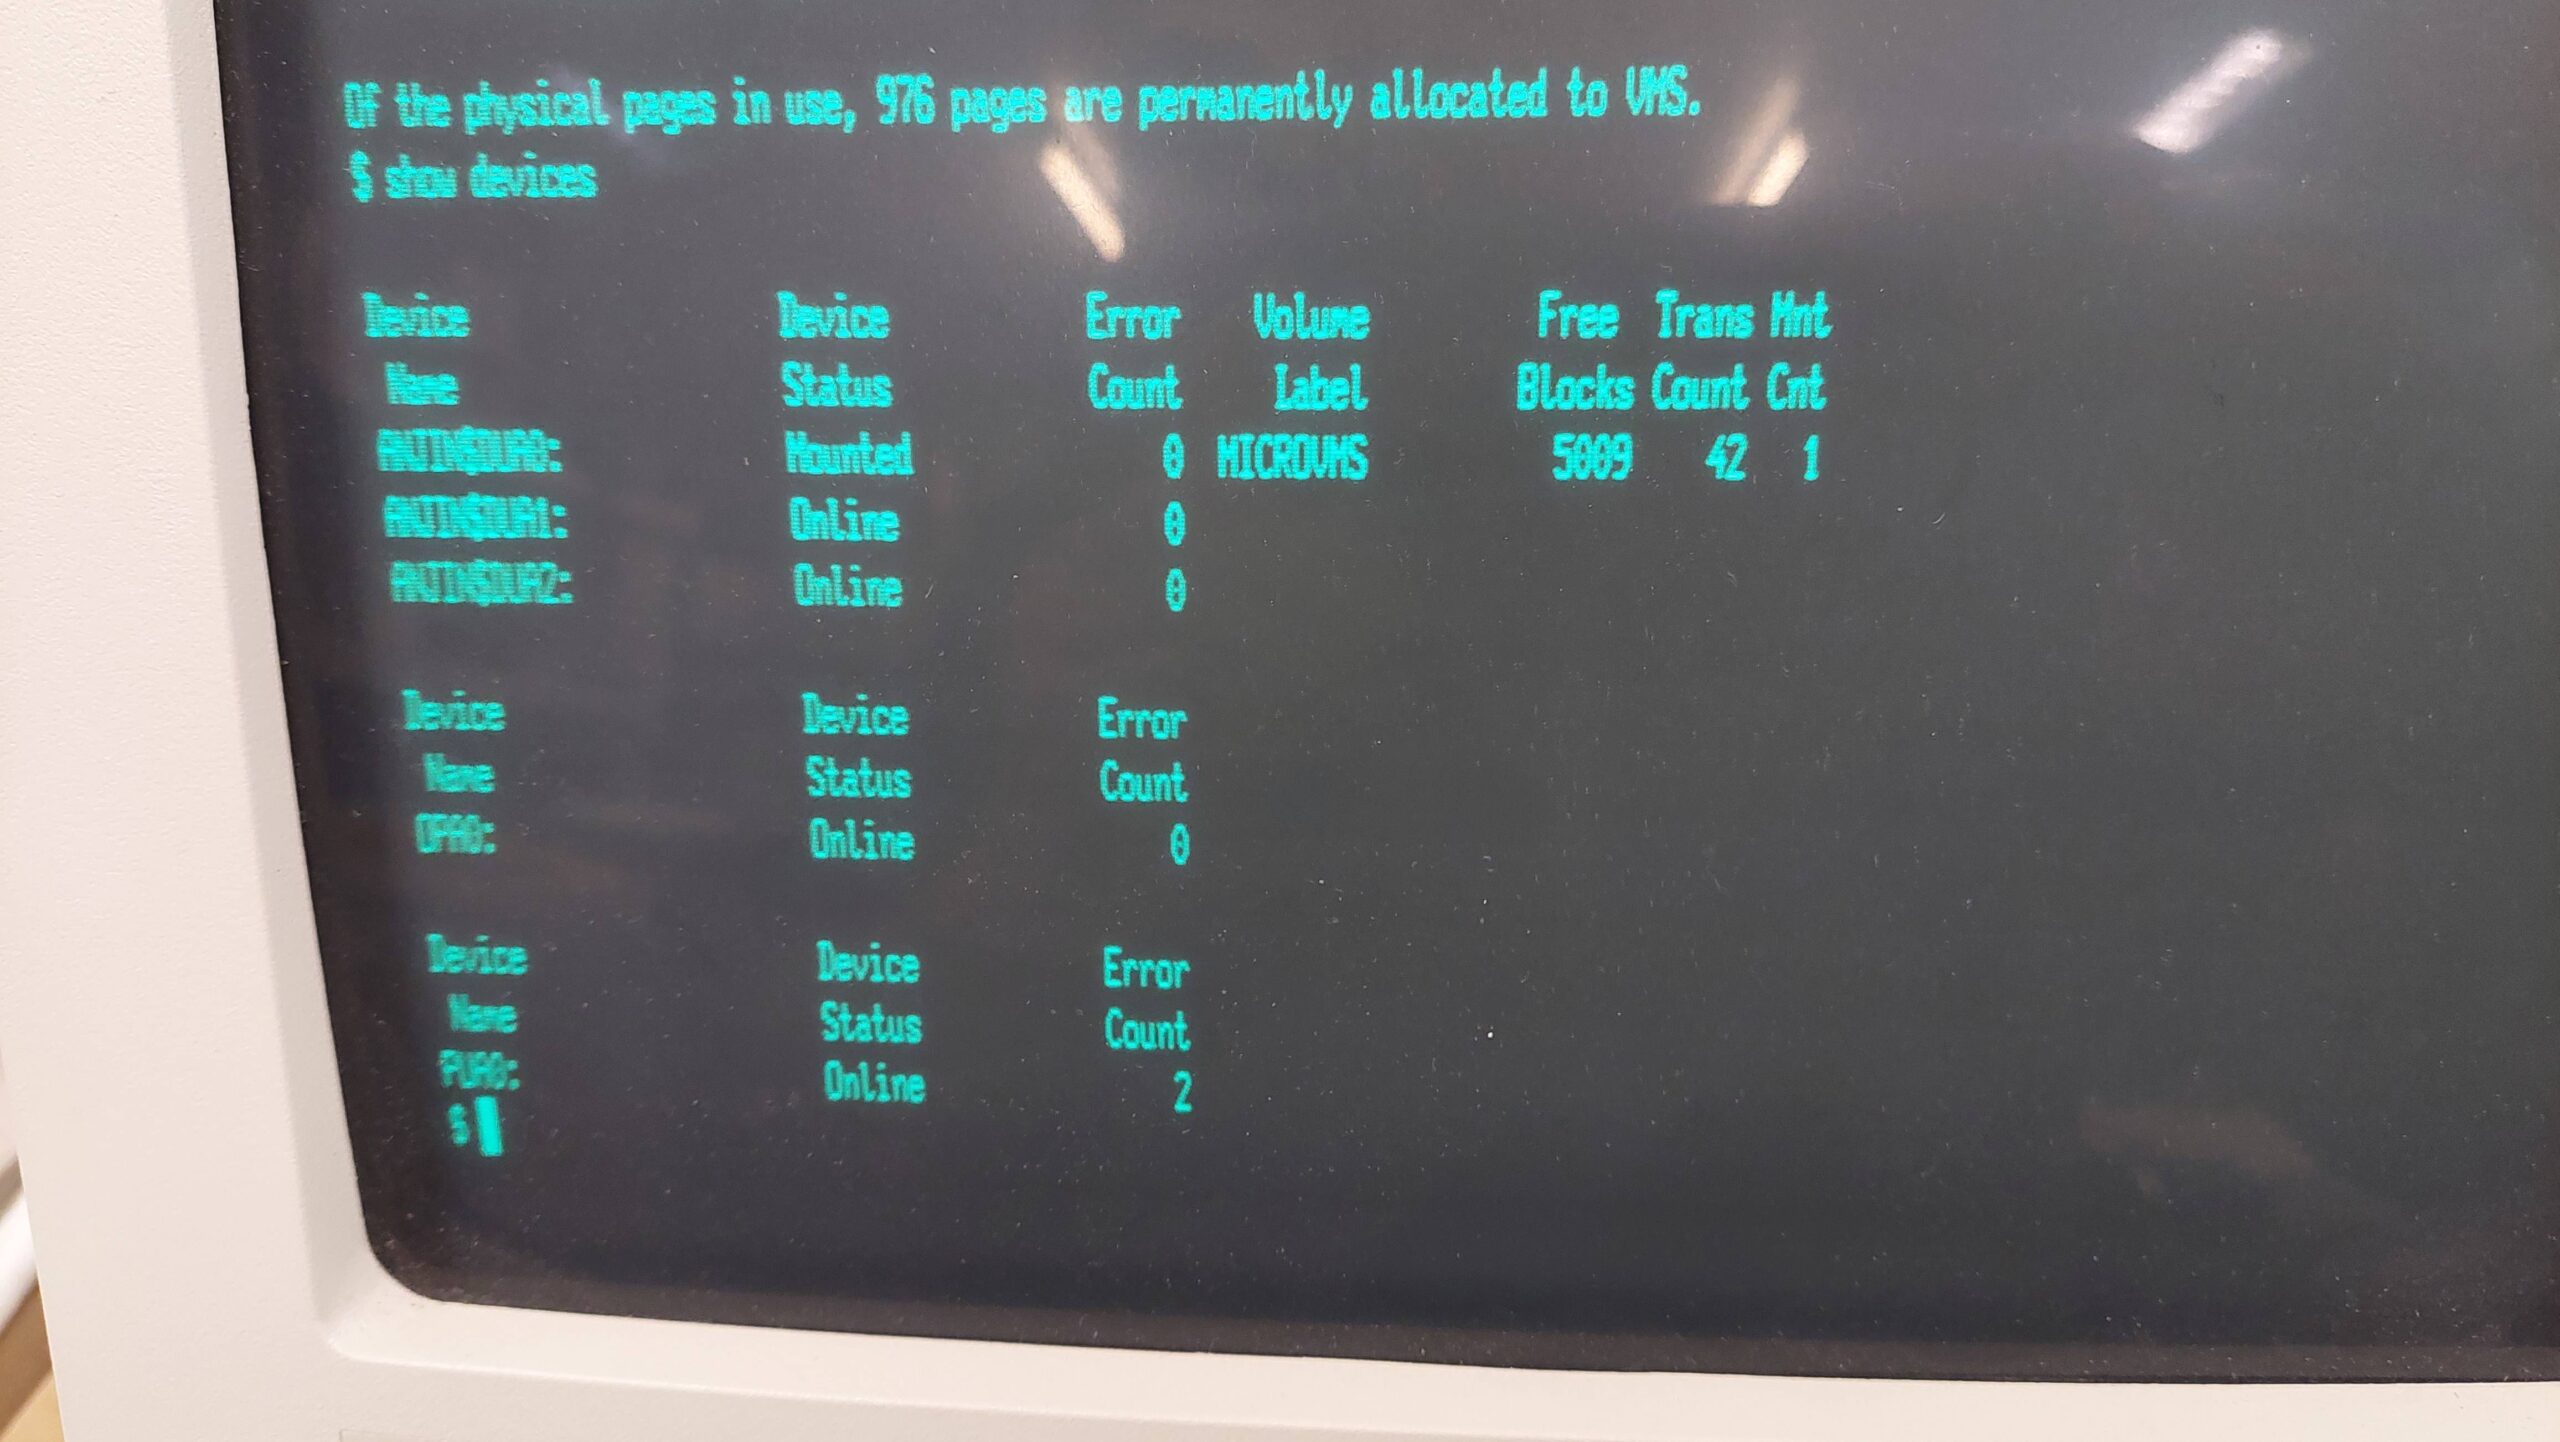
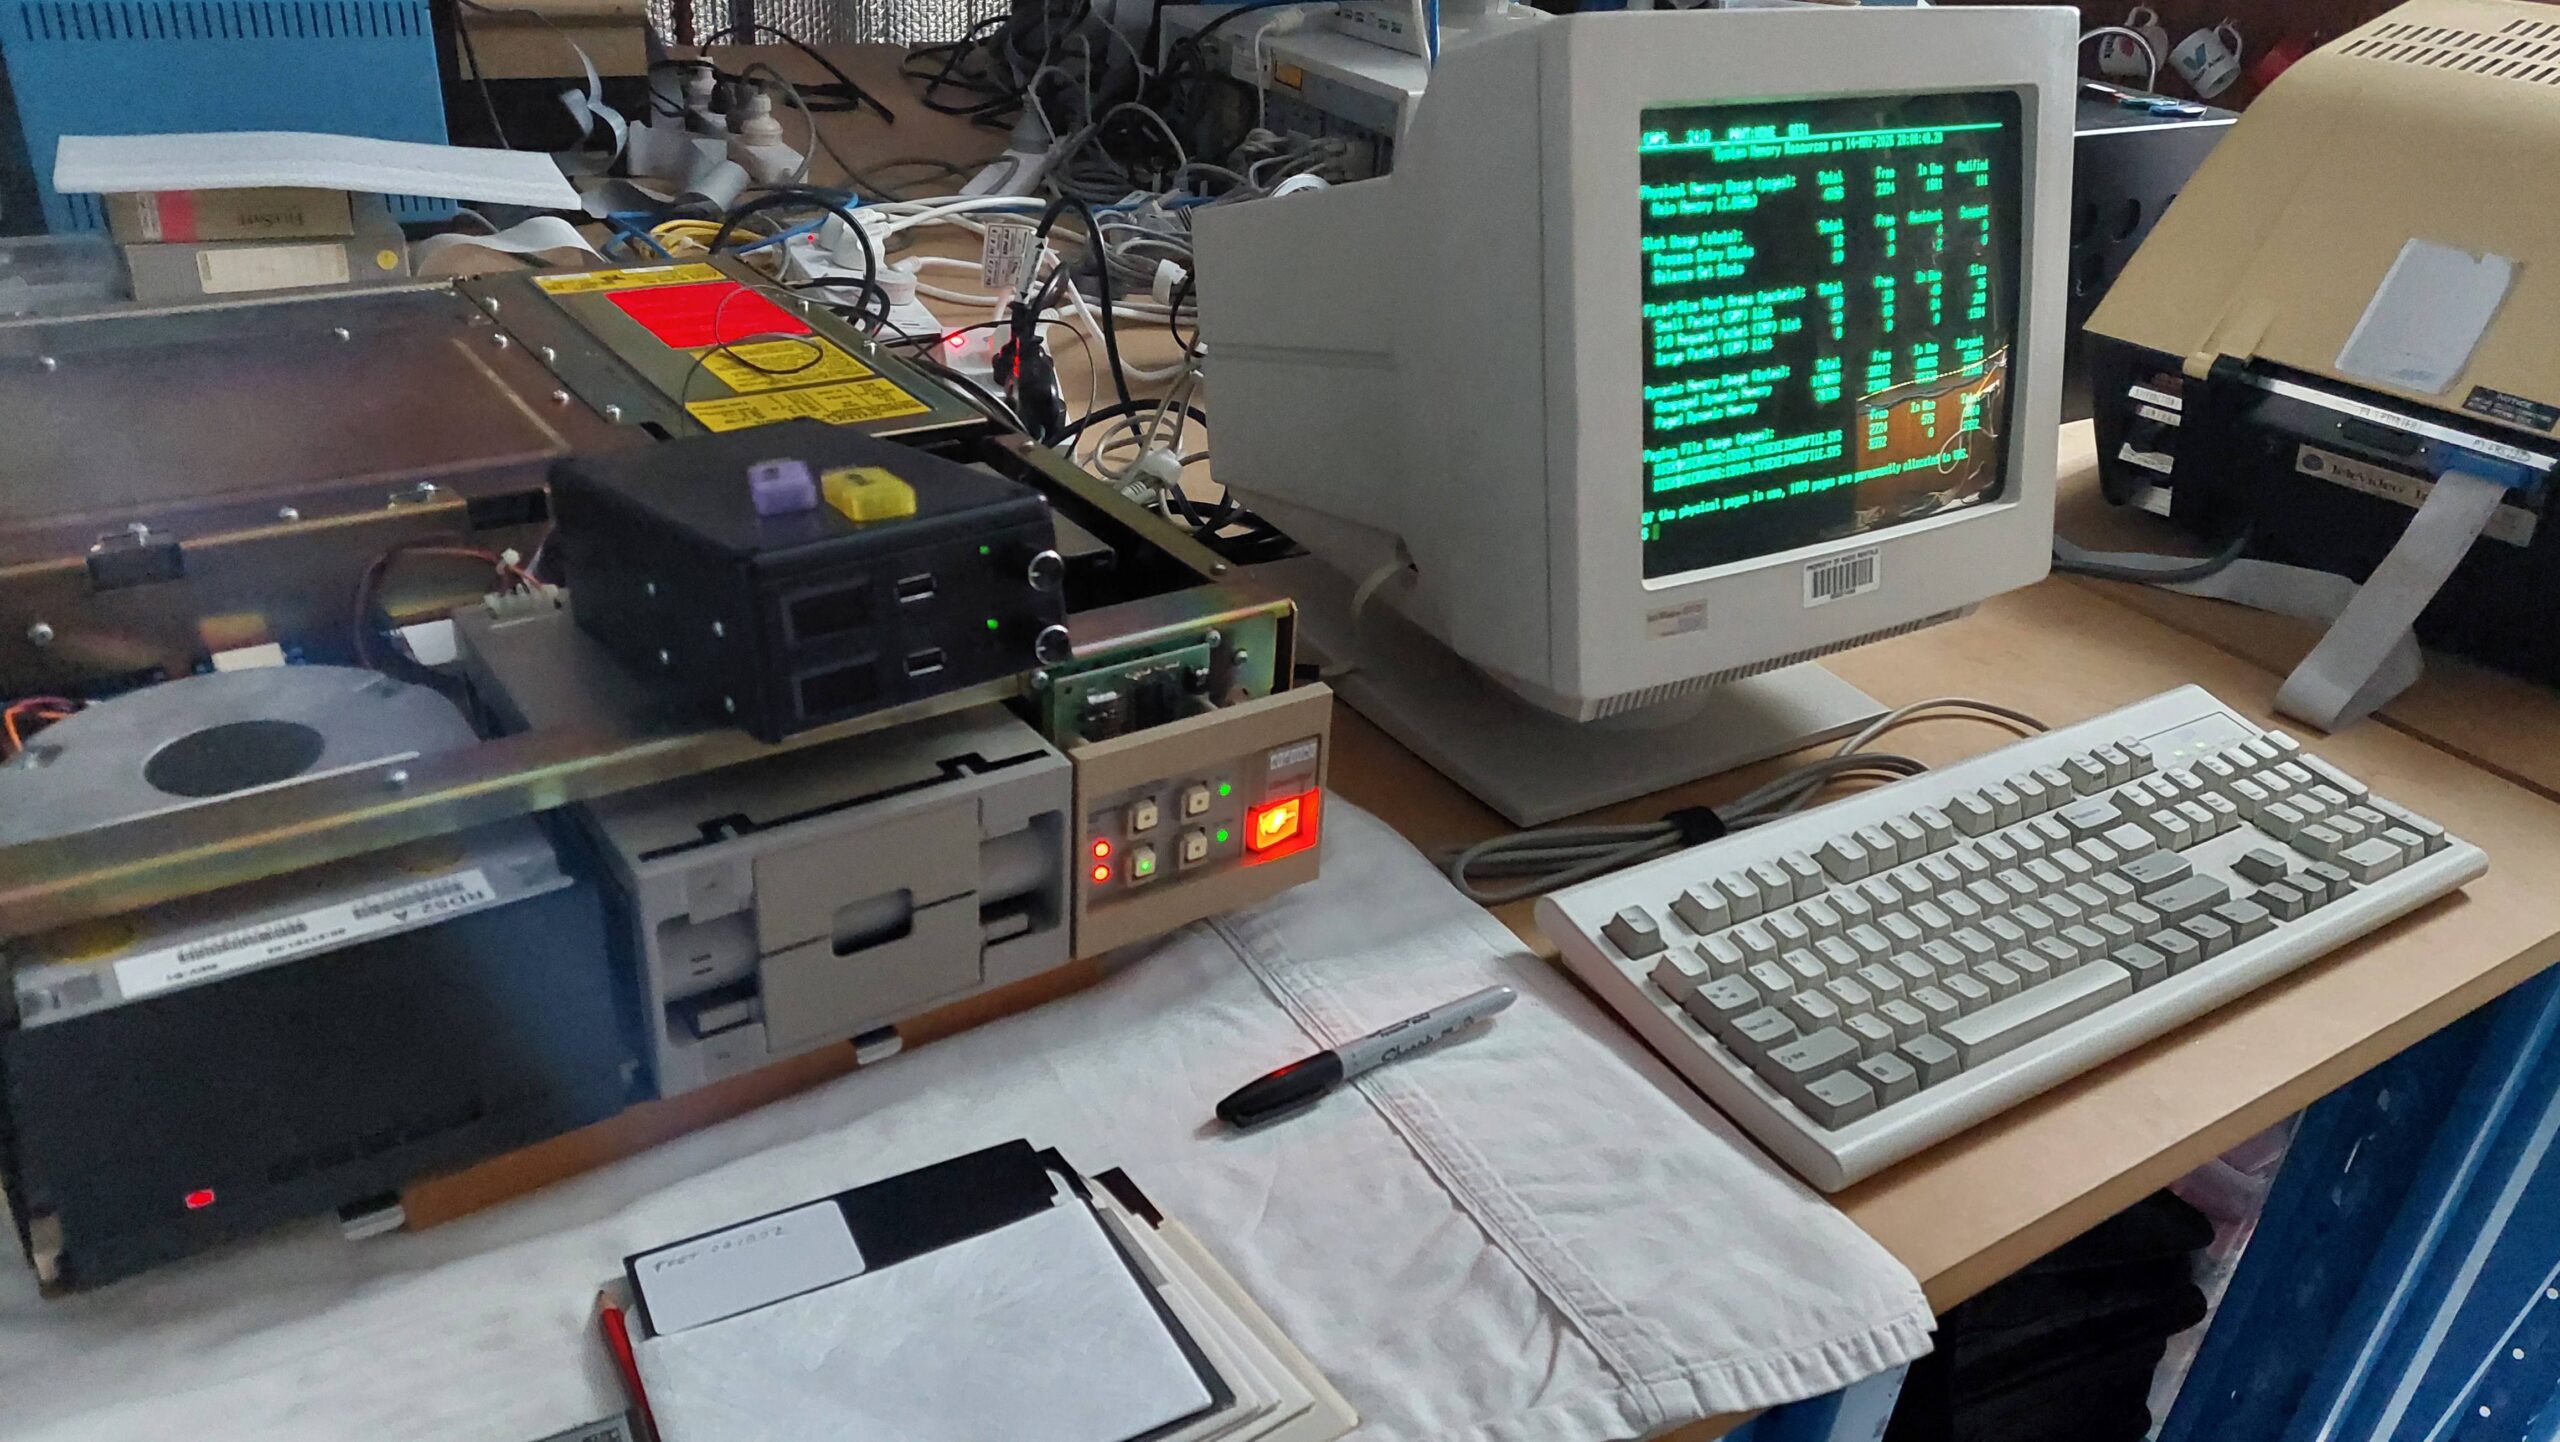
- MicroVAX I VMS Stuff
- MicroVAX I Software
- MicroVAX I VAX C Installation
- MicroVAX I Kermit Installation
- MicroVAX I A Rosetta VAX
- MicroVAX I Creating a New Image
- MicroVAX I Transfer of New Image
The subject of this site is microcomputers and although this unit has micro in the title it is actually a minicomputer. Why get hung up on consistency?
It belonged to a gentleman (Andrew C) who developed security software for the VMS operating system. I thought at first that this machine may have been a nostalgic purchase, but i am now convinced that this machine was used for development of software.

Curiously, it came with a bunch of tapes and a few high density 5.25″ disks none of which can be read by this machine.
The MicroVAX I was released in 1984 and was quickly superseded by the MicroVAX II which is a more common and more useable model.
The MicroVAX series was a more compact and less capable derivative of the VAX computers that i used as a student at Adelaide Uni in the early eighties, speaking of nostalgia.
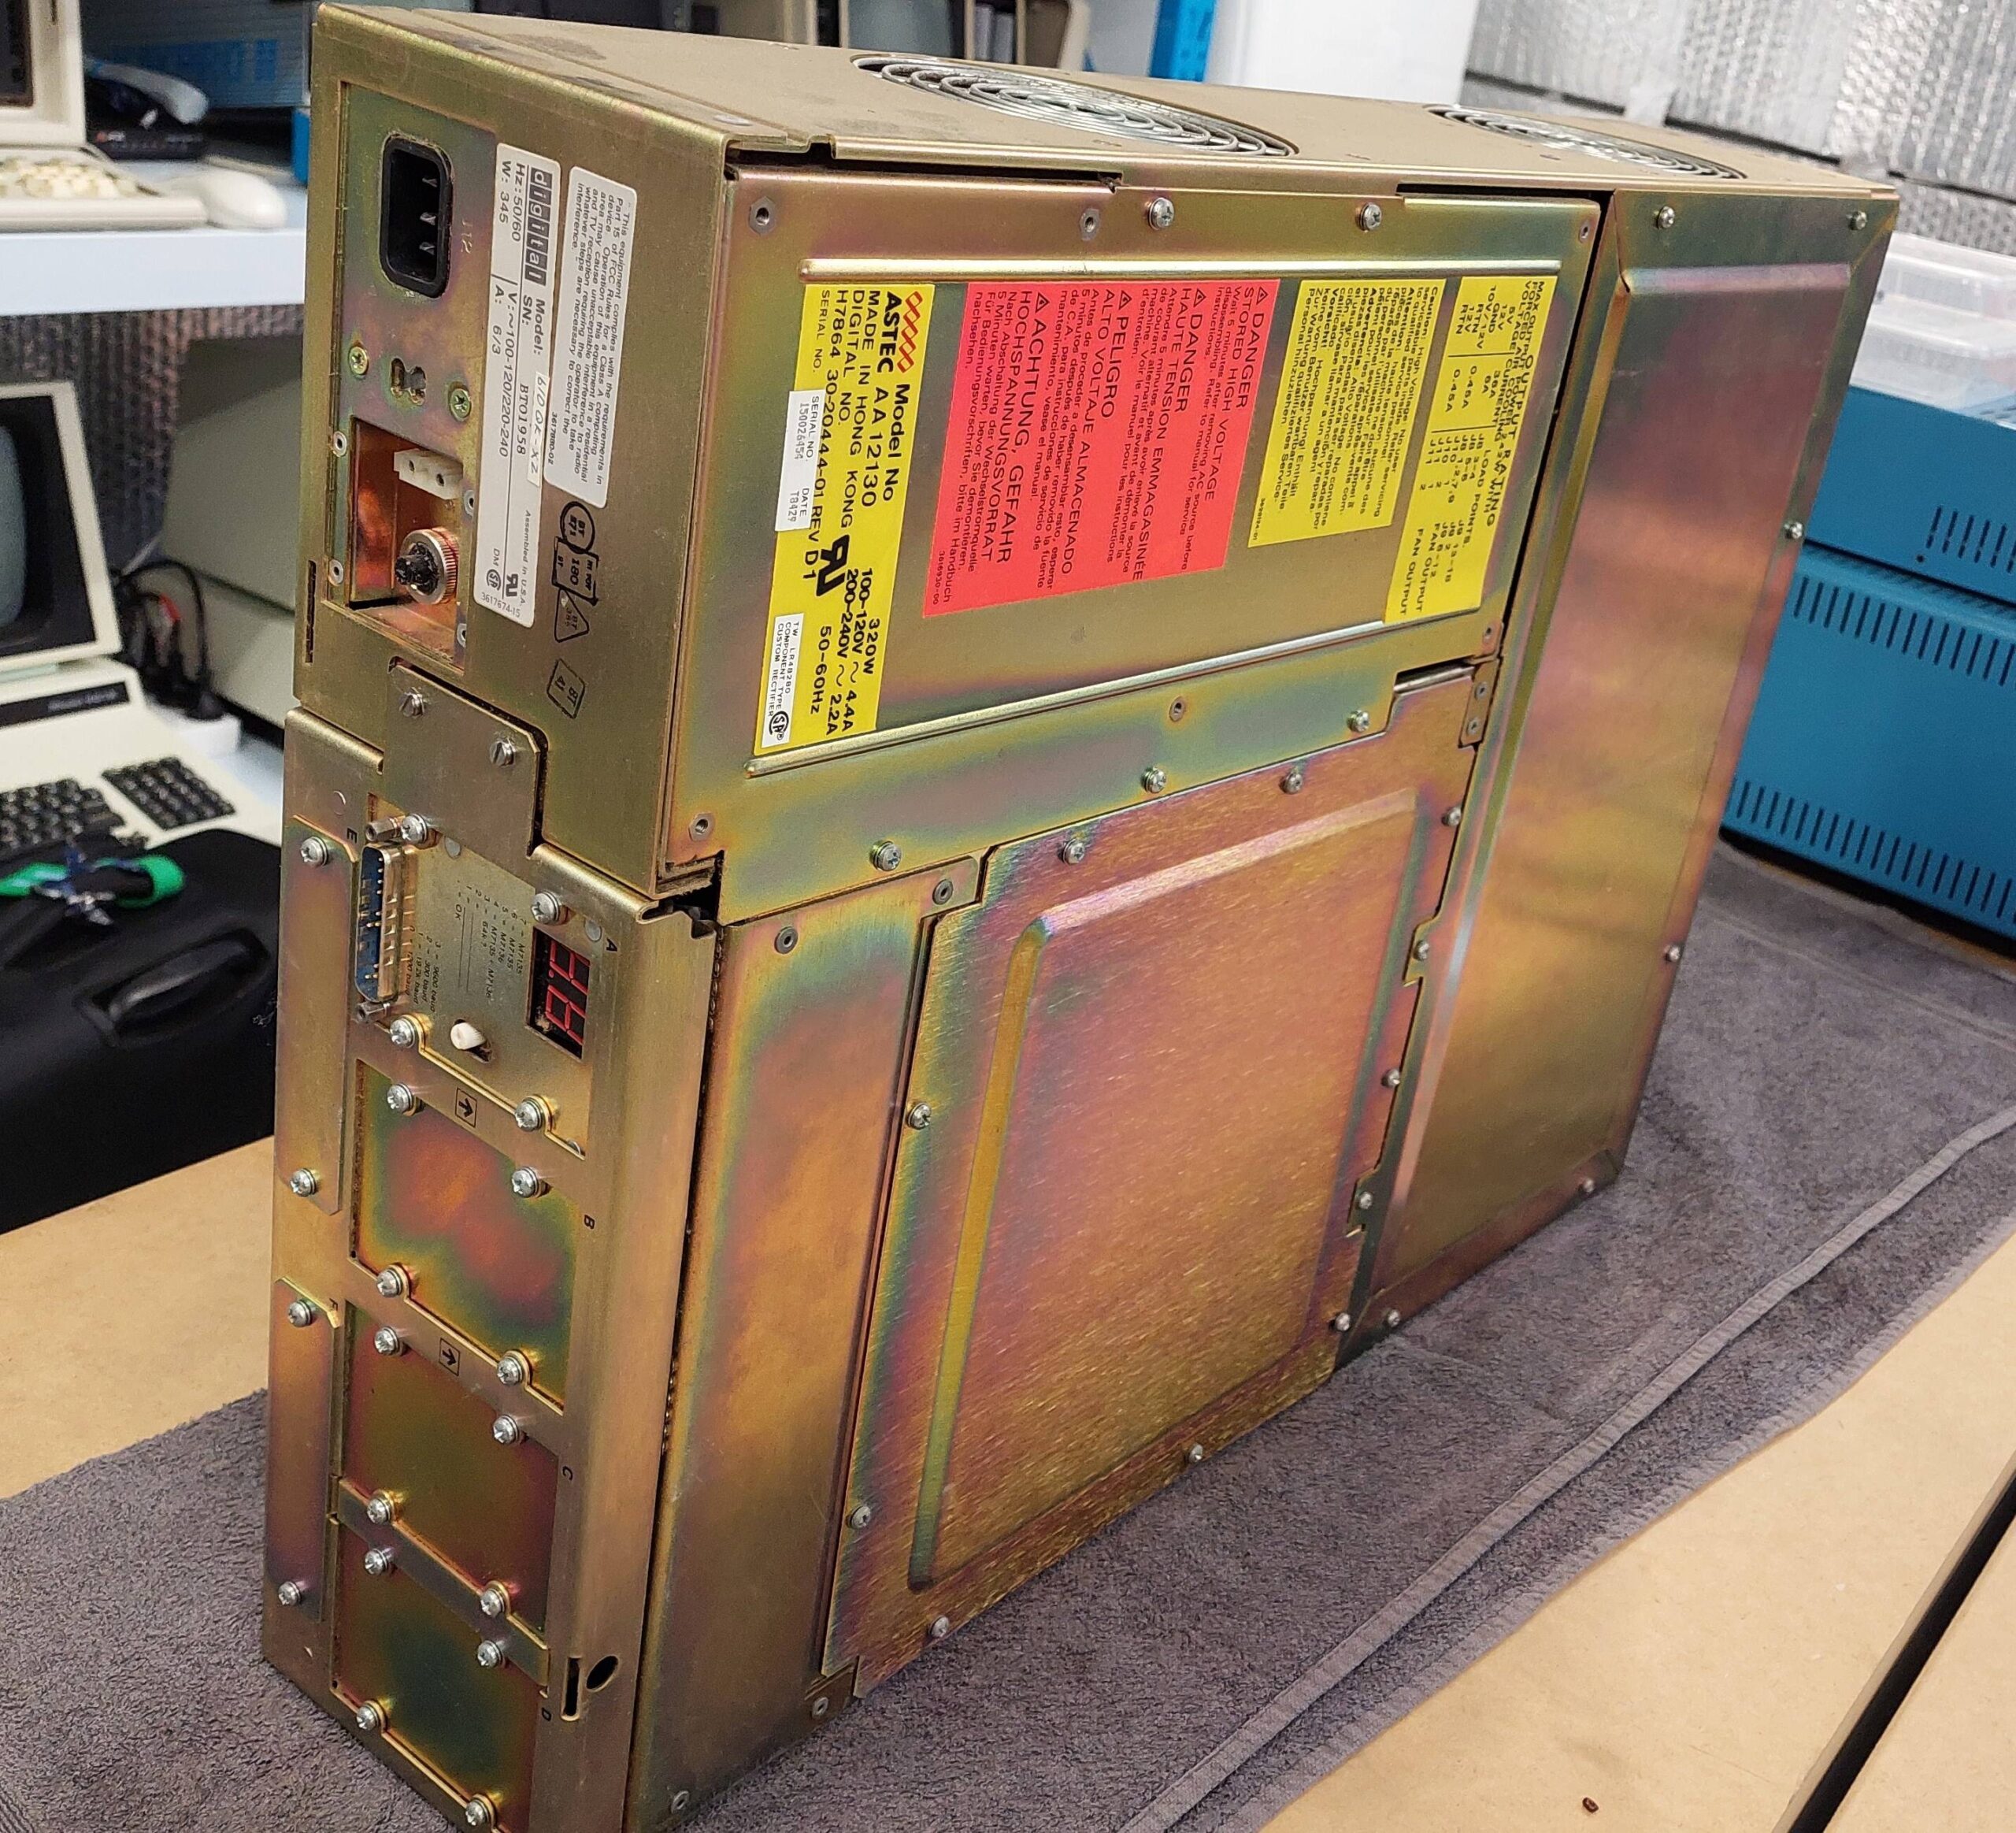
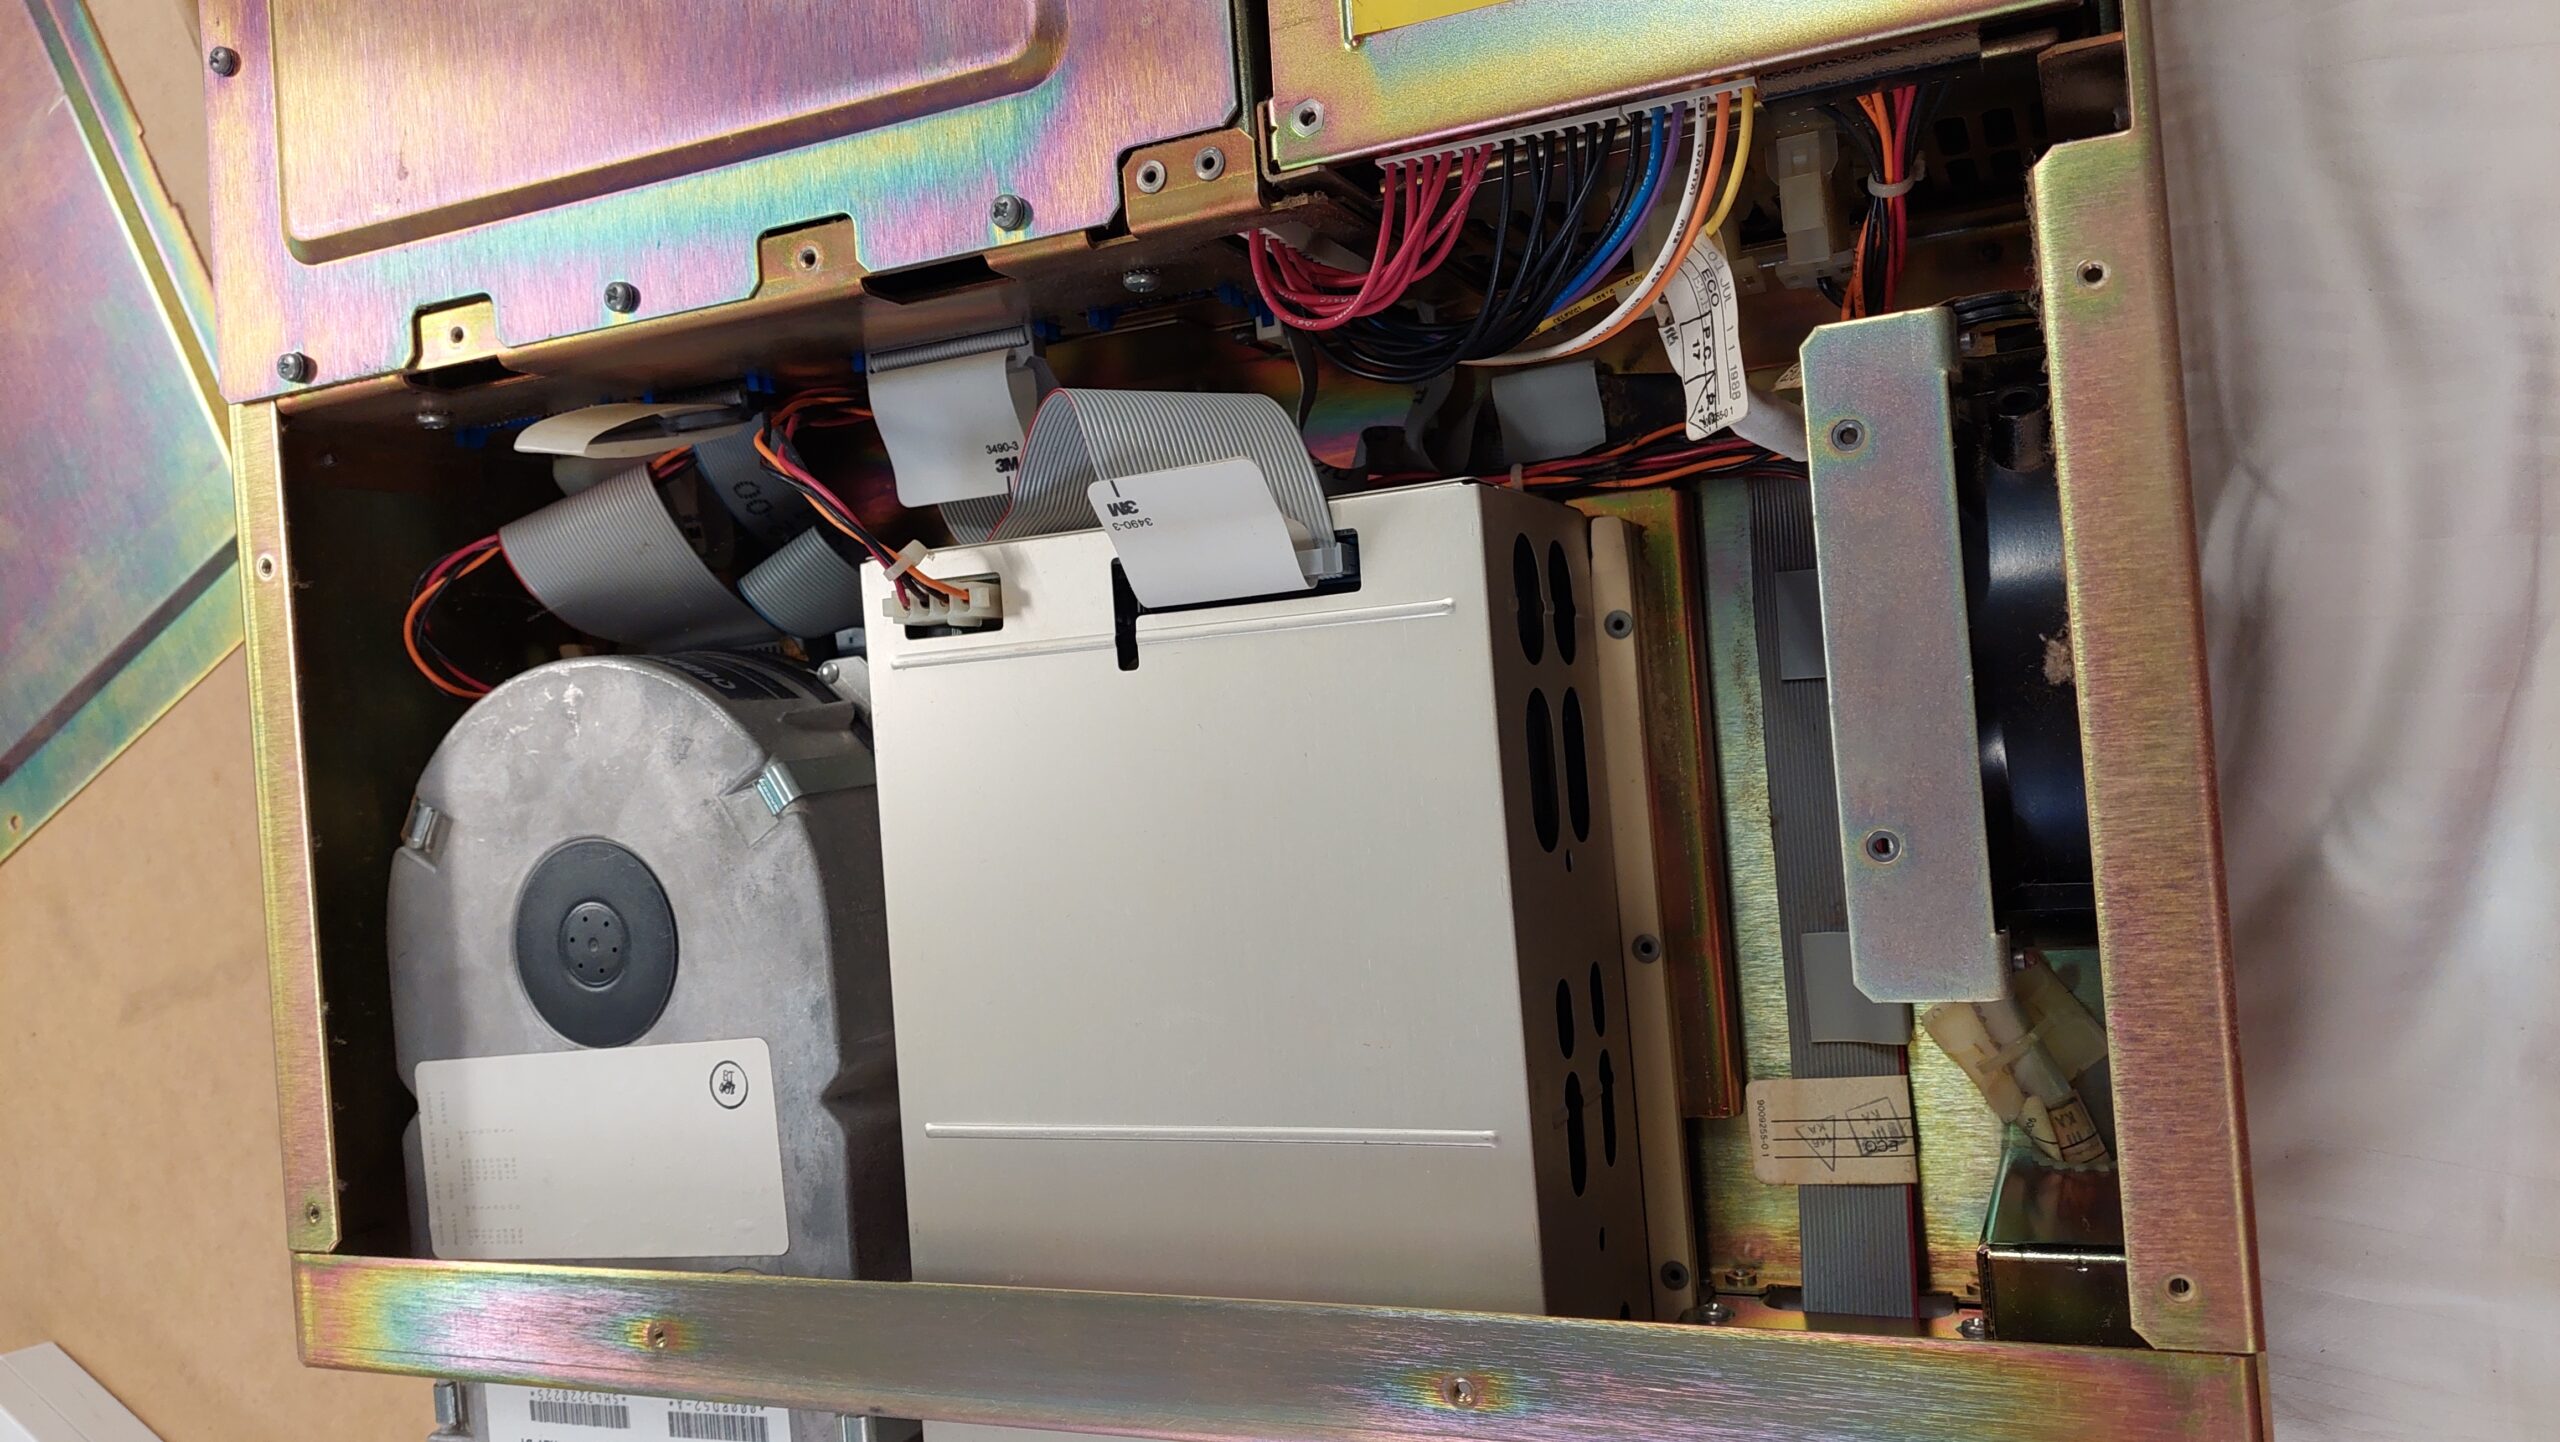
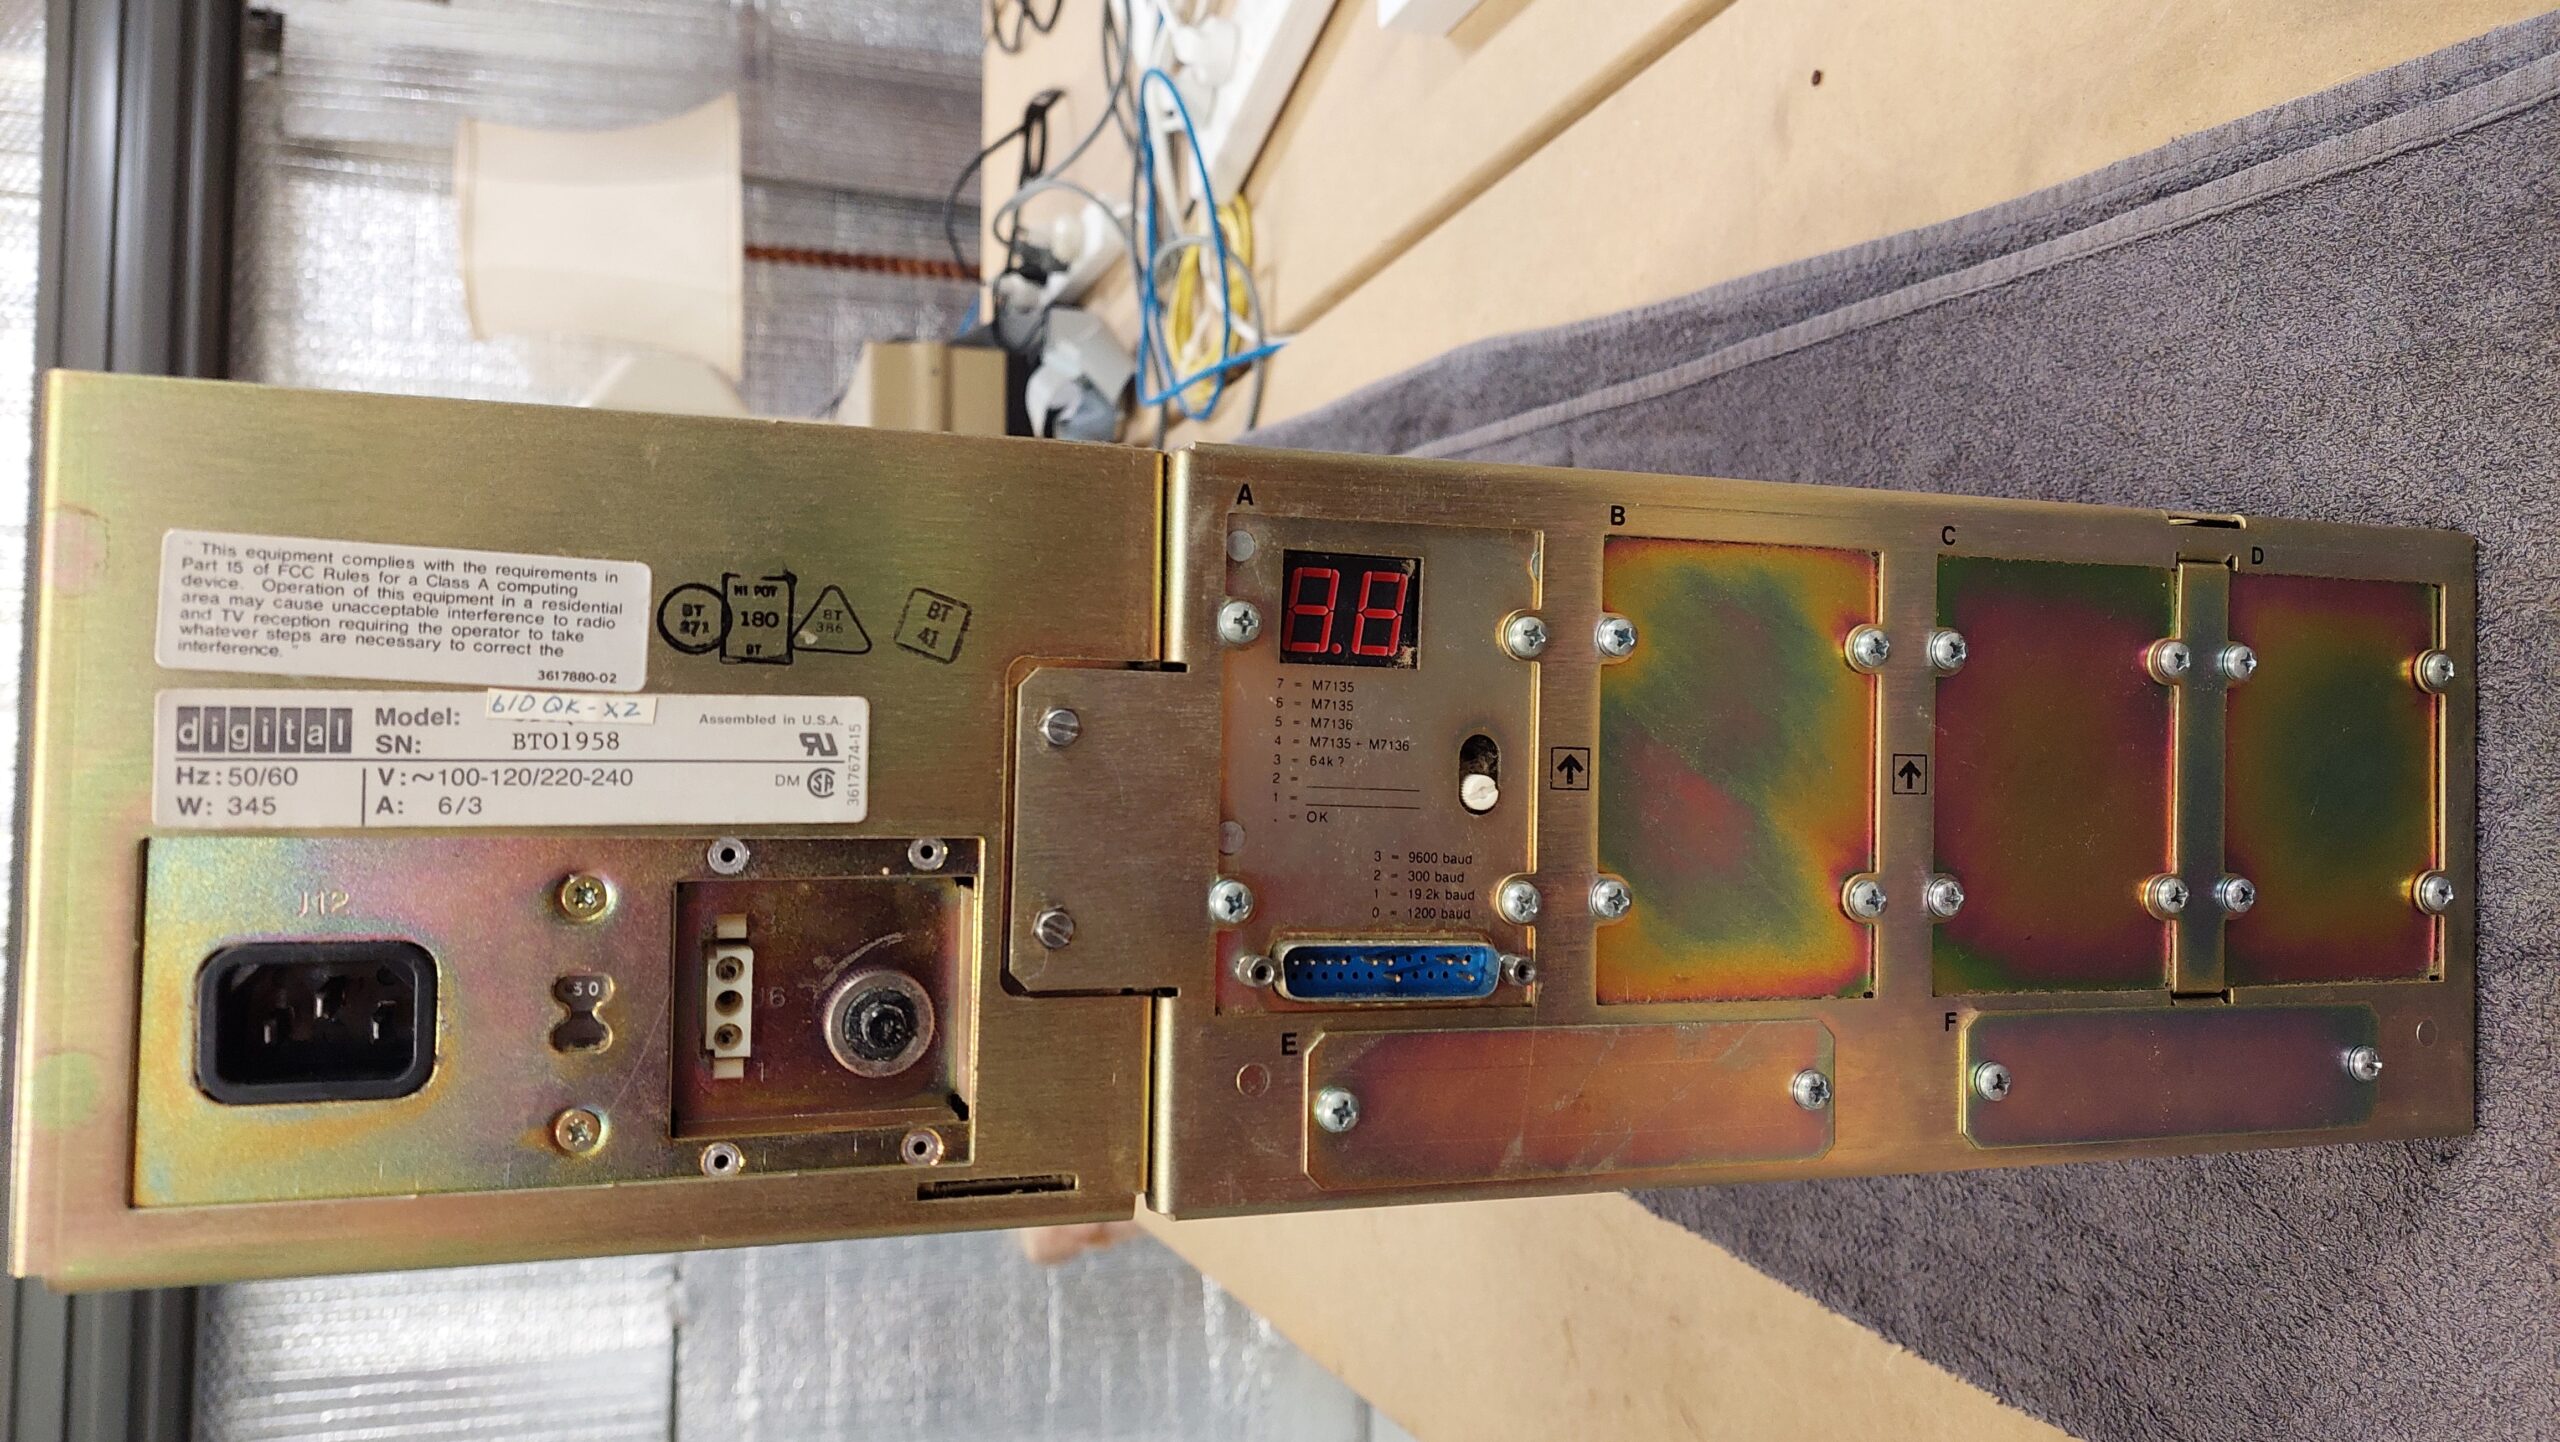
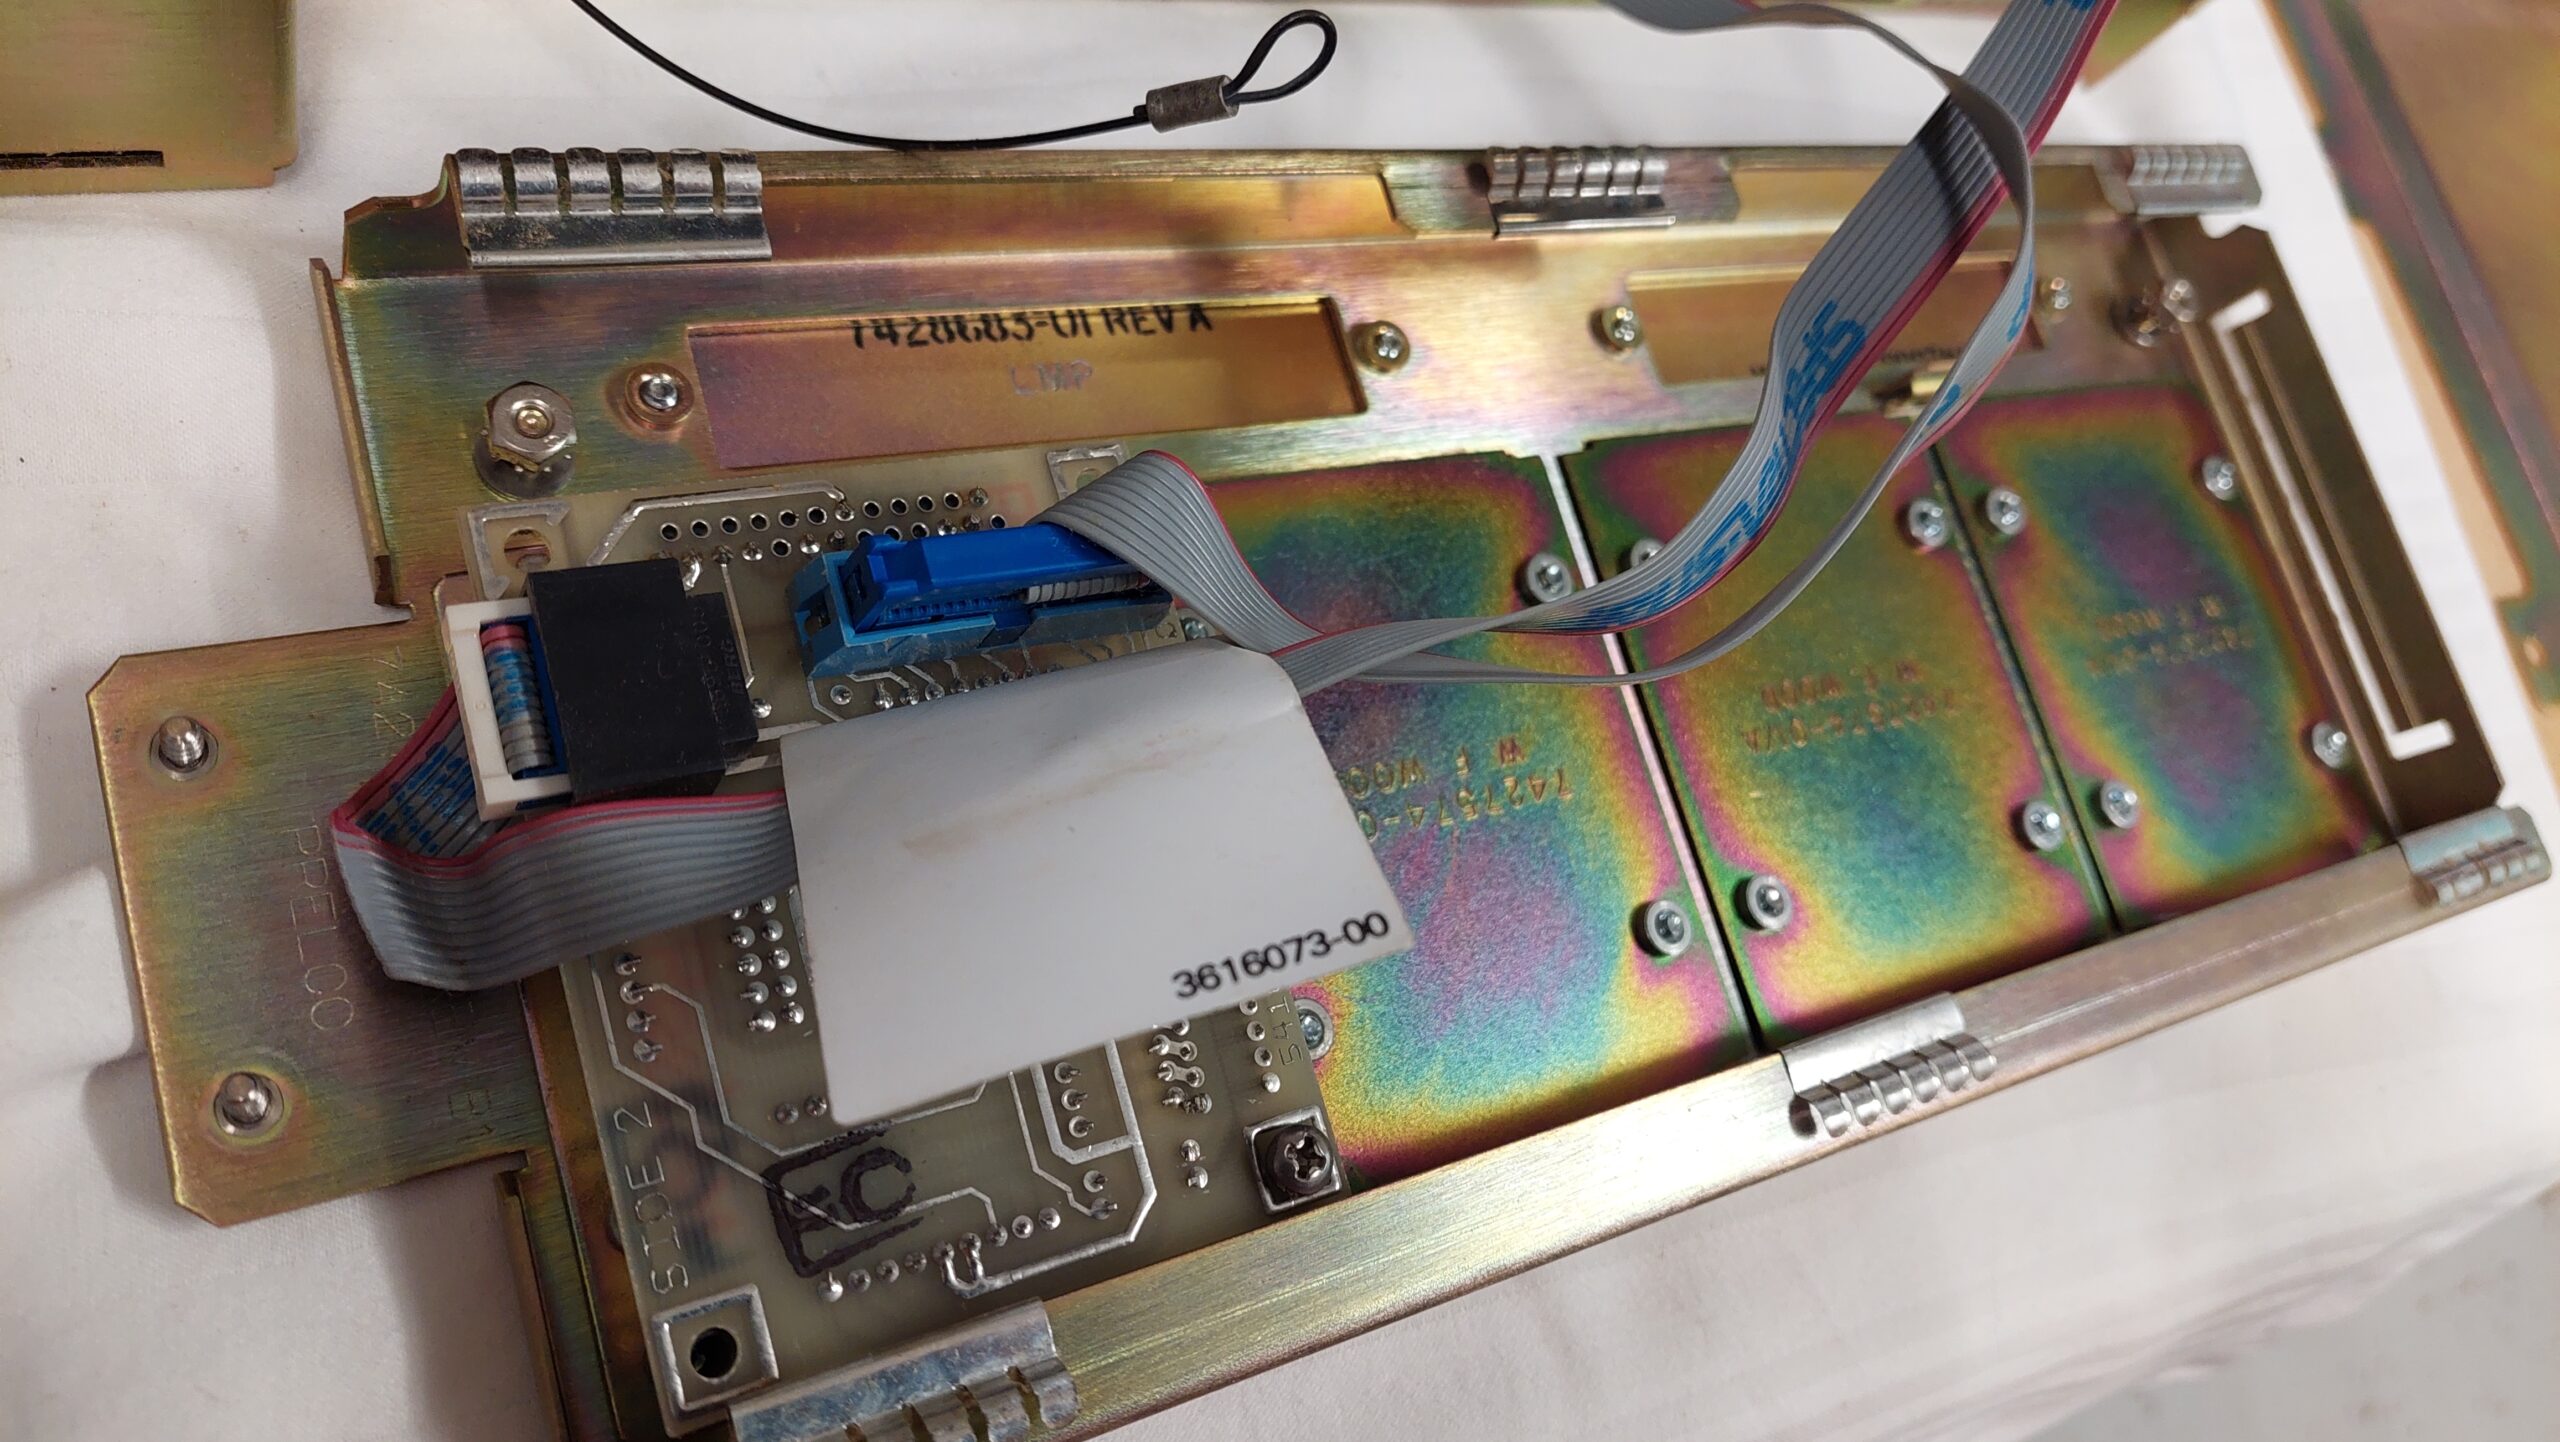
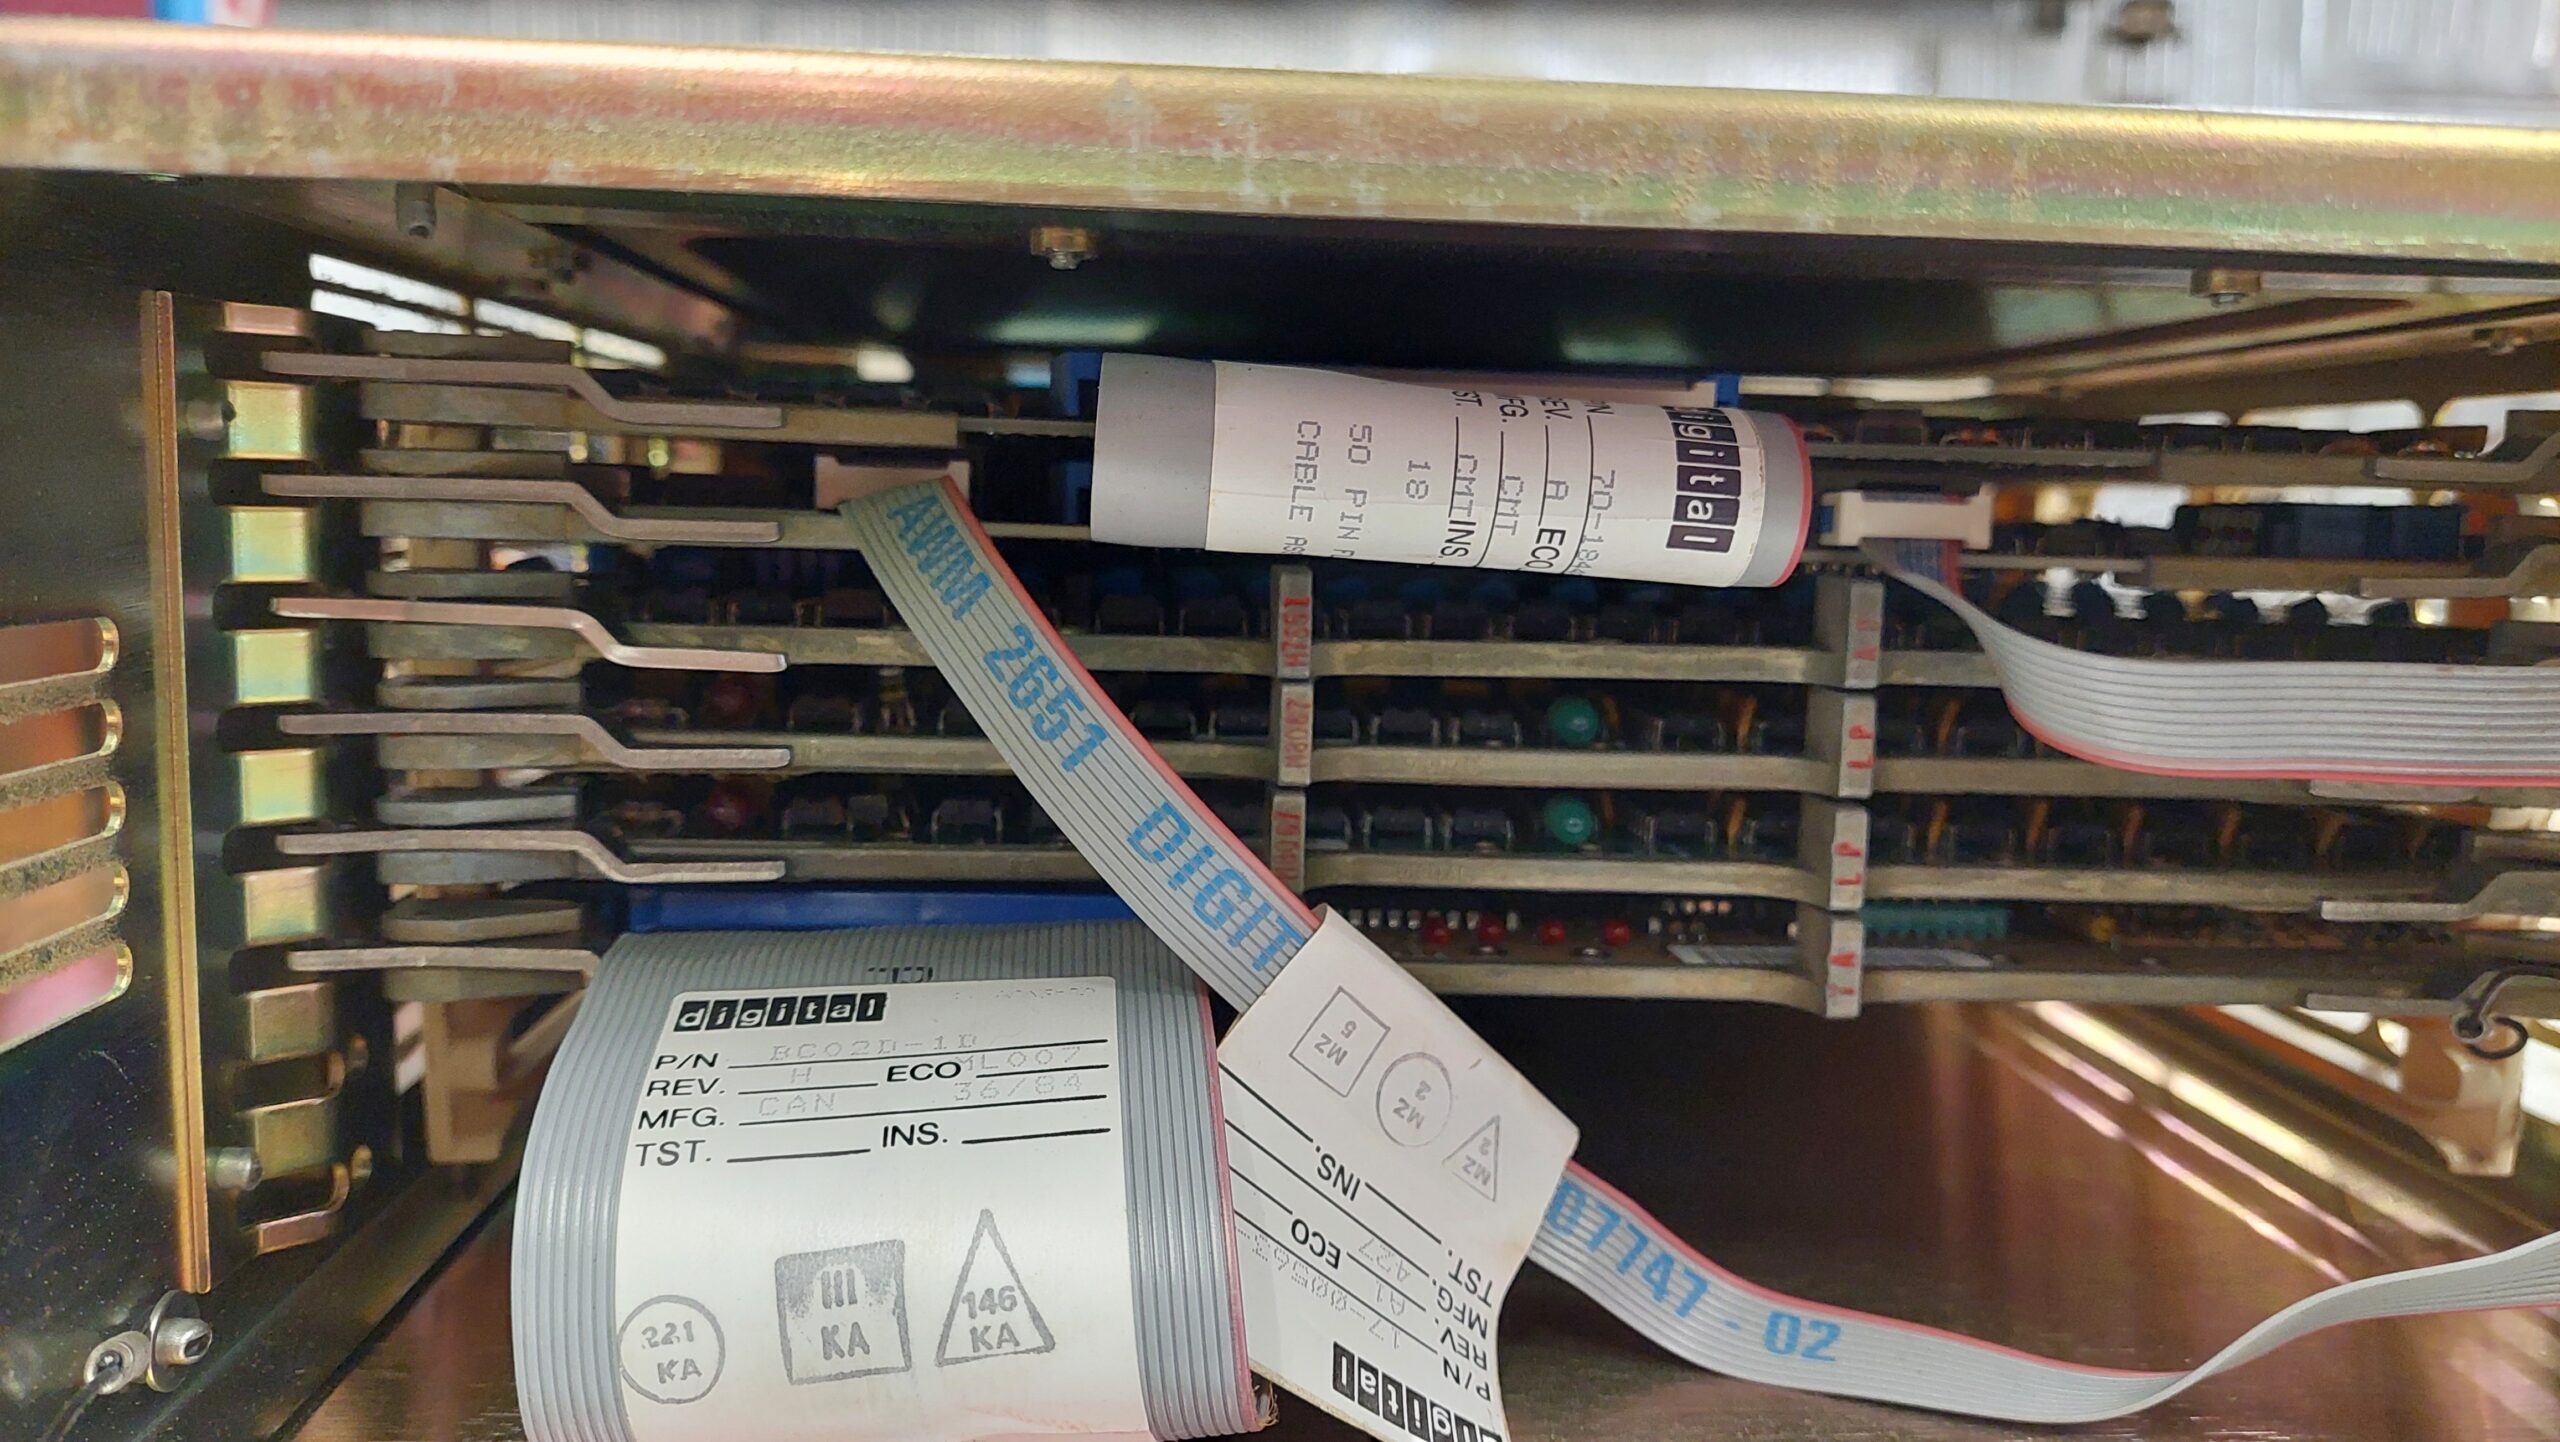
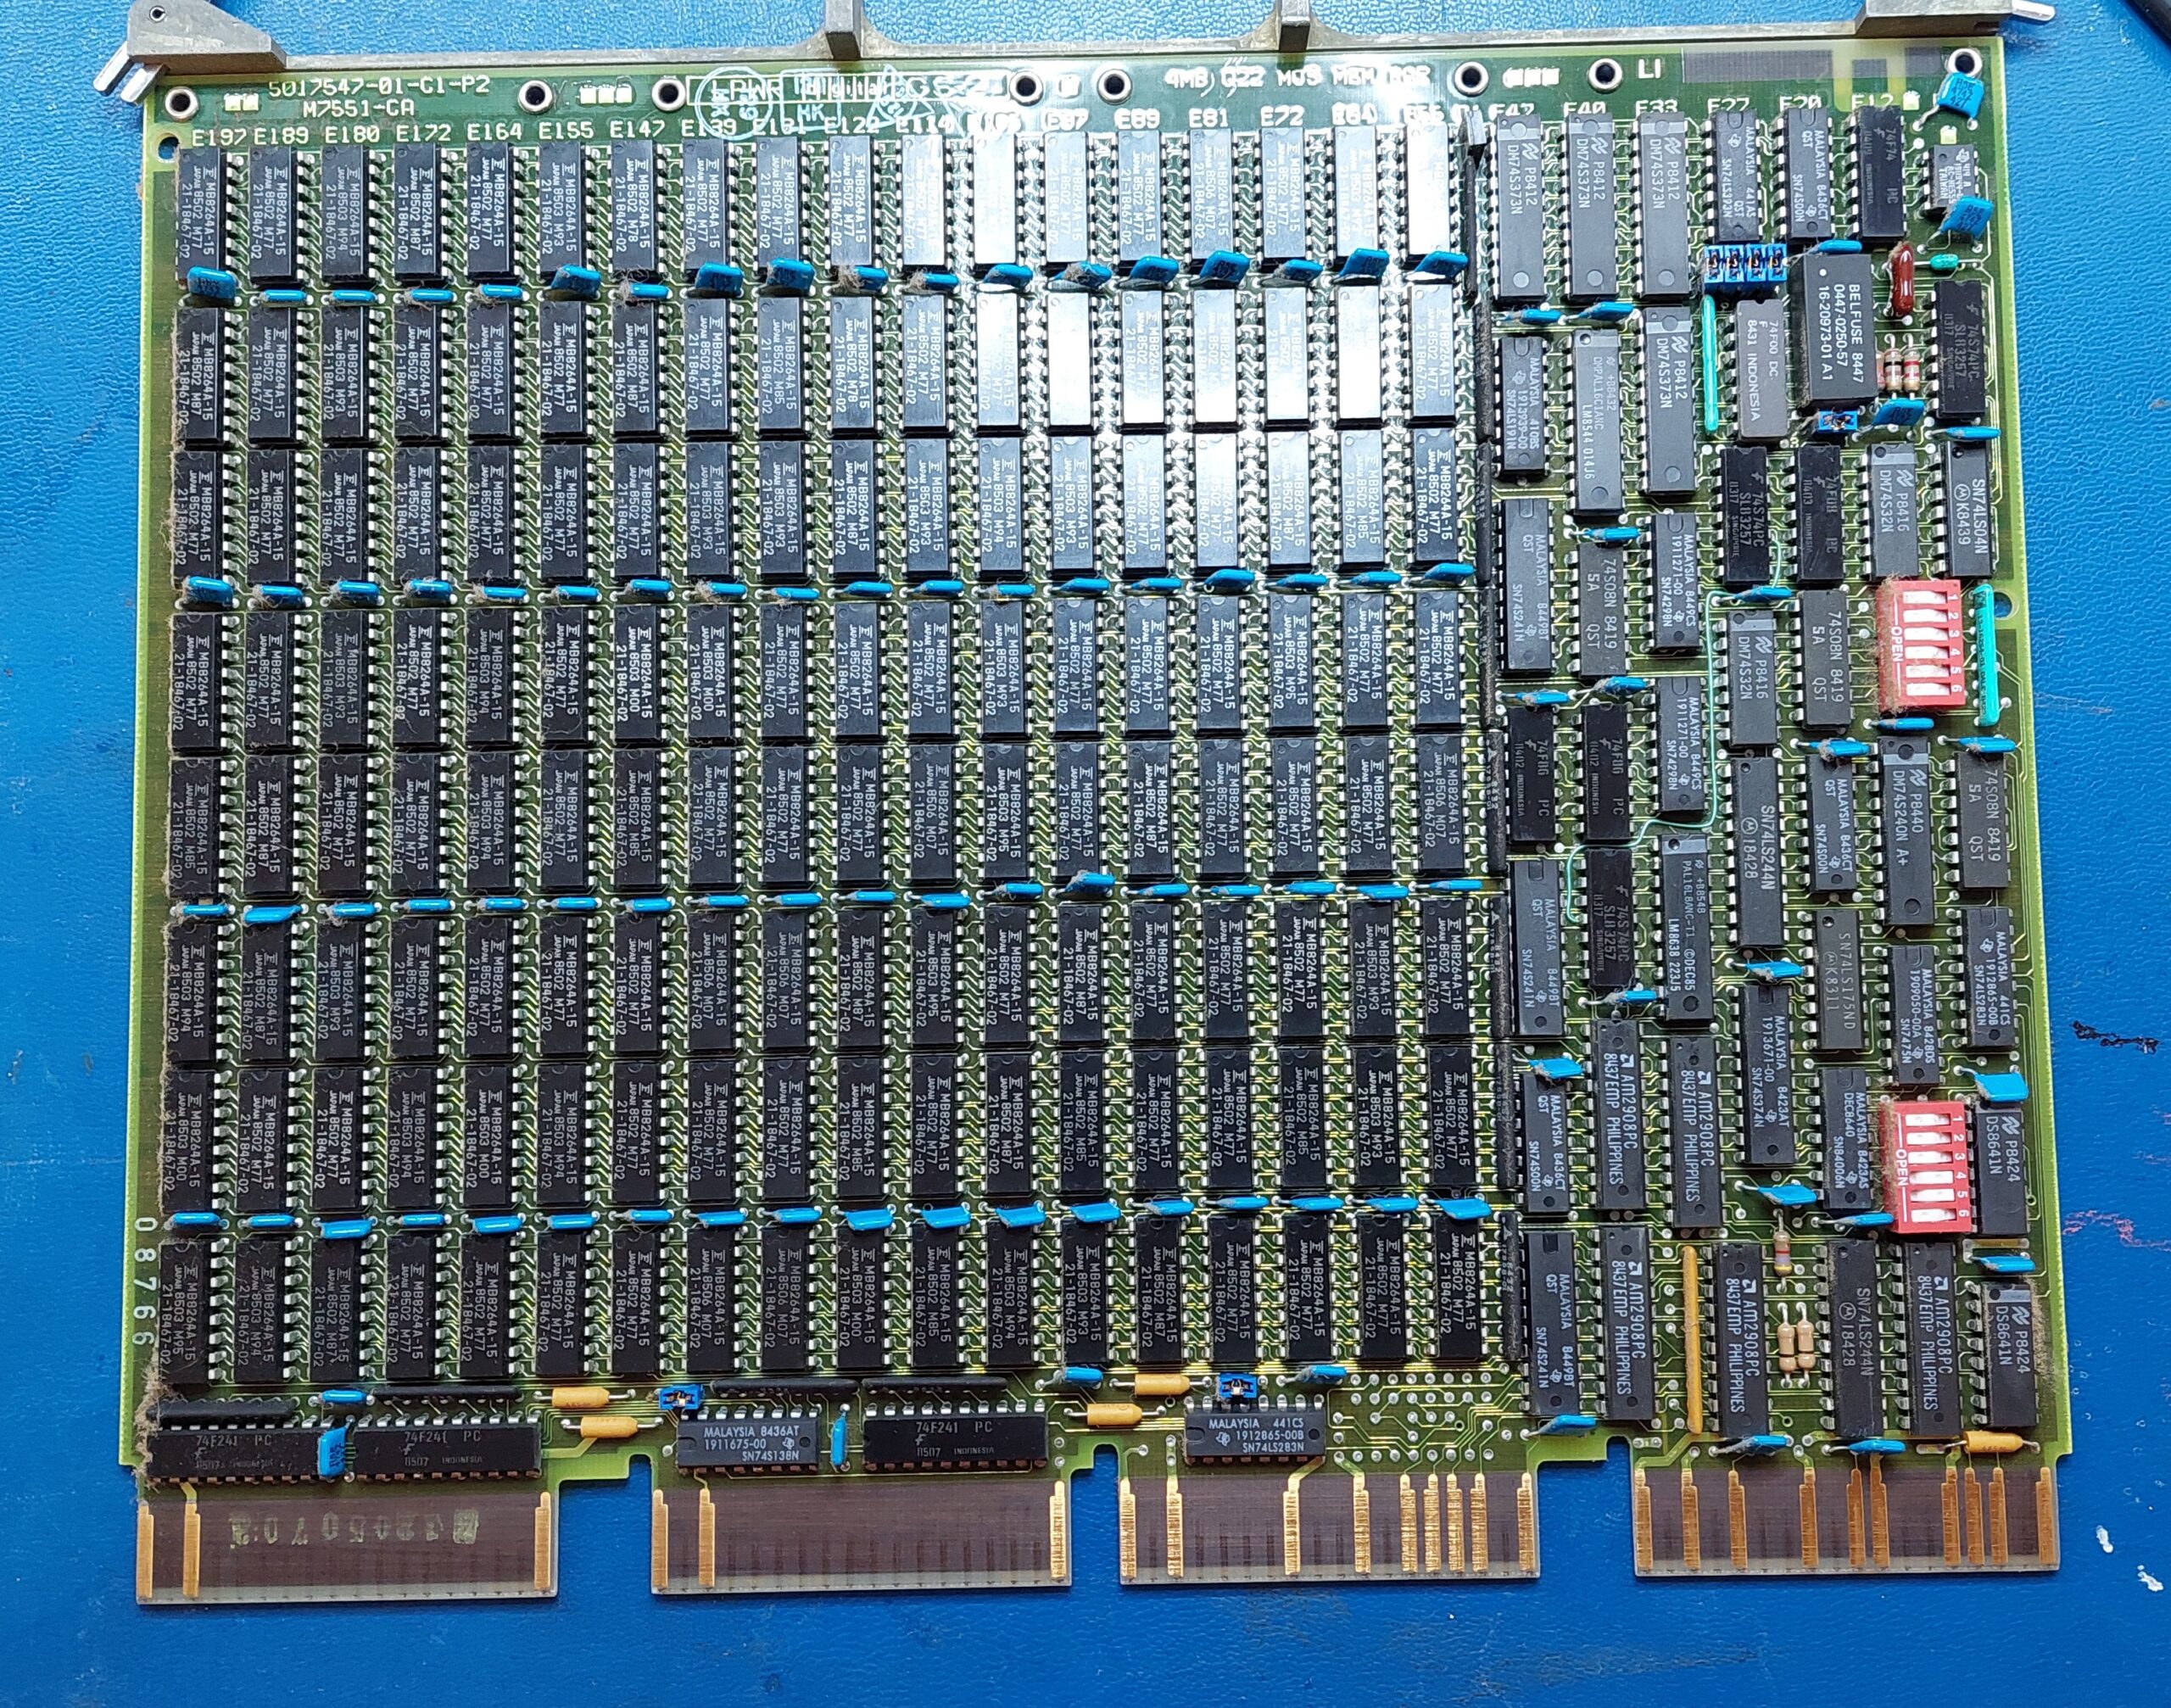
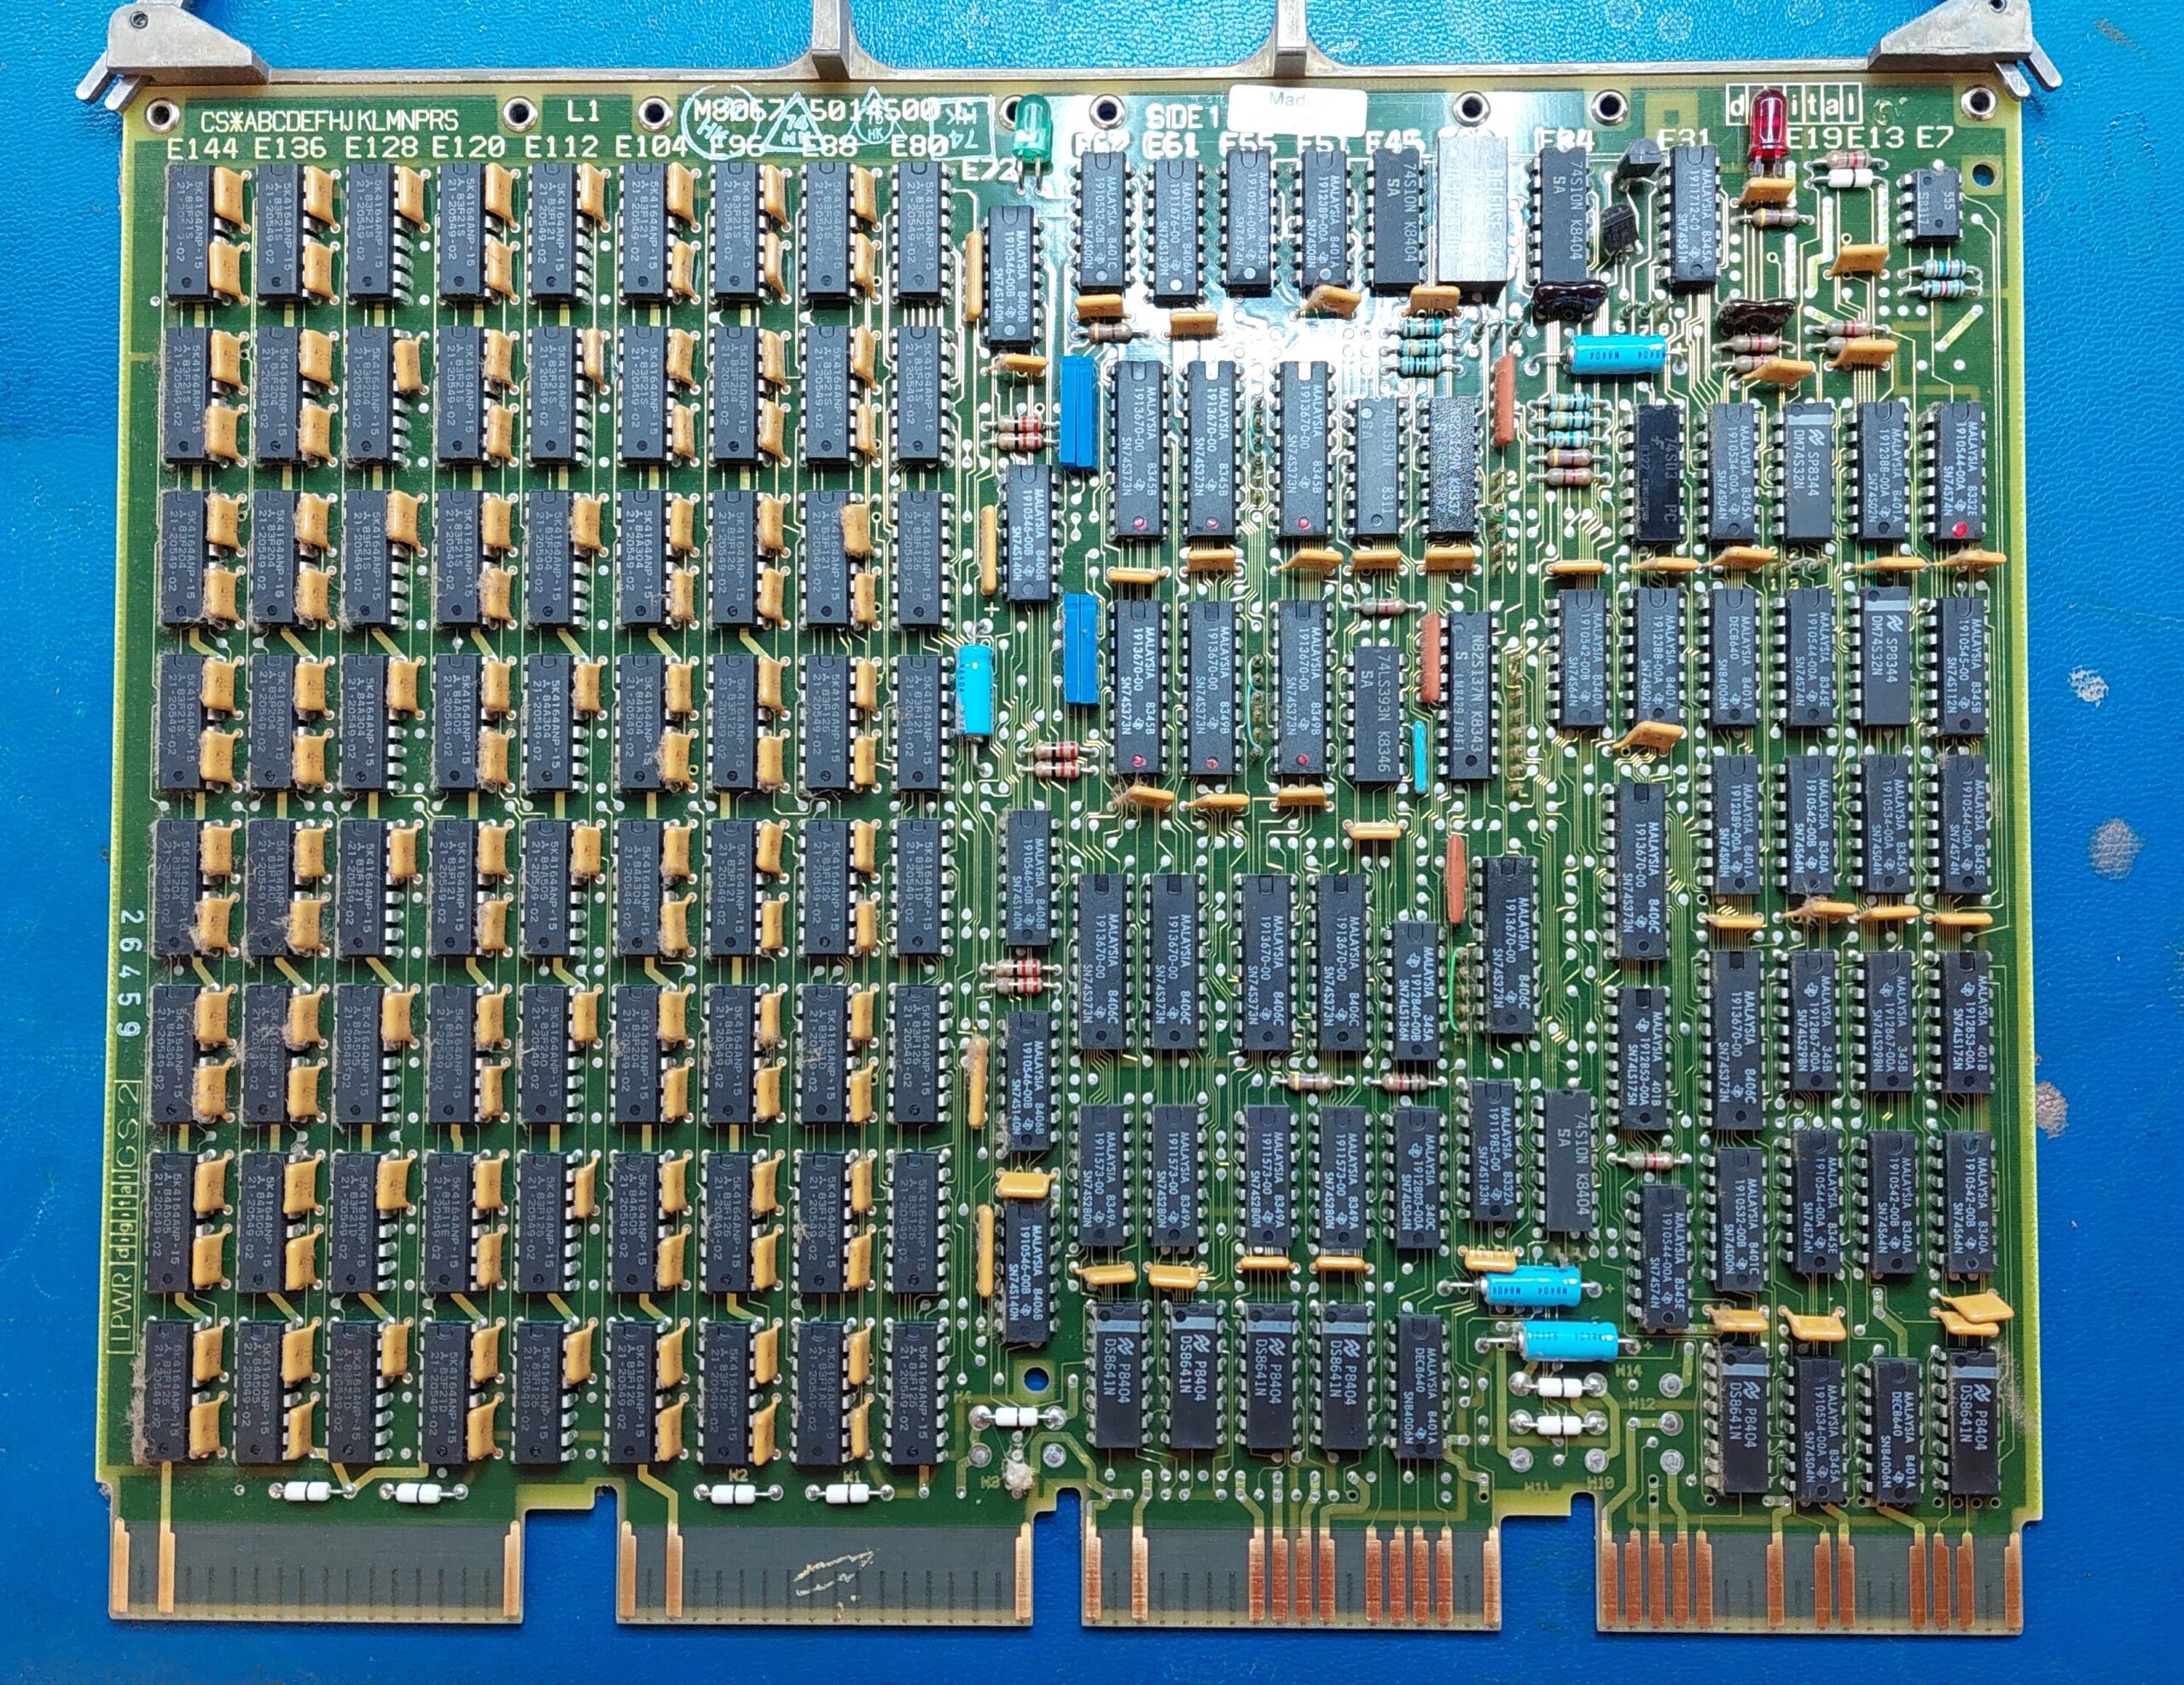
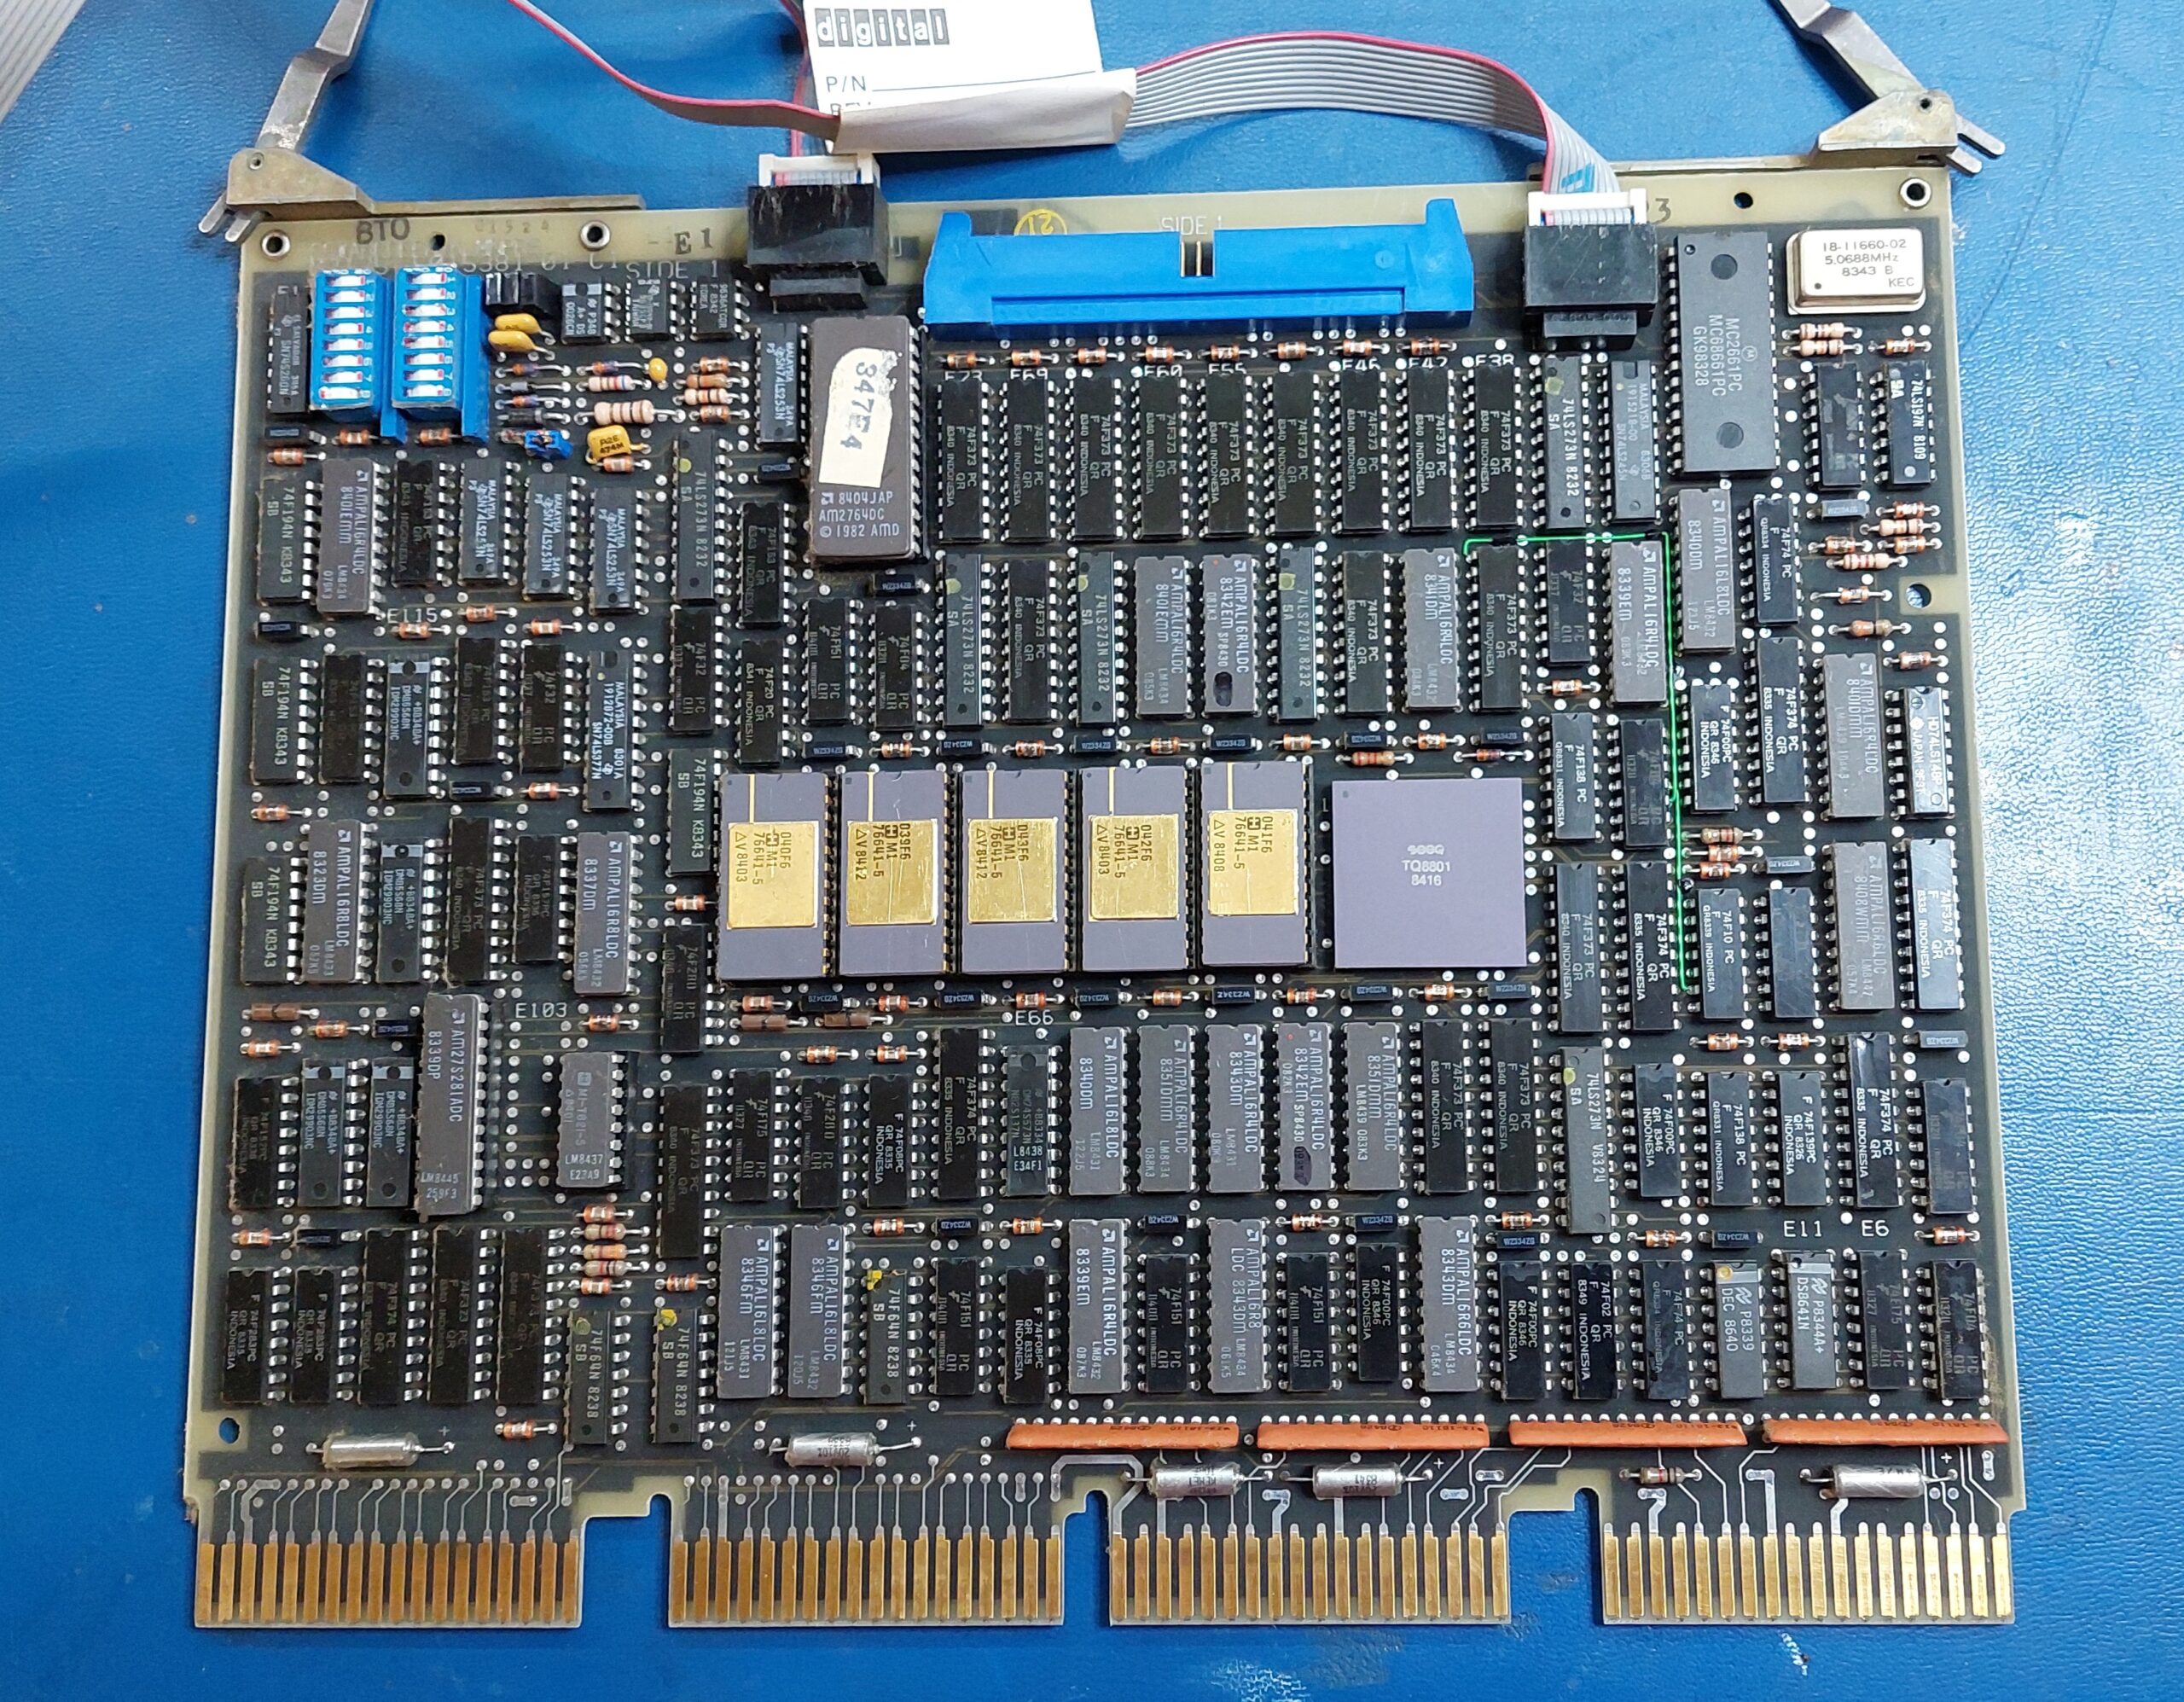
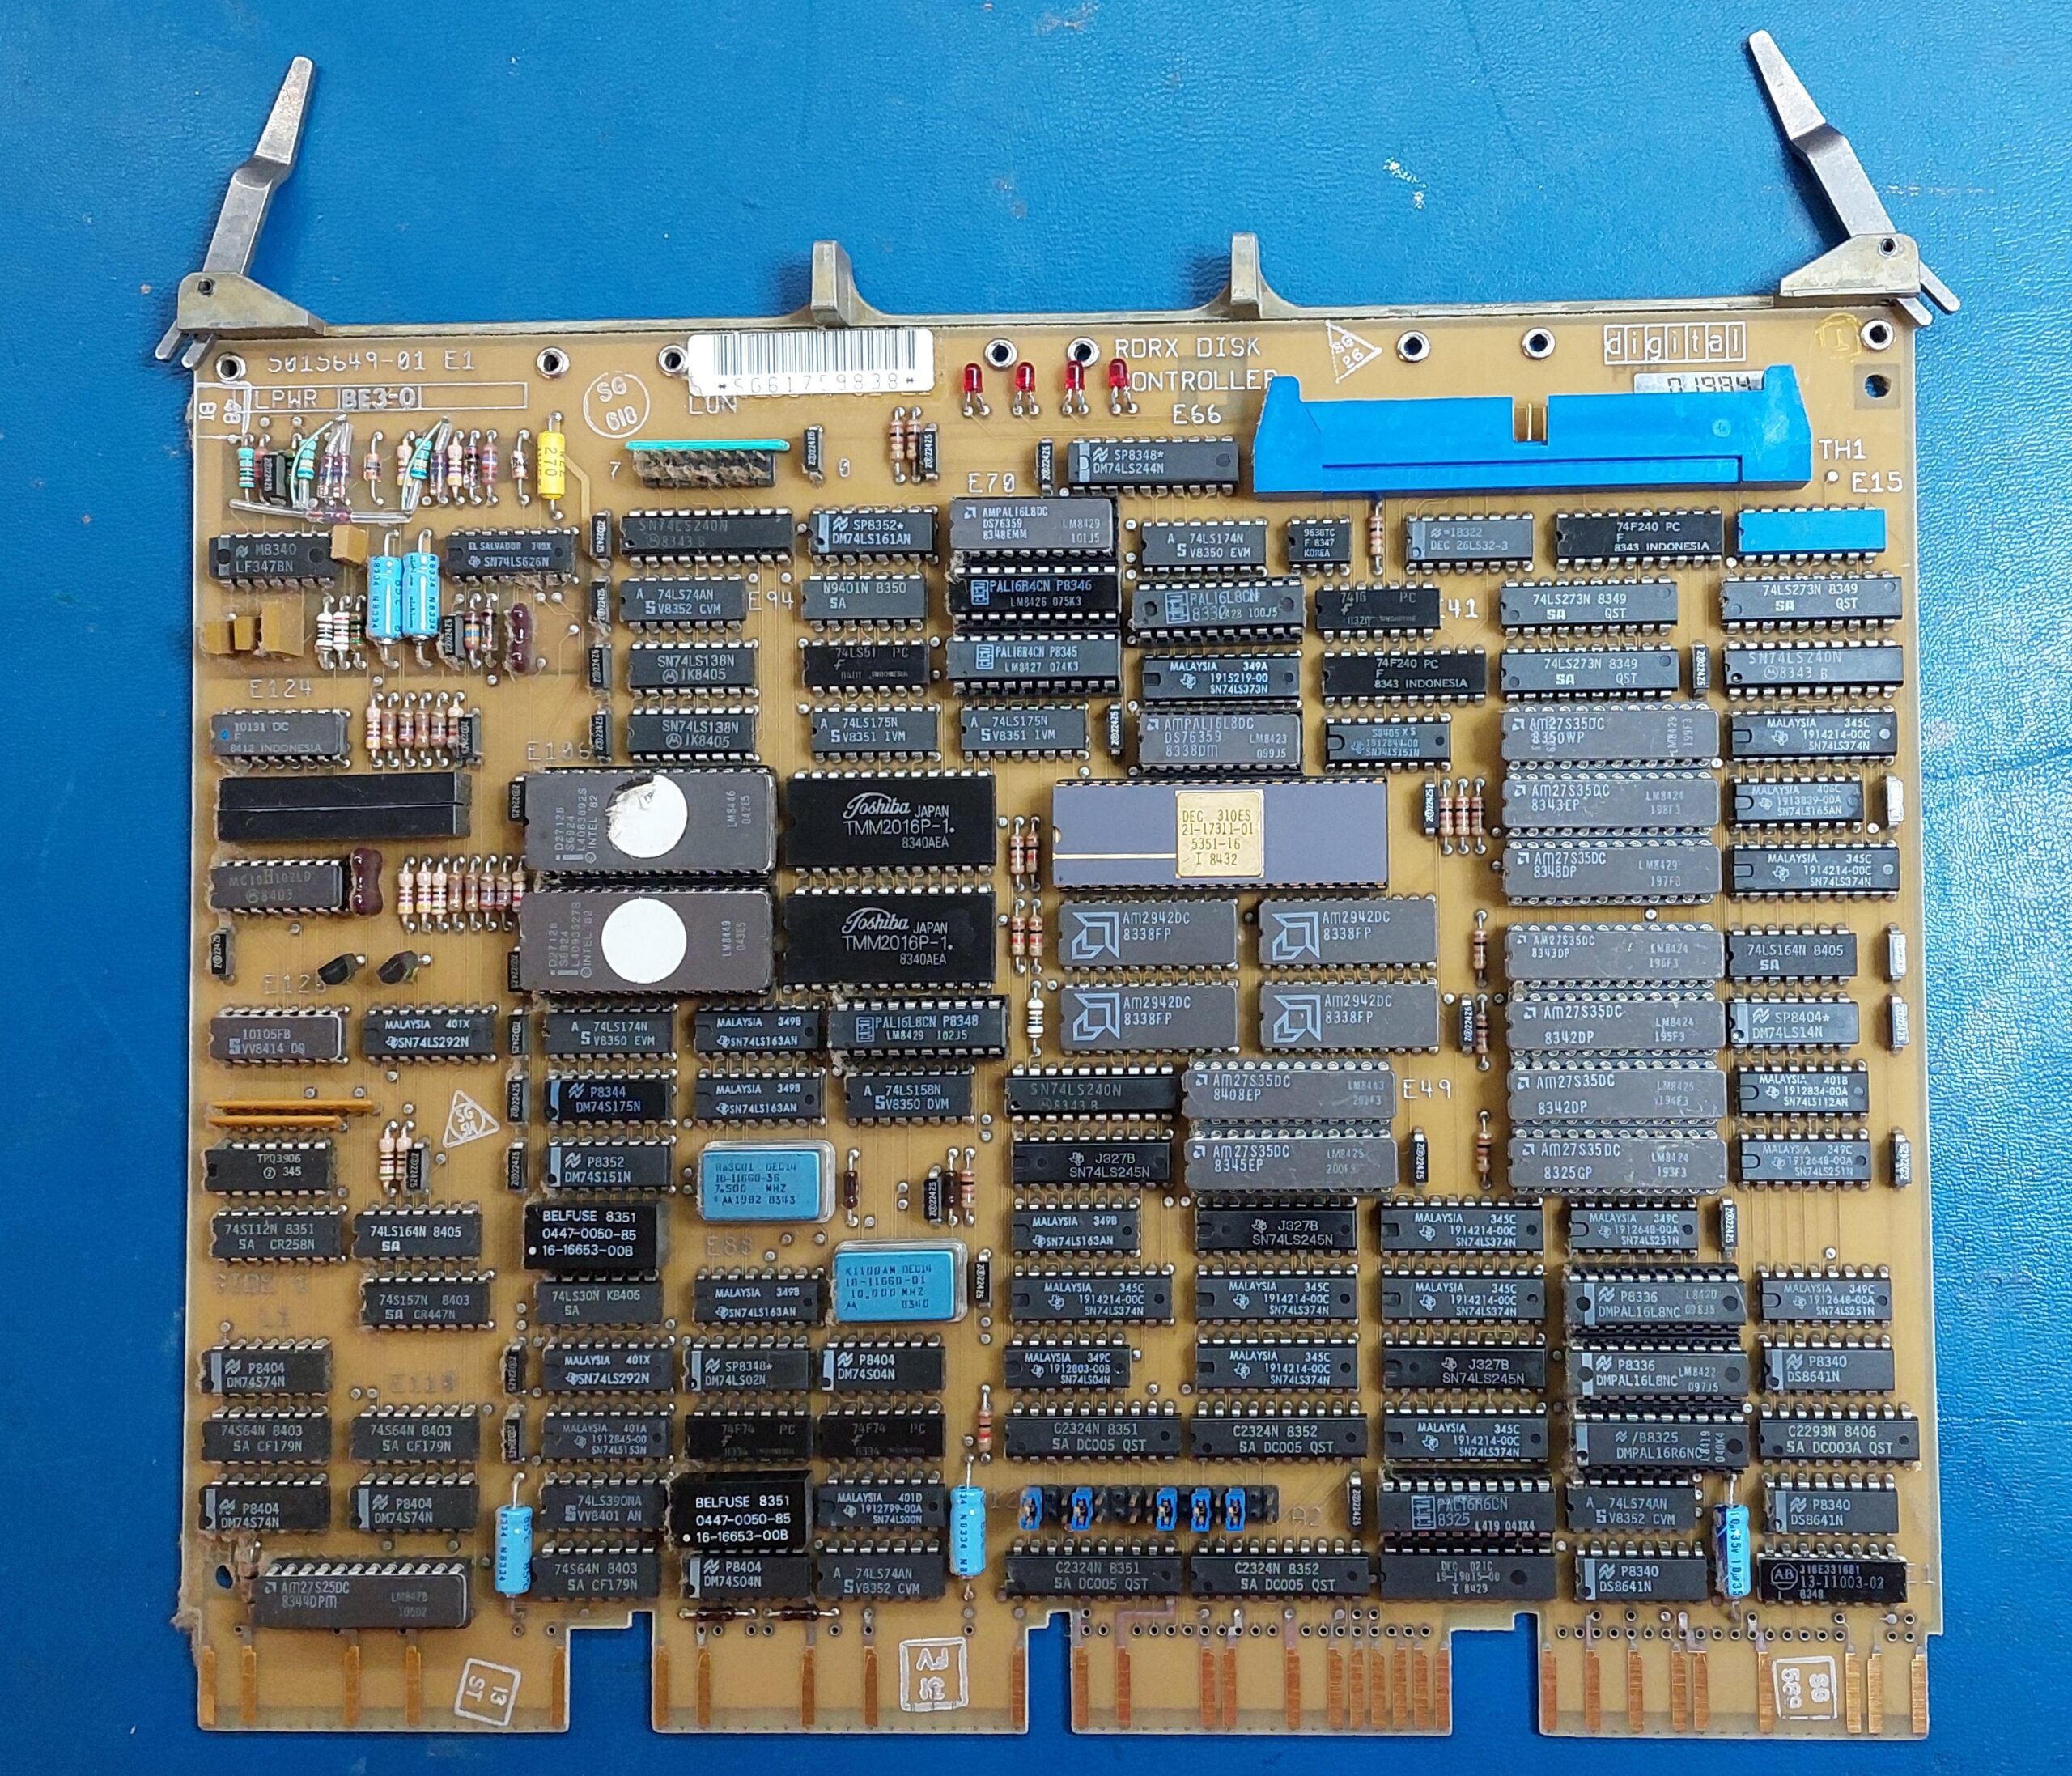
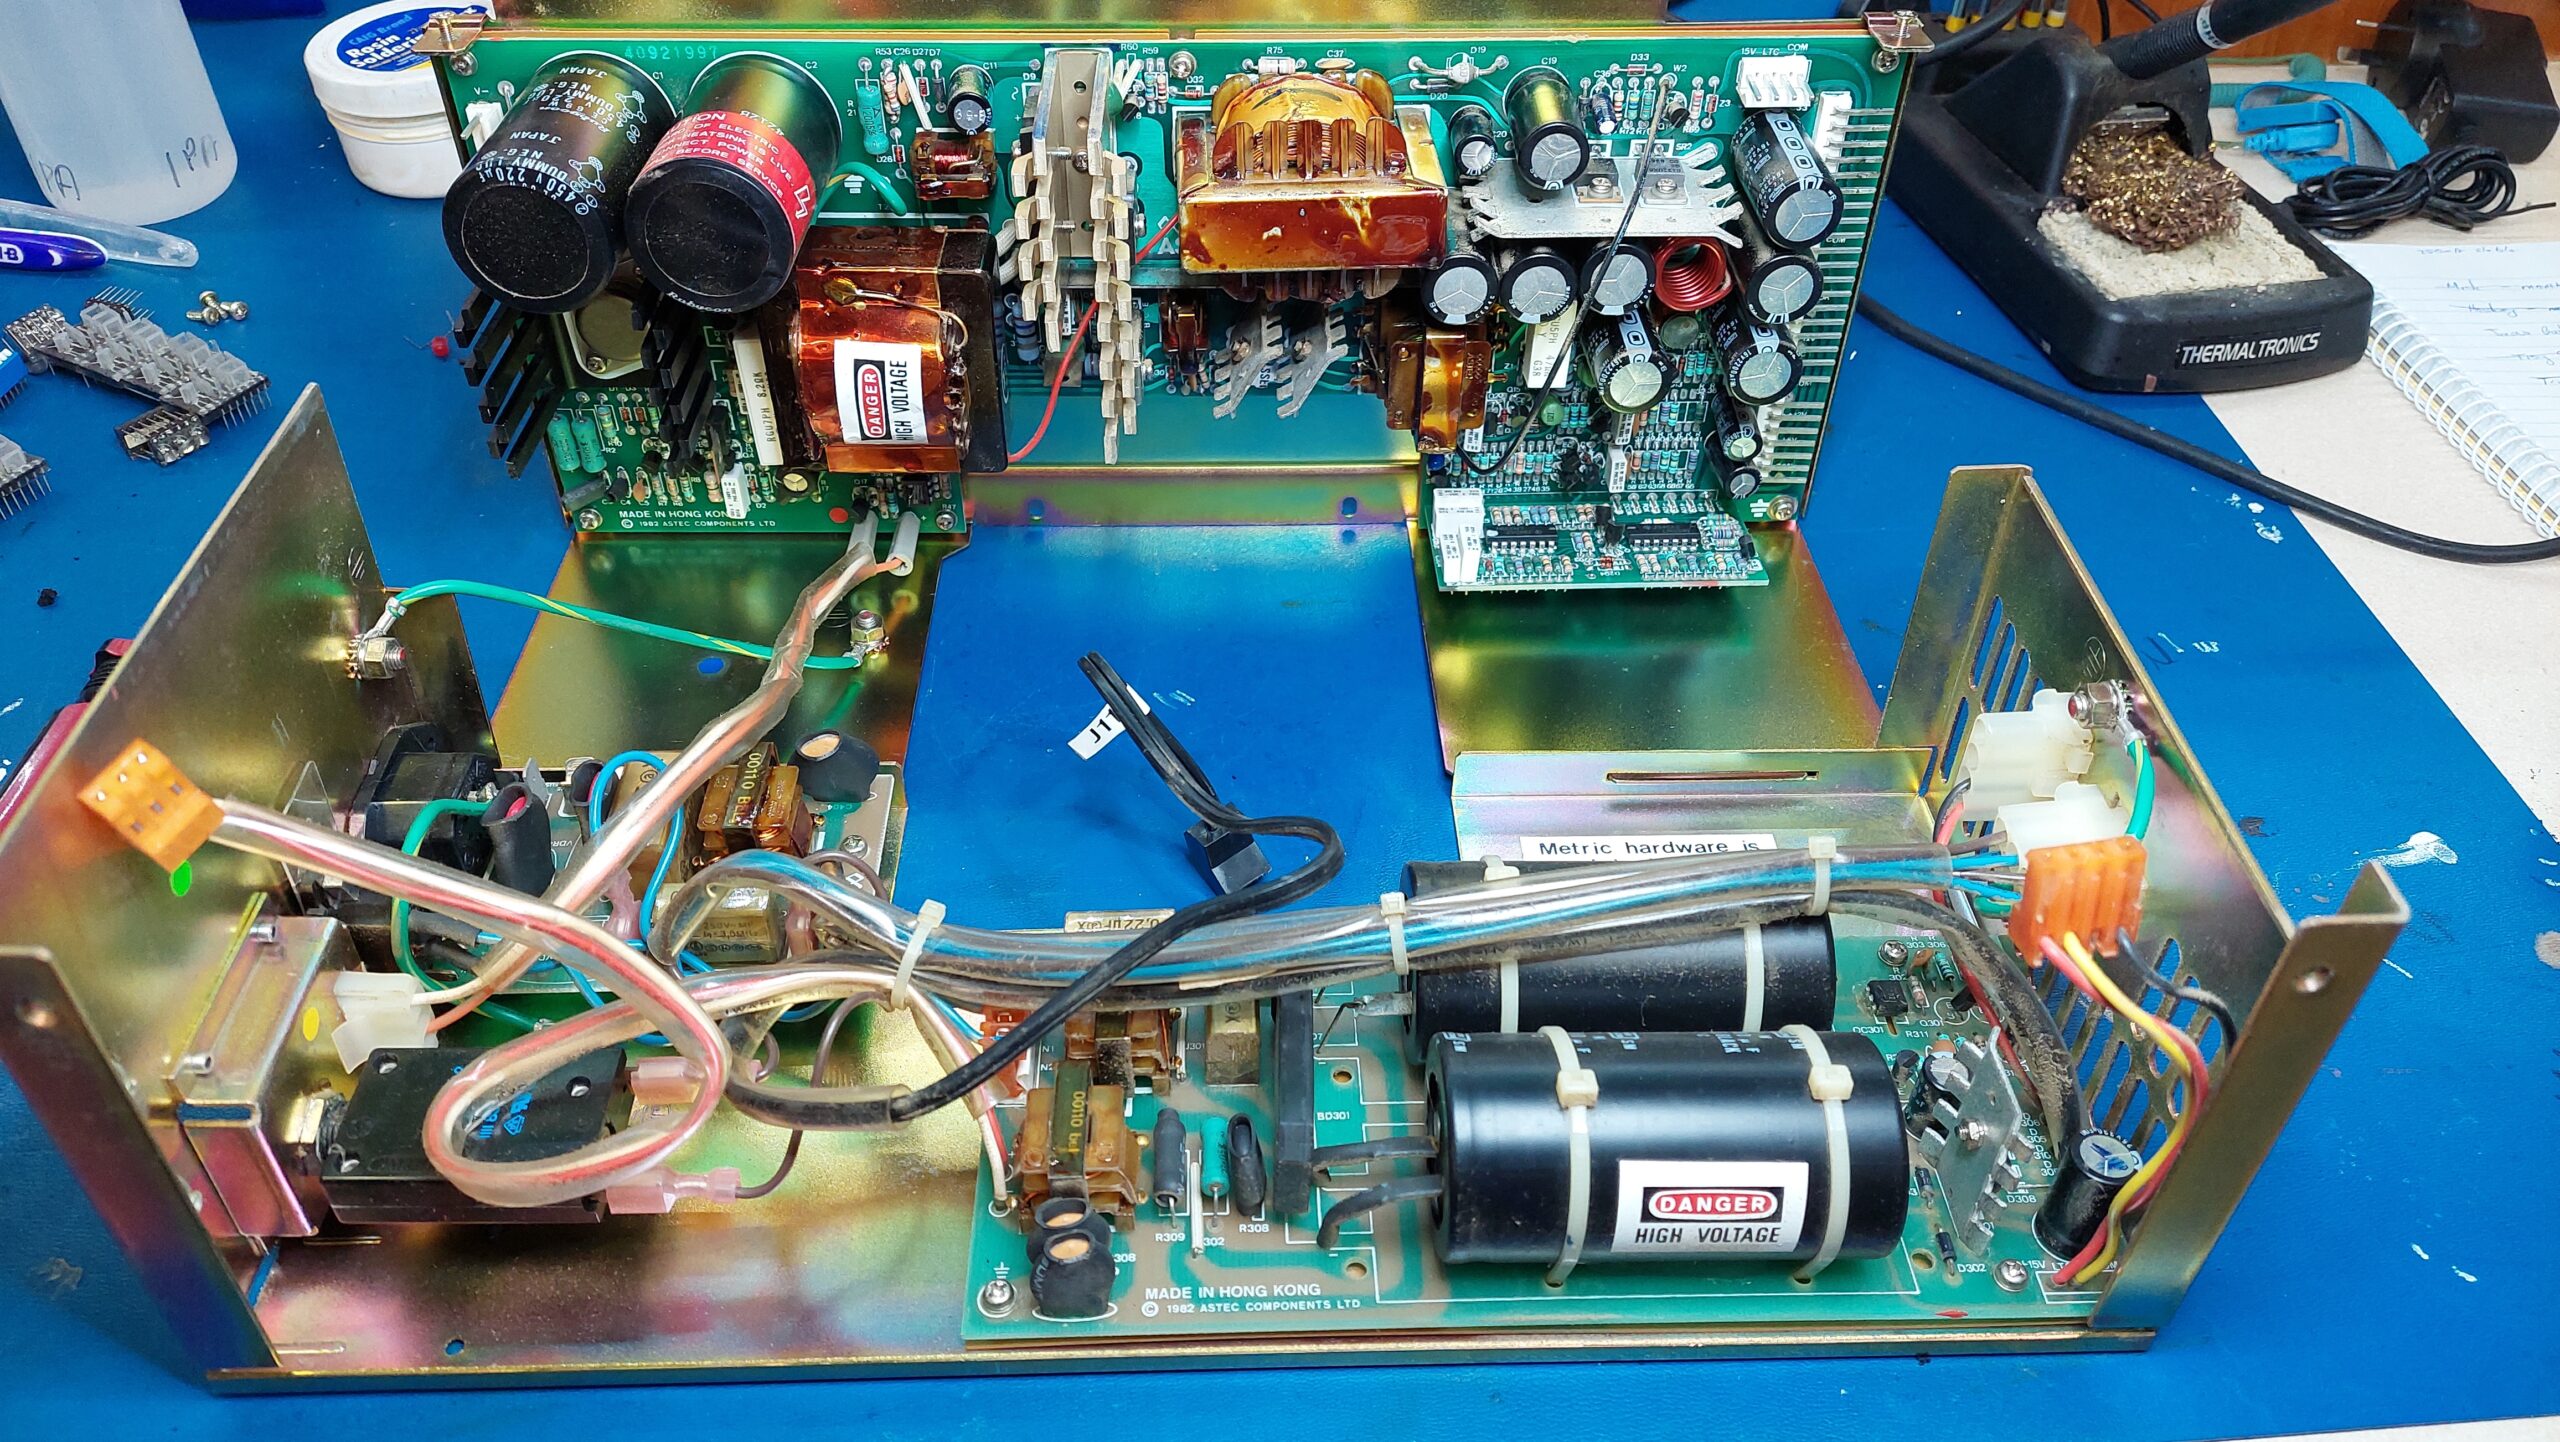
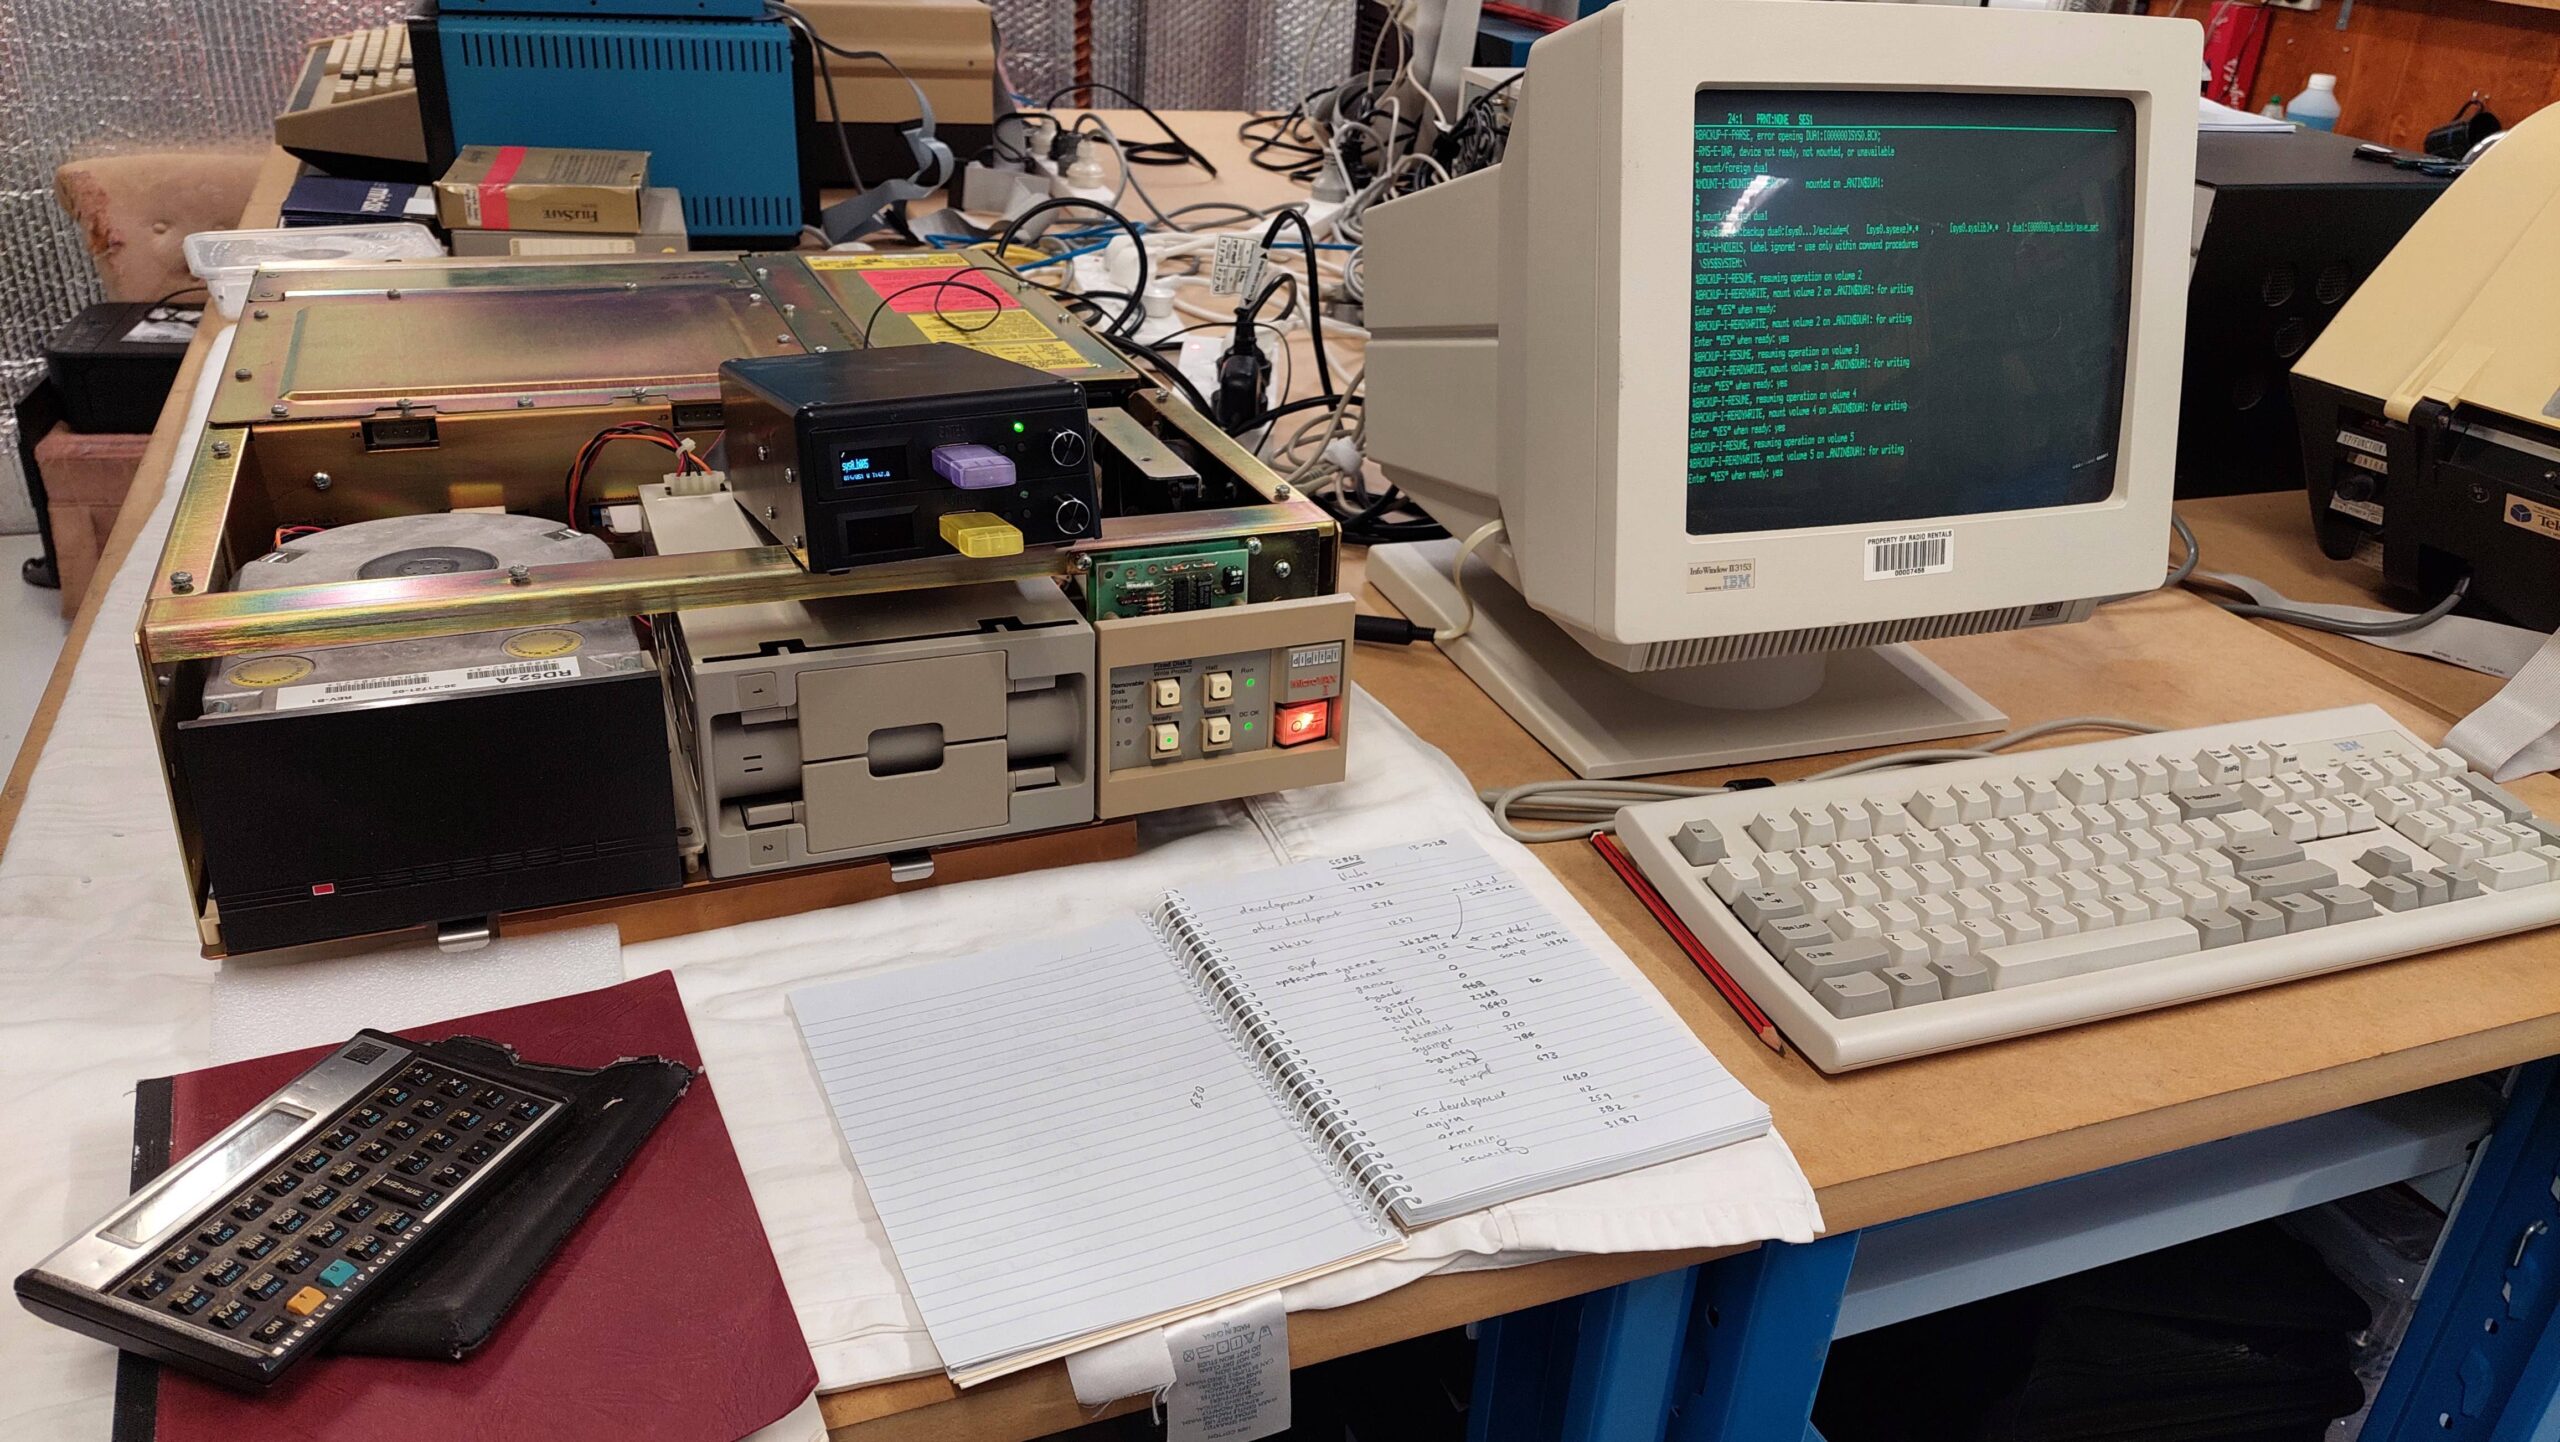
The MicroVAX I uses a Q-bus backplane which was also used in some DEC PDP computers. The CPU consists of two Q-bus cards. The MicroVAX I typically shipped with 1MB memory. This one has a dual floppy disk drive and a 30MB hard disk and would therefore have a floppy/hard disk controller.
With the only wired I/O being a serial line for a console terminal this unit is truly standalone. Additional Q-bus cards can be added for many other functions but i imagine they won’t be easy to find.
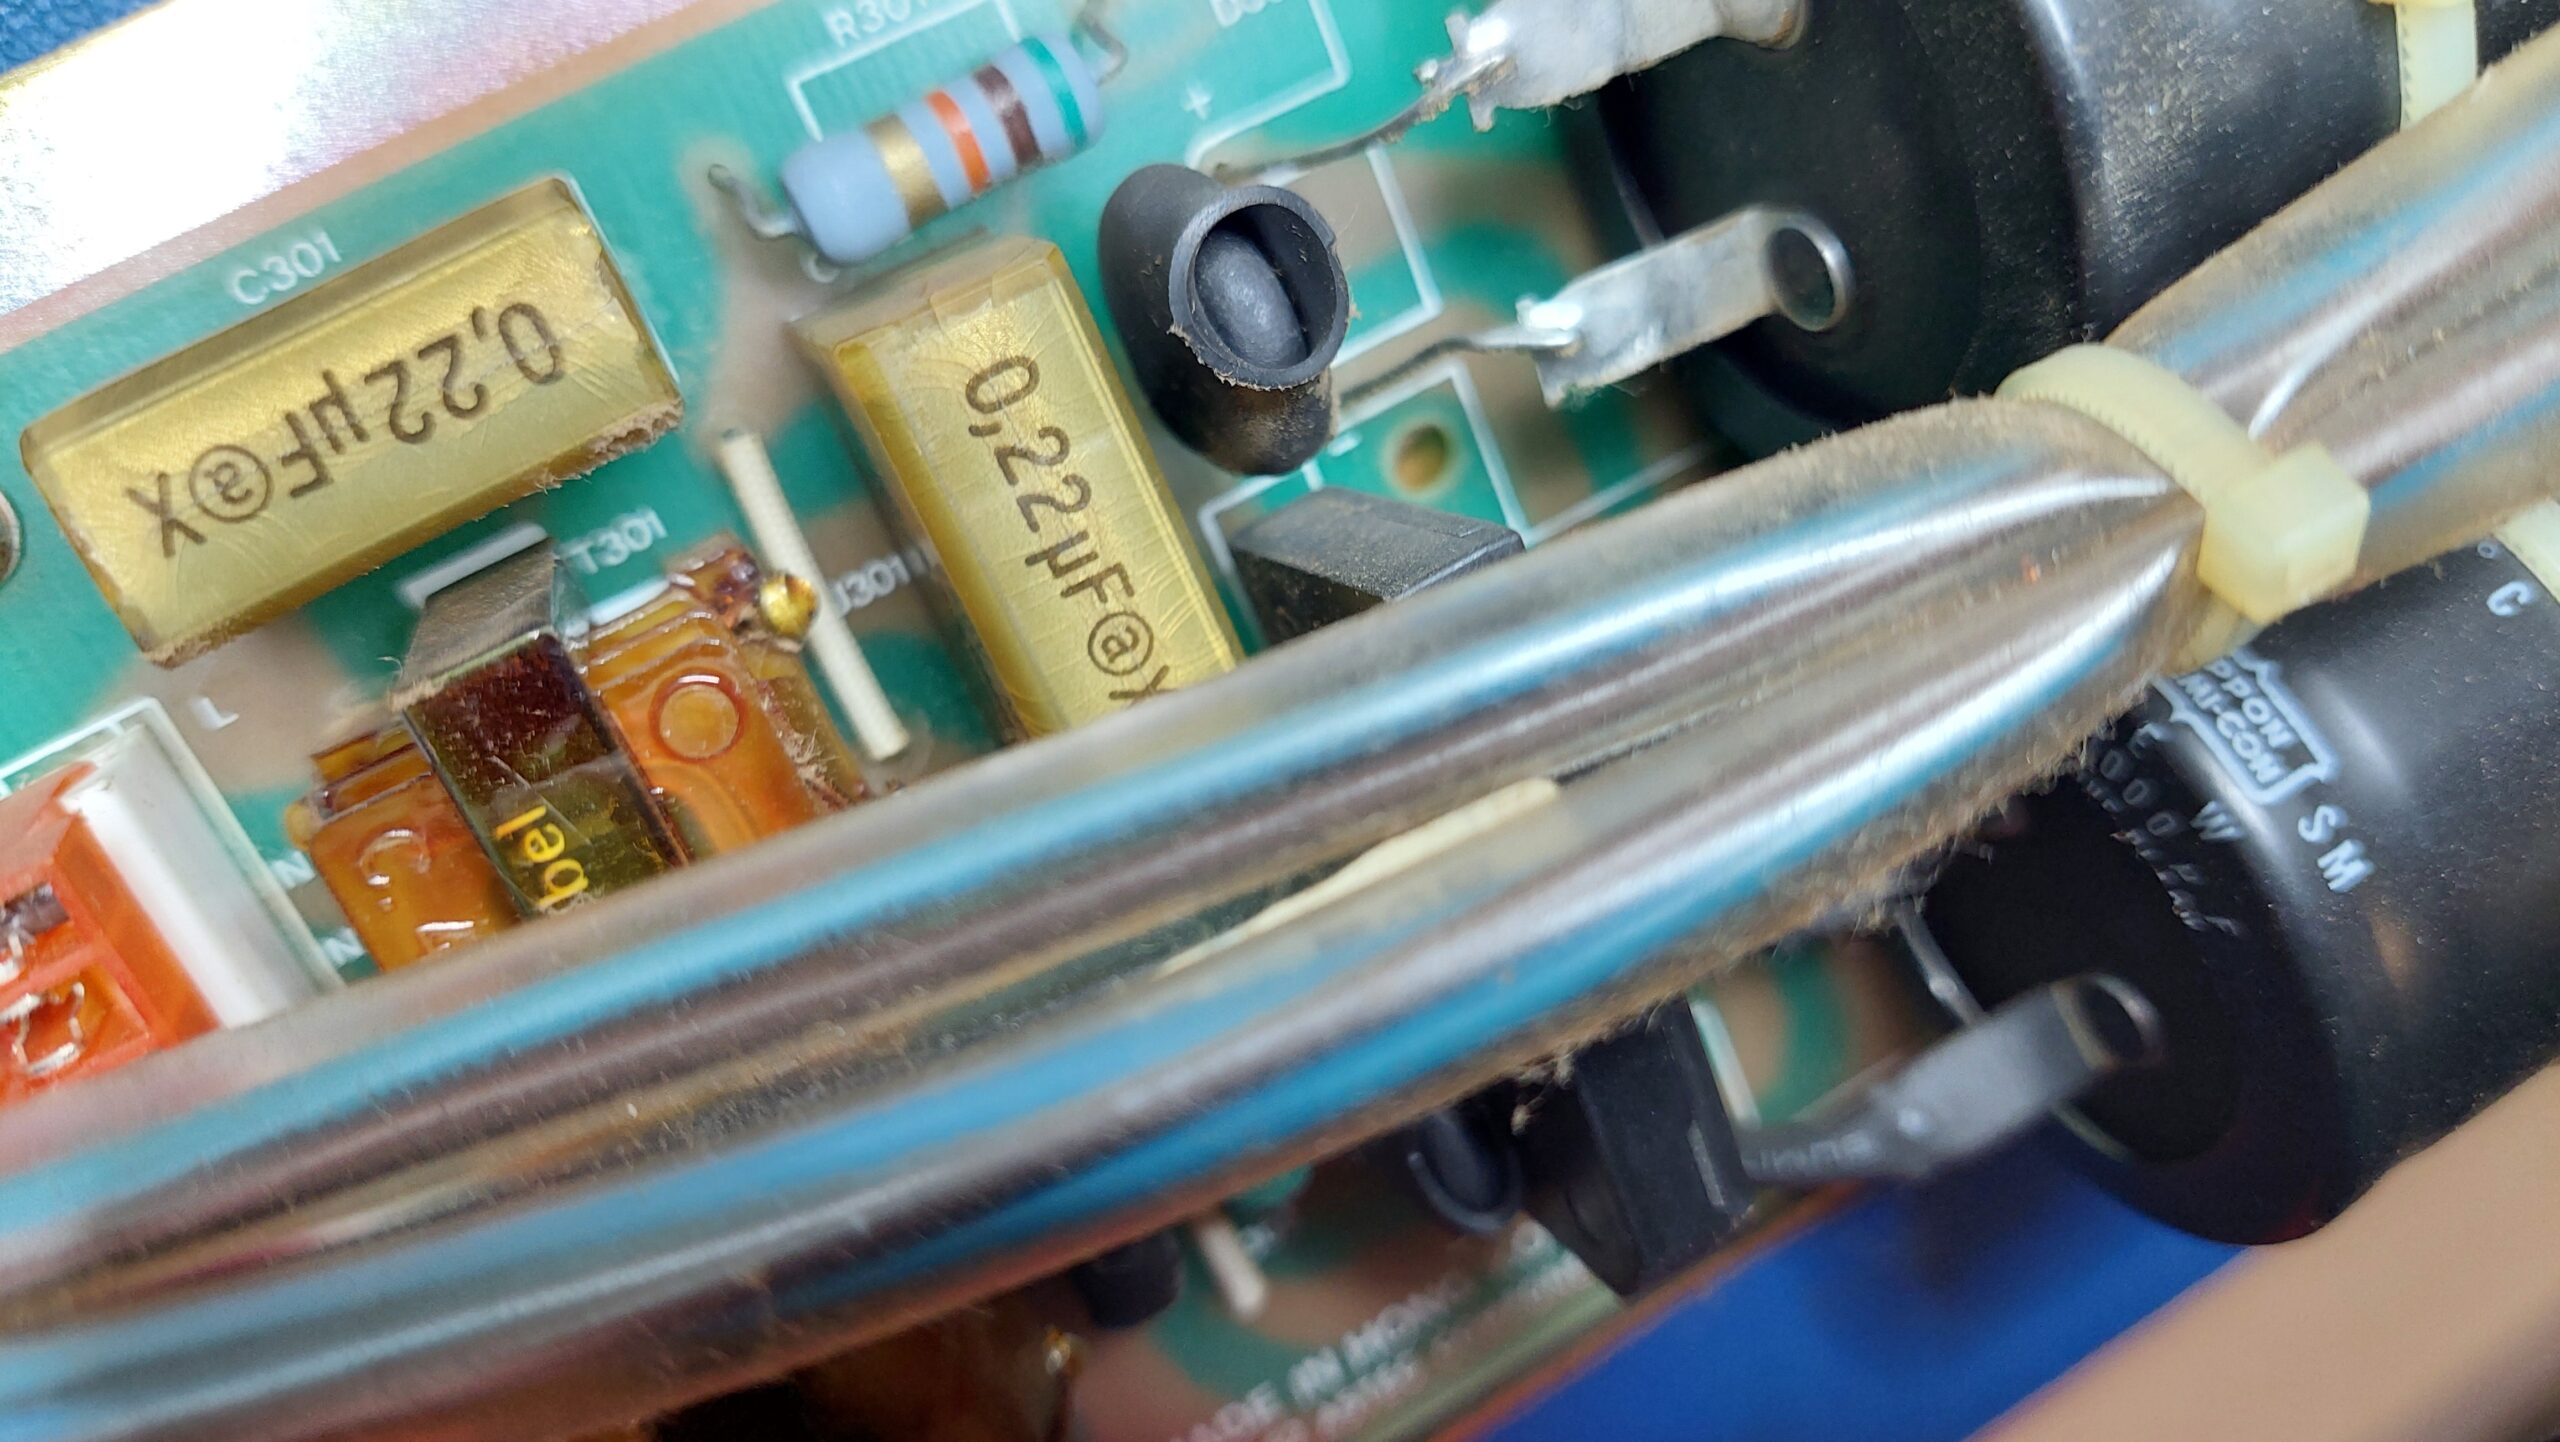
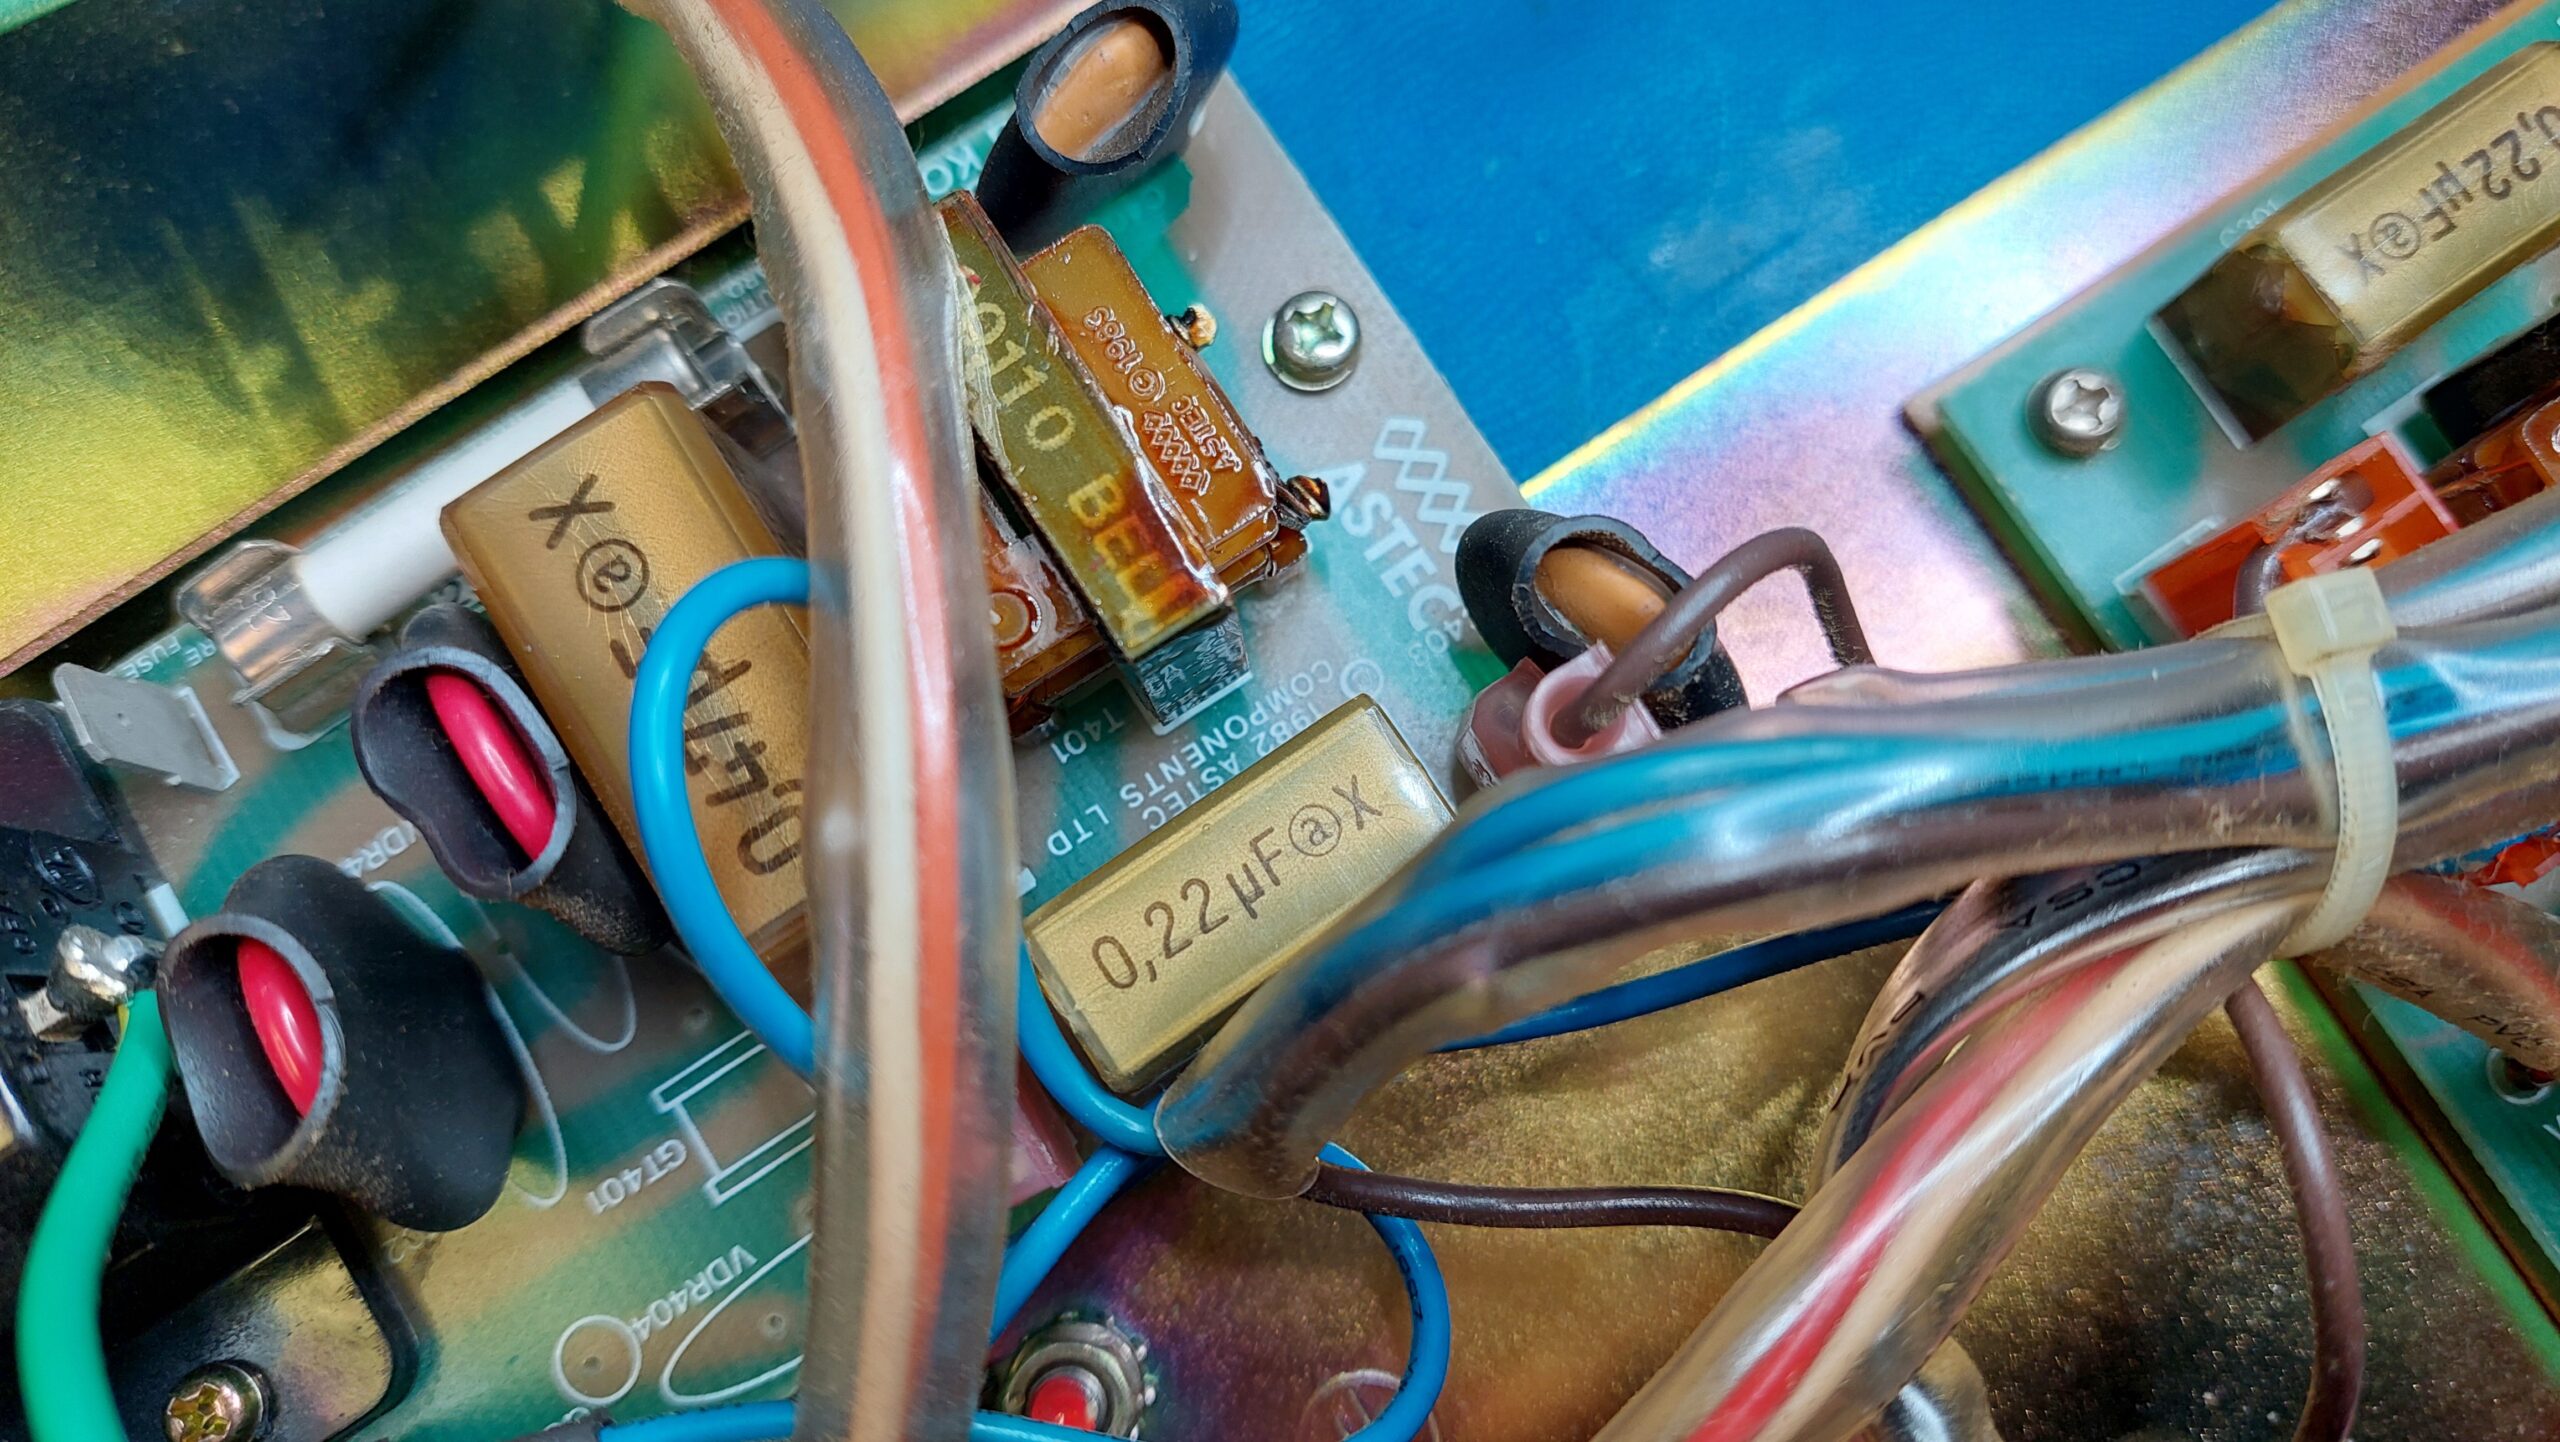
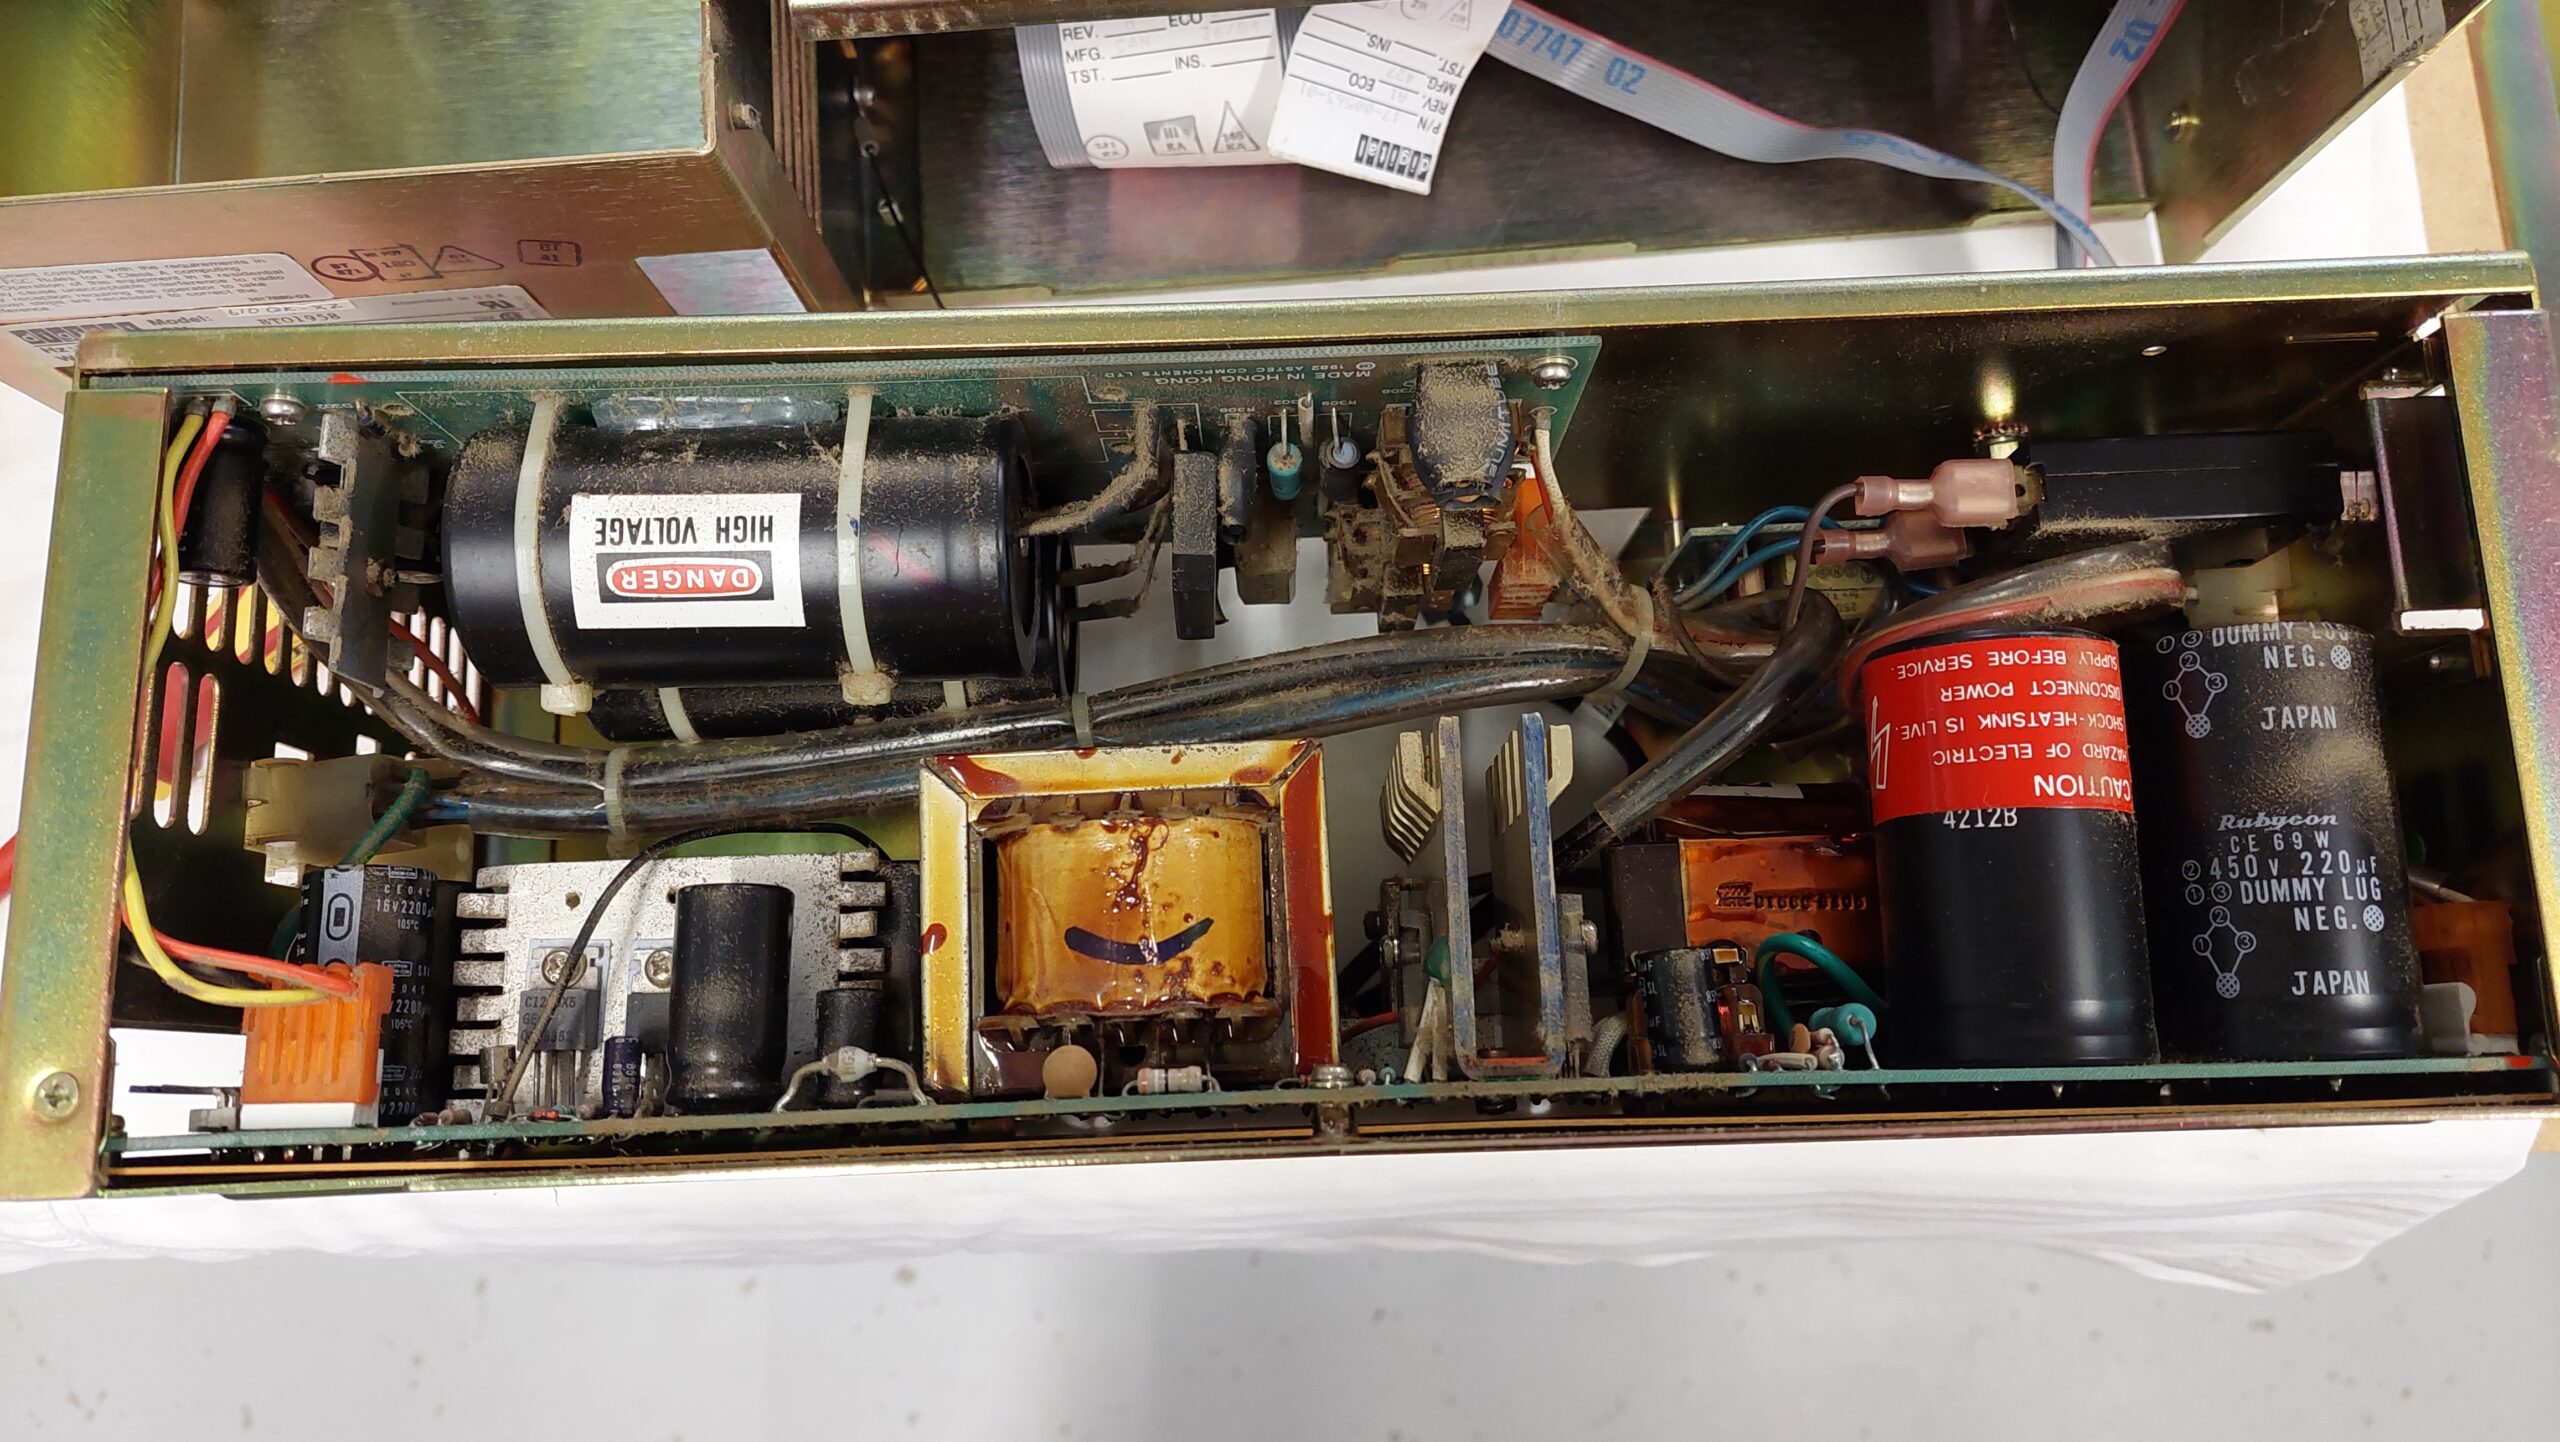
There are RIFA line filter capacitors inside, so there was work to be done before power could be applied.
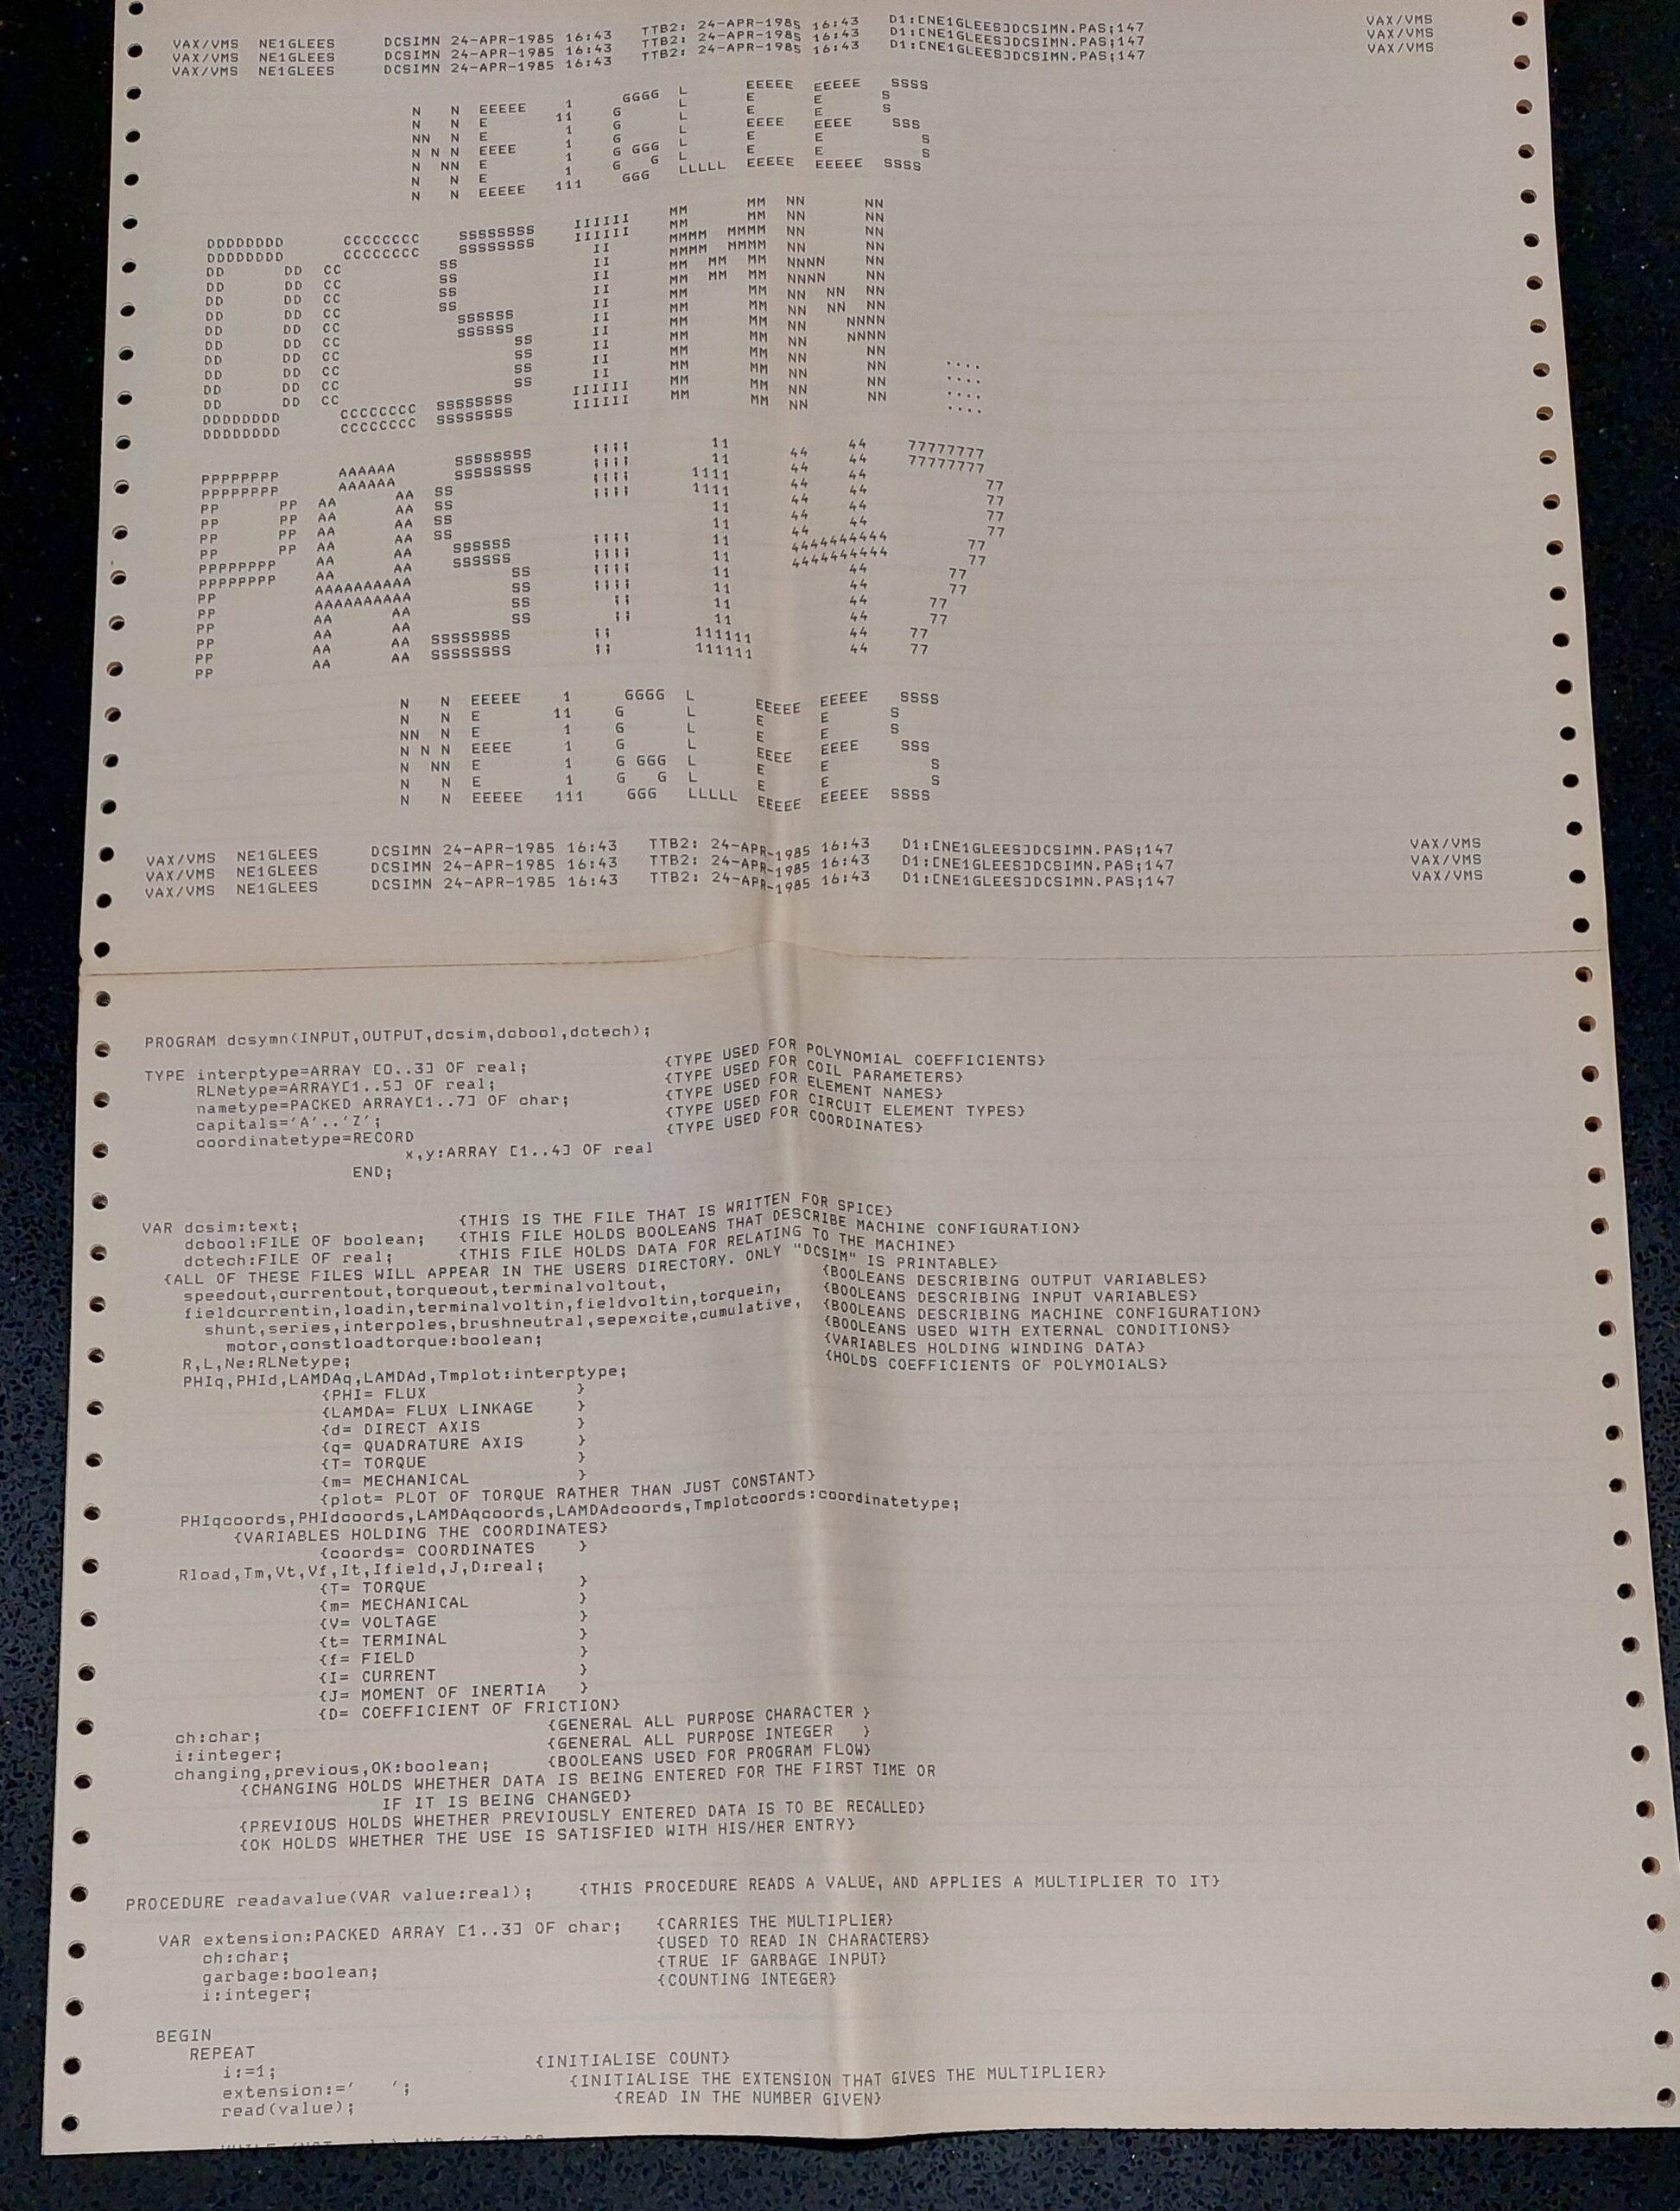
I last used a VAX when i was a uni student in the early eighties. We used the vax to learn a little Fortran and a lot of Pascal. We also used it to run spice and graphical silicon design tools.
I kept a few souvenirs. This is a printout of a pascal program i wrote on a VAX in 1985.
My hope for this machine was that i might be able to get it to run a couple of compilers as a demonstration of what it could do.
This machine relies on a whole bunch of parts that i would struggle to repair or replace, so a huge investment in upgrades would be a significant risk.
The VAX/VMS ecosystem is not for the feint-hearted. VMS is both complicated and unlike more common system, the systems are often customised, the available documentation is incomplete, and the binary you want is never on the media that your machine can read. It turned out to be quite an adventure.
As usual, i have relied upon the good work of many other people who have taken the time to scan manuals, archive media, create emulators and other tools, and to post their experiences. I’ve tried to capture all those items in my posts although often the often anonymous individuals involved do not get the credit they deserve.