SE/30 1 Intro & Power Up

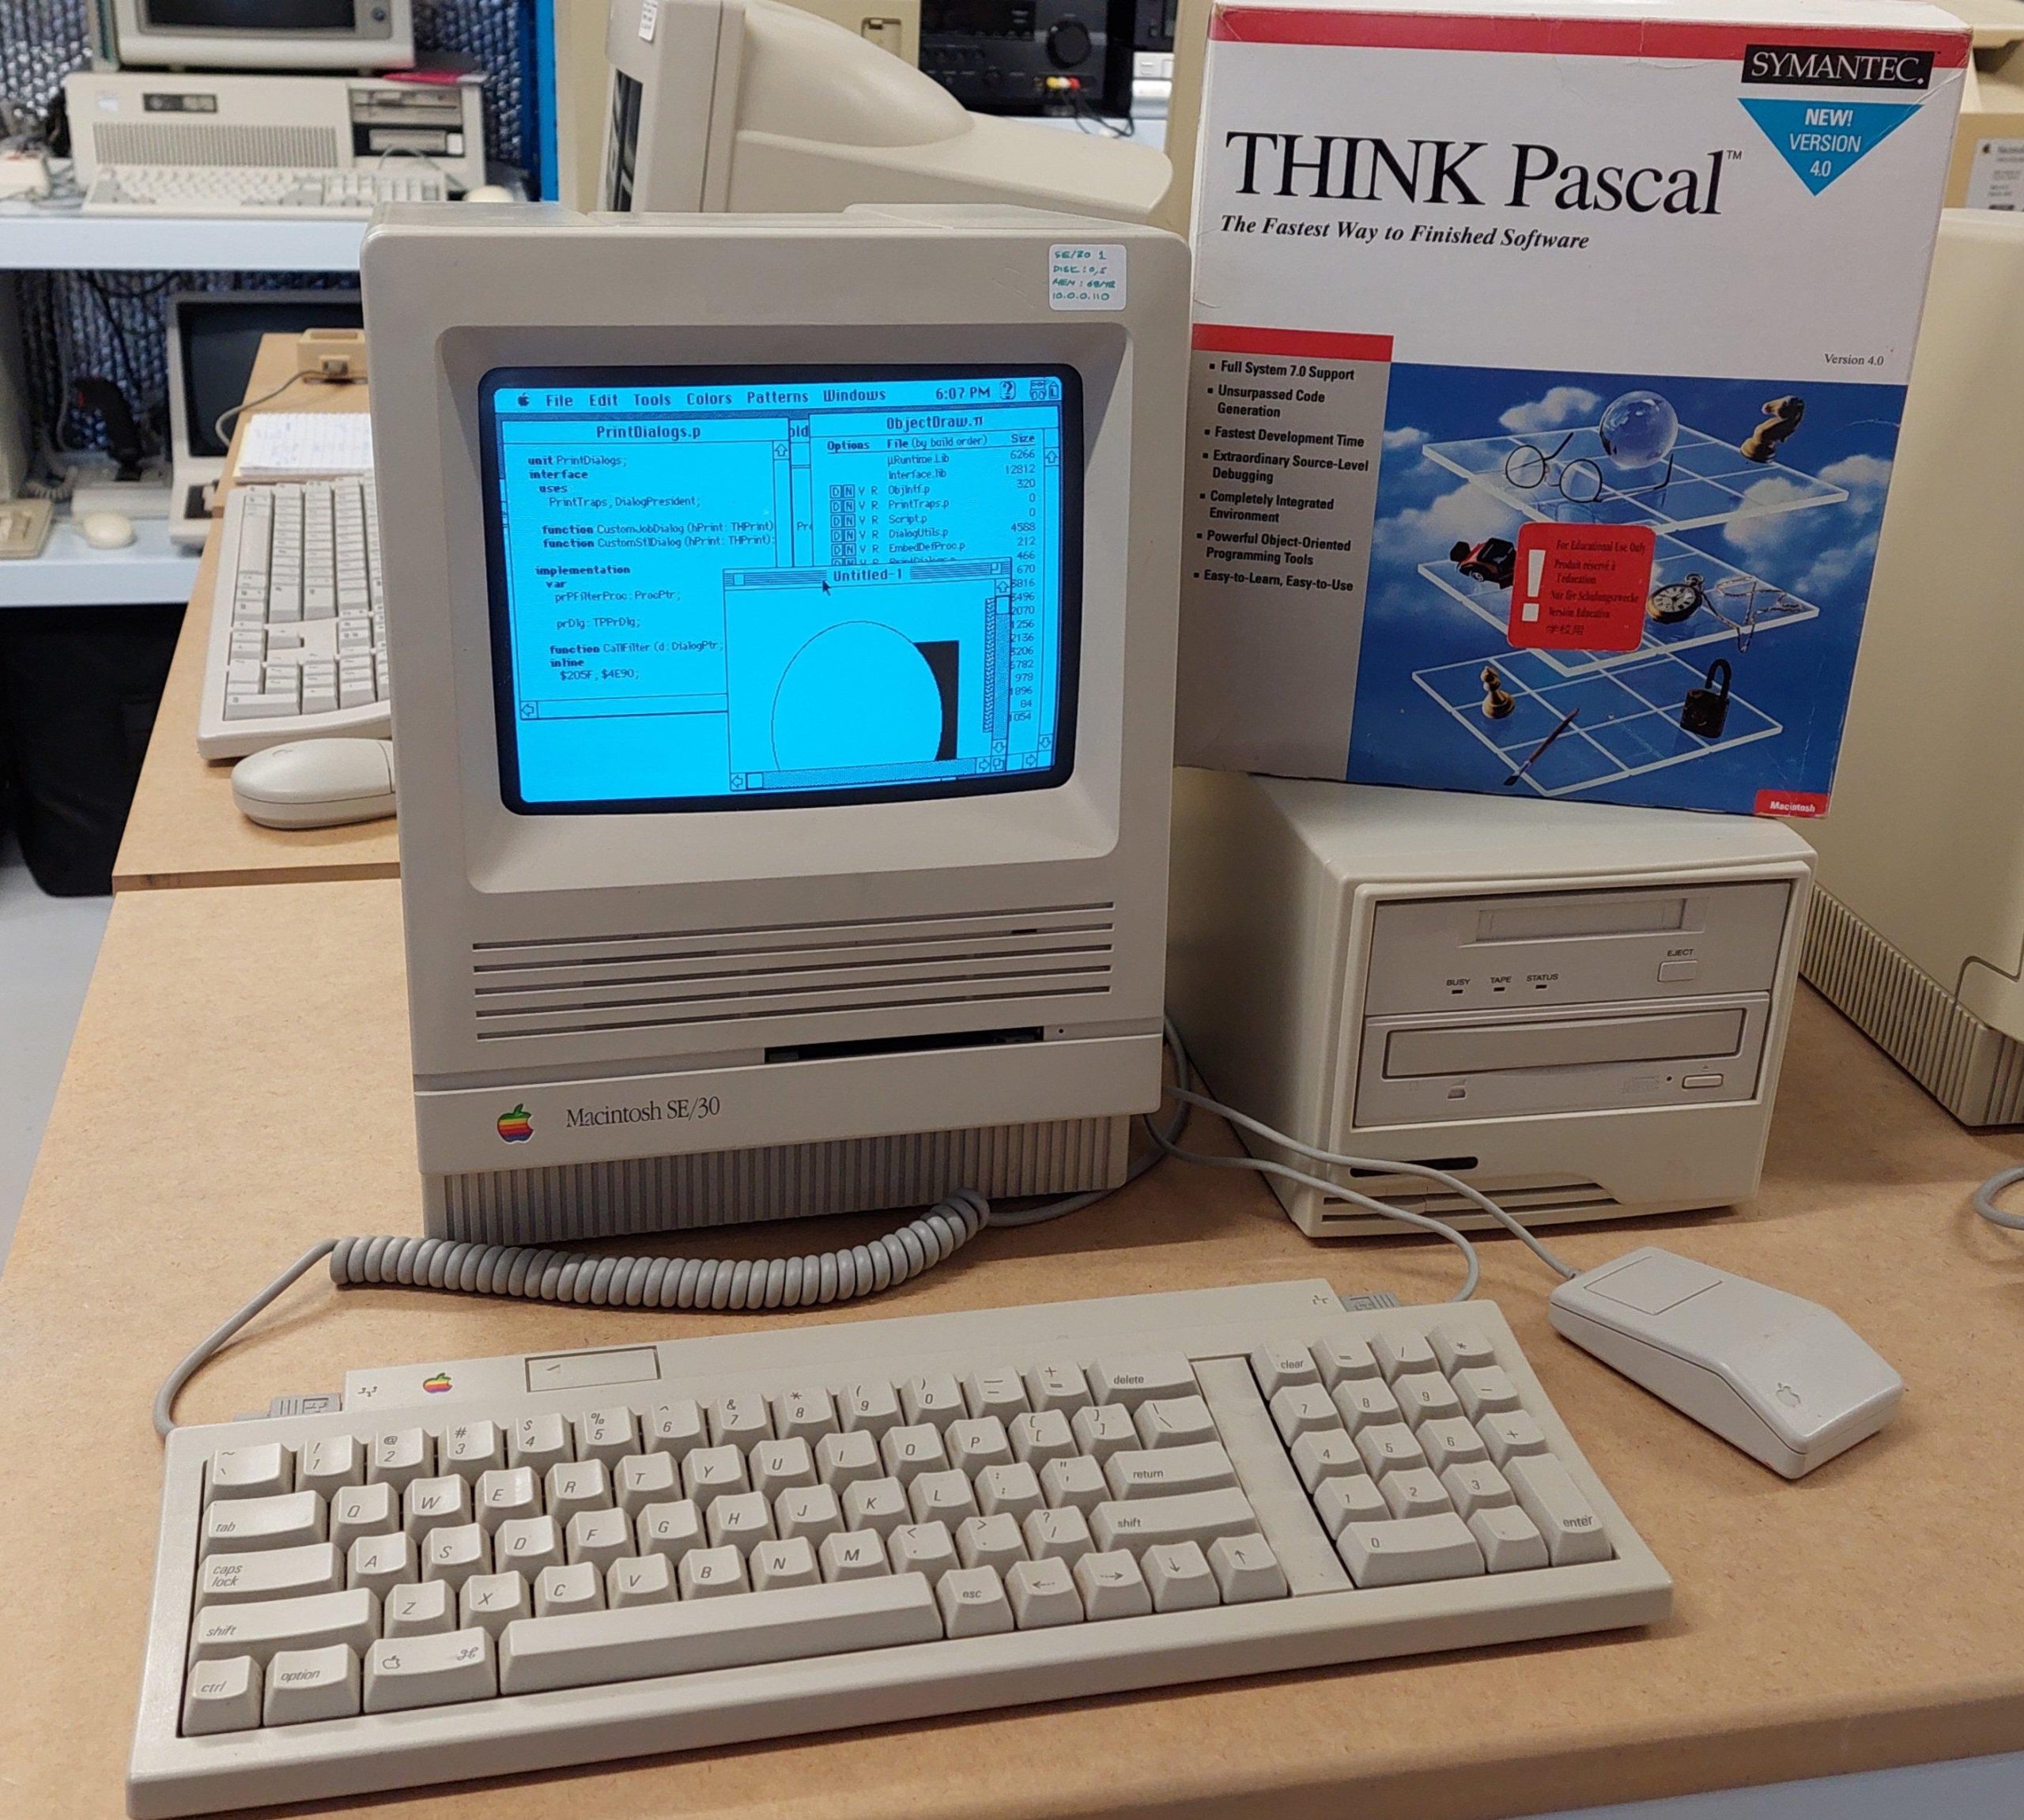
I have had three Macintosh SE/30. The first one (pictured above) was a purchase from a well known auction site in about 2018. These days everyone seems to want an SE/30 but considering it was in working condition, had 32M of memory, and came with a network card, keyboard, and mouse the cost was pretty good. Given that it was a working unit, i powered it up immediately. It booted up fine on the hard disk, but i did notice the audio was very low which was a hint that the logic board capacitors needed work.

On first use, i broke it. I was very much a beginner with old macs. I put in a disk and when it ejected the eject drive gear broke. There’s a lesson.

Of course, the gear probably would have broken anyway; they go brittle. I was able to buy a replacement online.

I now clean and lubricate 3.5″ drives on arrival. IPA is generally sufficient for cleaning. Silicon grease or bike chain lube seem to be ok lubricants.

I then discovered that Macs are hard to open. I had to by the required torx bit, and then gradually lever the case open (i later got a mac cracker).

I noticed that the insulating card on the back of the analogue board had been replaced with piece of plain old cardboard. It was probably fine, but I replaced it with the appropriate material.  It wasn’t quite as large as the analogue board, but it covered all the active areas.  Later, i swapped in the correct card.

Premium Apple Service Centre repair!

The SE/30 has a reputation for leaky logic card capacitors. i replaced them with tantalums. I also replaced the PRAM battery.

SE/30 1 Ethernet

The hard disk had System 7.5 installed.  With a Daynaport Ethernet card and plenty of memory available, I wanted to get as much network capability as possible.  There is a very good networking guide here:

http://www.applefool.com/se30/

I won’t describe the hoops i went through to make the OS installation disks back in 2018, because nobody would do it the same way now. Greaseweazle is now available and is a much easier way to write disks. A FloppyEmu is an alternative method, which emulates a floppy disk drive, and avoids the need for floppy disks at all.

At least the SE/30 can read PC format 1.44MB disks. I installed System 7.5.3 and then System 7.5.5 from images downloaded from the web. 

To get the networking running required the drivers and some additional files for the Daynaport network card and Open Transport.  Transfer of unarchived files from anything other than a mac running a classic operating system is a frustrating experience.

The old Macintosh OS used a novel file system that had two forks stored under the one filename.  Once they come through a PC (or virtually any other computer) one of the forks has disappeared so that the resulting file is often unusable once transferred.

There are some specific formats that survive the process – Stuffit and binary files, although sometimes these need to be opened from the Stuffit application – the application associations are lost when the resource fork disappears.

Those archives, once transferred to the SE/30 can then be unpacked in their native environment which retains the resource fork.

Once open transport and either a browser or FTP client are setup, files can be downloaded without any need for floppies or serial transfers. Serial transfers were required for files larger than 1.4MB.

There was a version of Stuffit on the hard drive already, and i was able to transfer Mackermit across via a floppy disk.

Then I made up a serial cable to connect from the SE/30 to a PC.  I used kermit95 to transfer the files I needed across to the SE/30.   It’s important to configure Kermit to use the binary protocol. 

Using kermit I transferred:

  • Daynaport Installer
  • Open Transport 1.3
  • Internet Explorer 3.01
  • Netpresenz (ftp server)

The Daynaport card has a significant limitation in that it only seems to support half-duplex operation.  This means that the connecting device needs to be able to be configured for 10Mbit half-duplex.

At the time i didn’t have a managed switch (i now have several), so I added a second card to a PC, configured it as required, and then bridged the networks.  This required a crossover cable to the mac.

This allowed primitive browsing (forget https) including downloading of files.  I found that although it was difficult to browse to a file, it was possible to discover it on another computer and then type in the (nearly always) lengthy url into Internet Explorer 3.01 to complete the download.

FTP as a client or server is also quite viable.

With the SE/30 setup, it was much easier to set up other Macintoshes.

SE/30 1 Flyback Issues

Within a couple of weeks of purchase, the system completely died – black screen.  I thought this could have been the analog card or the power supply.  When I took the cover off and turned the machine on, I was intrigued to see a beautiful blue corona on the flyback transformer.  This is the component that creates the high voltage for the cathode ray tube. 

The tracks are at 5 o’clock on the image above. It did cross my mind that, as the fault was visible, it may be fixable from the outside. 

All the macs seem to have some high voltage putty around the anode lead. Perhaps this putty had failed, or perhaps a crack had opened up.  

There is a lot of fear out there on the internet about disconnecting the lead on the CRT.  I used a grounded screwdriver to discharge the CRT (a non-event) and then some long-nosed pliers to allow the high-tension lead to be disconnected. 

I bought some high voltage dope (like an insulating varnish) and after carefully cleaning I applied three coats.  The cleaning included scratching out the two carbonised, self-sustaining, tracks that had been burnt into the outer shell of the flyback transformer. 

It did end up with some bubbles after operation, so perhaps it hadn’t cured for long enough.  Nevertheless, it did the job and continues to do so.

SE/30 2&3 Cap Remediation

In 2018 i bought a job lot of Macintosh computers in varying condition. Amongst the lot were two SE/30 computers which had crushed the previous owner’s spirit. They nearly did the same to me.

One machine had a black screen. The other had a stripey “simasimac” display, ie the startup process was not getting to the point where the video ram was initialised.

The previous owner had done some work on the second machine, replacing the surface mount caps with through-hole caps made to fit.

I recapped both boards with surface mount tantalums and thoroughly cleaned the boards. I don’t do a lot of surface mount work, so some of the caps are not as straight as they could be!

There was till no joy with either machine. Some posts on the web suggested that the corrosive juices of the capacitors could penetrate ICs – particularly the row with UE8 which is adjacent to 5 leaky electrolytics. I replaced the entire row on both machines.

After this, The black screen machine progressed to having a classic “simasimac” screen like the other one.

This machine had a broken ROM socket. When i held the ROM firmly in position i was happy to see that the machine would start up. I crafted a kludge to hold the ROM in place, but it really needed a new socket.

The audio on this machine was quiet and crackly. Initially i thought that a transistor had been eaten by the capacitor innards, but i was surprised to find that there was no -12V because a power connector pin had been eaten away. Those capacitors are nasty.

This machine also had a curiosity of a previous repair to the yolk connector. One pin was clearly not making good contact and had overheated. The pin had been bypassed.

The recap and clean had no effect on the other machine: still simasimac. I swapped every component that i could easily swap – no joy.

I did notice that messing with the RAM could cause some changes in behaviour – a curious collection of different chimes at different times – often two chimes. On the scope i could see that the boot behaviour varied. It looked like the RAM test might run for a short time or a long time.

Sometimes it changed just by touching signals with the scope probe.

I spent many hours, coming back several times over about three months, trying to work out what was going on. I Eventually found that it was very sensitive to the probe being on some of the CAS lines. I found that the resistor pack next to the RAM sockets and right next to a leaking capacitor had failed – the internal resistors were not isolated from each other. I replaced the pack and the machine fired up.