This was a hobbyist style build by a young man so it is naturally a little rough around the edges. As changes were made holes were drilled and lights and switches were added and sometimes removed. The panels have some labels from a classic Dymo label machine. All of this adds to the character of the machine. I’d like to keep as much of that character as i can.

There are issues, though. Of course some of these are more important than others. They fall into four categories:
- Safety
- Functionality
- Reliability / Maintainability
- Cosmetic
| Safety Issues | Resolution |
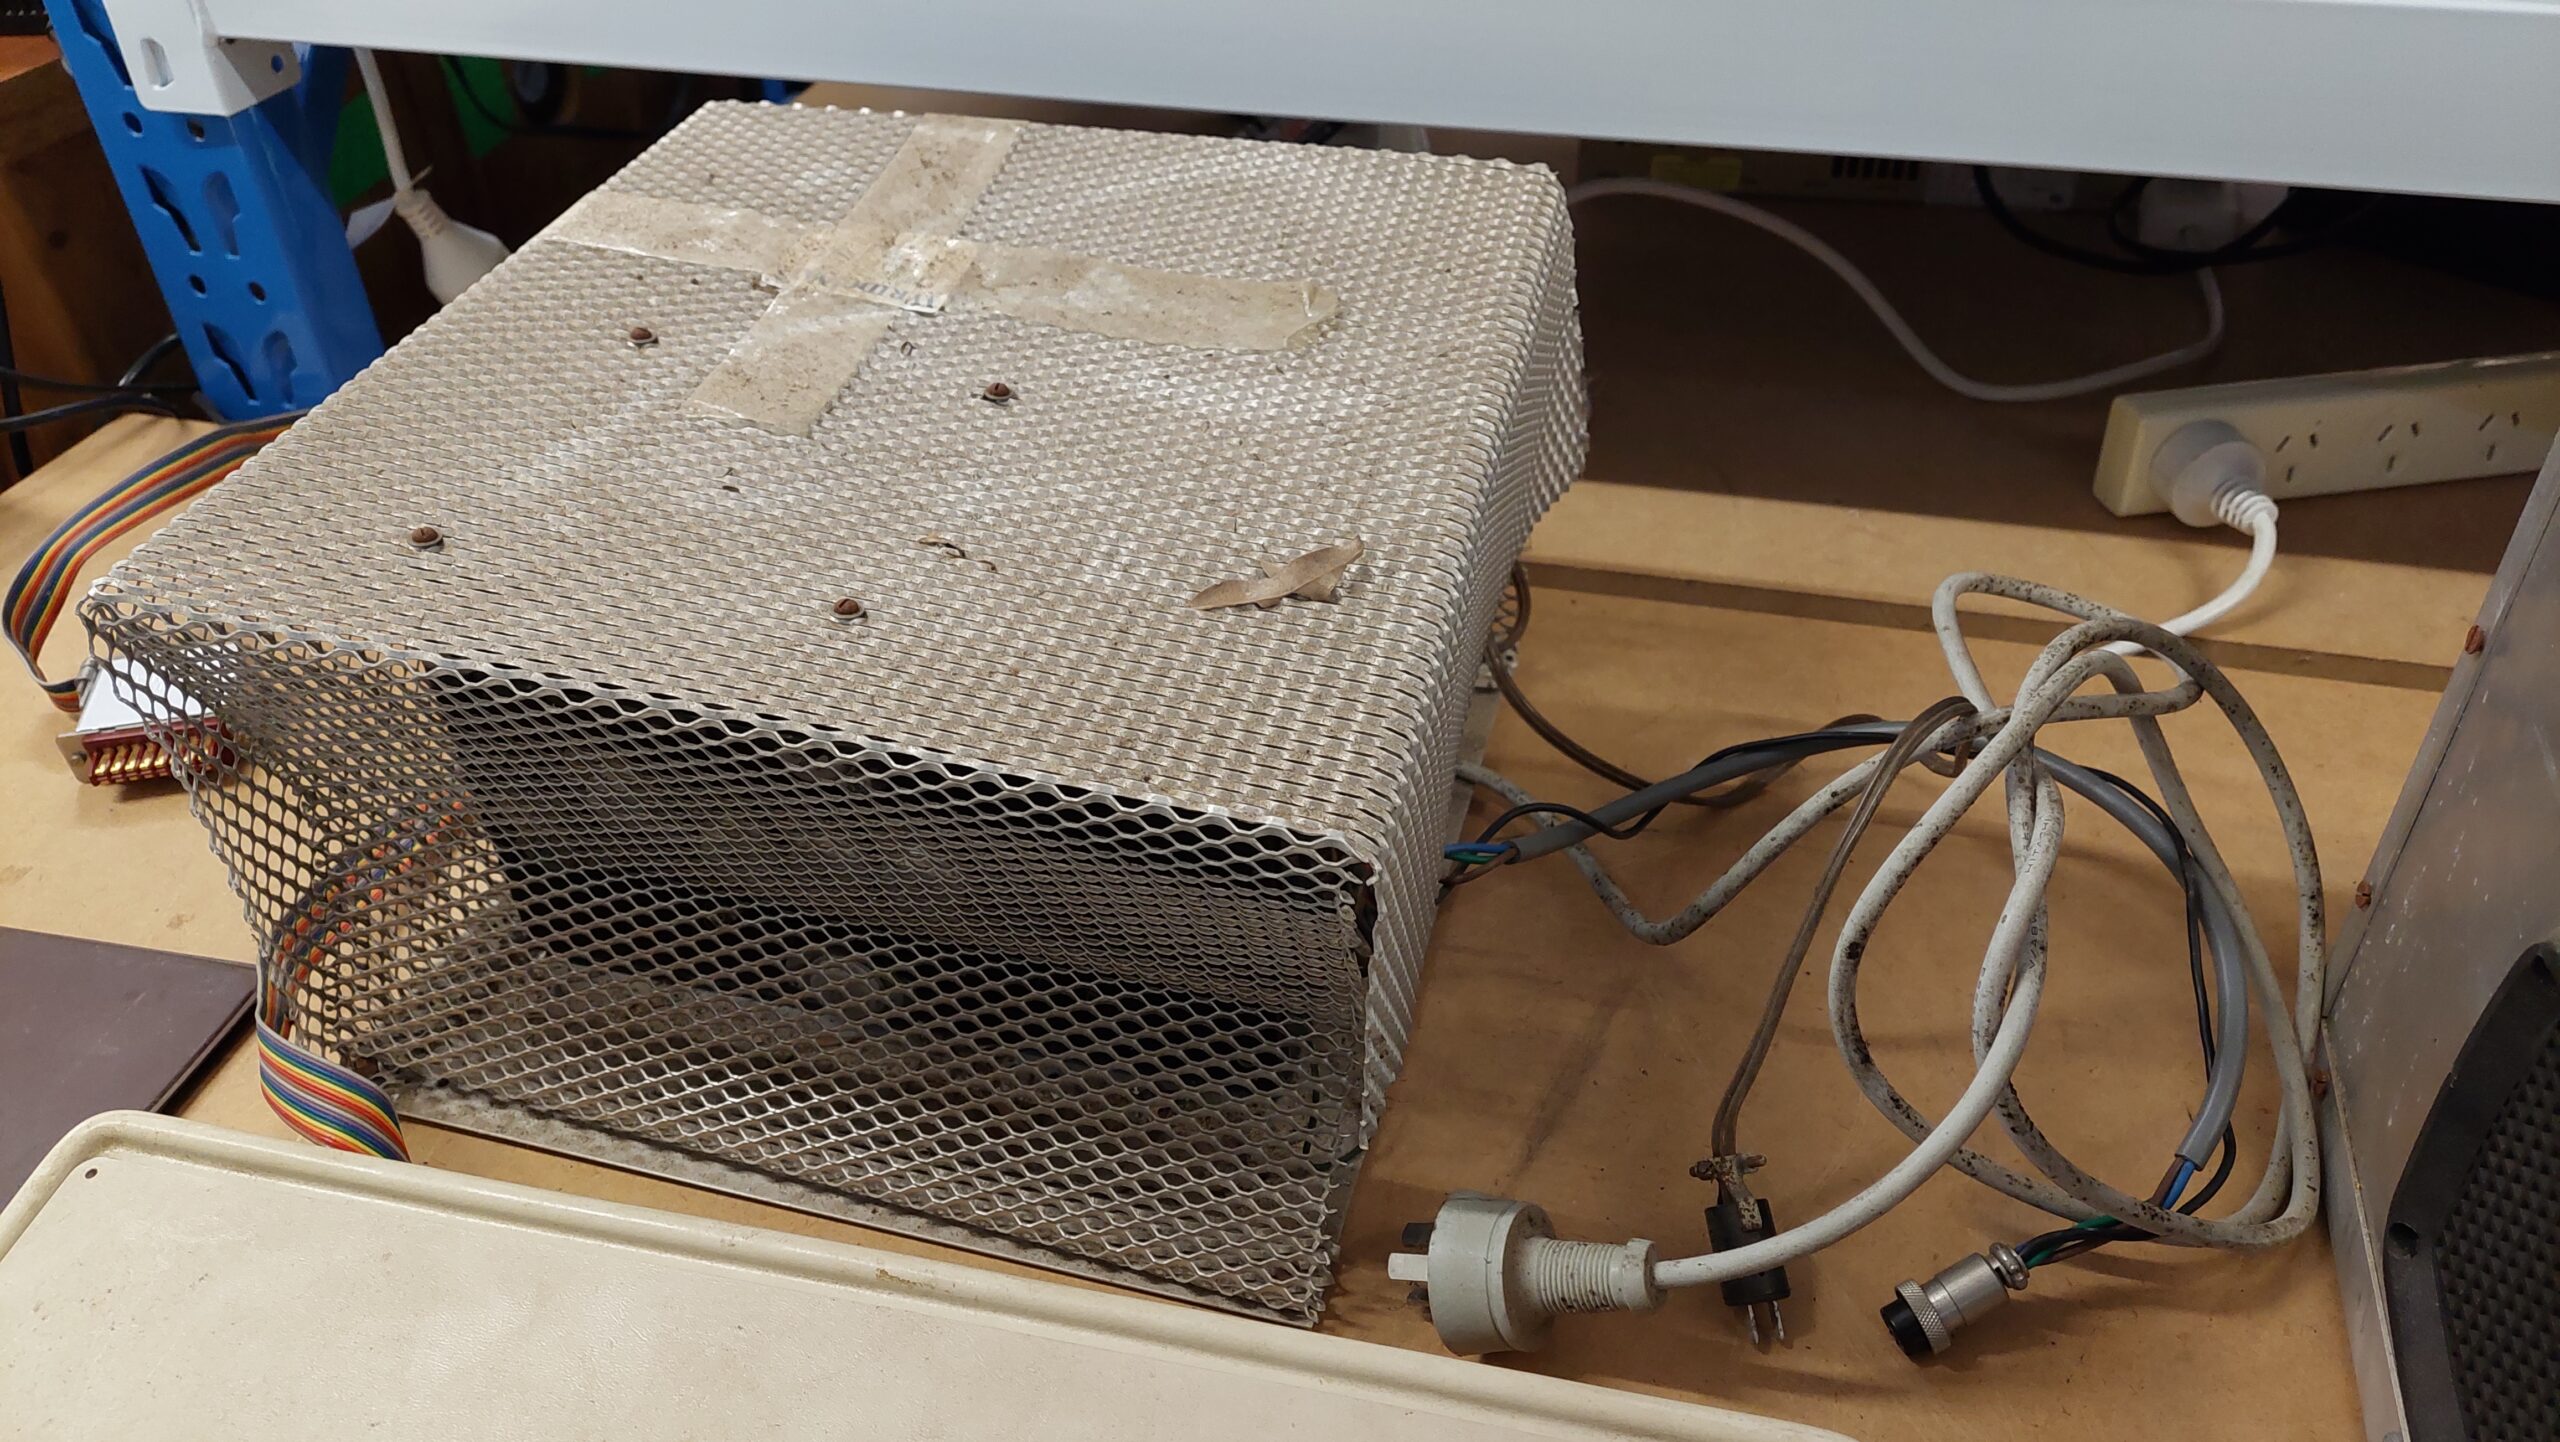
| The power supply enclosure is too flimsy. | Complete rebuild using 1.5mm aluminium sheet. |
| The wiring is not fused. | Add fuse on 240V and on each DC rail consistent with DC wiring. |
| The fan in the computer enclosure runs from 240V and (a) the plug has live pins and (b) the chassis is not earthed. | Replace 240V fan with 12V fan. |
| Several aluminium sheets have sharp edges where they have been cut or drilled. | De-bur. |
The functionality issues are generally minor:
| Functional Issues | Resolution |
| The video and tape connectors are on the front of the unit and the video connection is not the usual RCA. | Add connectors on rear. |
| The parallel ports on the processor card and the I/O card are not accessible outside the enclosure (although the processor card parallel was exposed in an earlier state). | Add 50 pin ribbon cable panel mounted connectors for each port. |
| The I/O card supports two parallel ports but only one parallel port MC6821 IC is fitted. | Add the chip. |
| The power supply provides sense inputs for the 5V supply but they are not currently used. | Add feedback lines from the computer terminal block. This will require a new power connector. |
| The keyboard does not work because the pads have deteriorated. | Make new pads and fit. |
| Toggle switches seized. | Replace. |
| No power light. | Add lights to power unit and computer unit. |
| Reliability and Maintainability Issues | Resolution |
| DC wiring has been done with mains flex. Colour coding is not great. | Re-do with appropriate cable. |
| Several soldered connectors where IDC could be used. | Replace. |
| Several wires soldered directly to processor board. | Add connectors to prototype are and wire via those connectors. |
| Dry joints on several connectors. | Reflow solder. |
| Cosmetic Issues | Resolution |
| Aluminium finish oxidised and scratched. | Work with scotchbrite. |
| Front panel cutouts are too rough. | Square off. |
| Missing and corroded fasteners. | Replace. |
| Rear and right panels have large unused holes. | Replace panels. |
| Lid not properly fixed and too light. | Replace with 5mm perspex – strong and allows the interior to be enjoyed. |
| Processor board wiring. The mods are a little “in your face”. | Re-wire a little more subtly. |
This adds up to a lot of work!