Model I High Resolution Graphics

The machine came with a high-resolution add-on / modification by Microware Computing Services.  It seems to be an unusual thing and is probably of limited use but is interesting nevertheless.

The Model I in its base form allocates 6 bits for each character on its 64 x 16 character display.  Each character consists of 6 x 12 pixels.  In text mode each character is translated from its 6 bit representation to a 6×12 pixel “picture” by a PROM.  The PROM (according to legend) supports 128 characters including lower case letters.  A common mod adds one more video ram chip to allow access to the other 64 characters.

The video RAM is 8 bits wide (with no bit 6) with bit 7 indicating that the character is graphic character.  Each of the 6 bits can be used to turn on or off one of 6 graphic cells each of which is 2×3 pixels ie half the width and one third the height of a character.  This gives “low resolution graphics”. 

The high resolution mod drops into the socket for original PROM.  It includes an EPROM that fulfils the role of the PROM when the high resolution mode is off.  When the high resolution mode is on the mod takes over.

Physically, the mod consists of a box which hangs off the expansion port, a small daughterboard that sits in the main unit.  The daughterboard plugs into the original ROM socket.

The mod includes 2k of RAM which is used to store 16 bytes for each of 128 graphics characters.  Only 6 bits are used (characters are 6 pixels wide) and only 12 bytes are used (characters are 12 pixels high). Note – this is not video RAM – its is more like the original PROM but writeable.

The RAM is accessed via the expansion bus. It is mapped over the system ROM so it is write-only memory which makes it a little hard to test. 

The RAM is dual ported and a register in I/O space (accessed via the expansion interface) is used to control whether data is read by the graphics generator or written to as memory.

The bottom 3 bits of the I/O address are don’t cares. 

OUT 130, 1 -> Character data read by graphics generator

OUT 140, 1 -> Character data writeable starting at #0000

A second register in I/O space is used to select between the standard text/graphics or the high resolution graphics.

OUT 150, 1 -> Use the default text/graphics (holds the high res graphics shift register in reset)

OUT 155,1 -> Use high resolution graphics (holds the text and standard graphics registers in reset)

There are demonstration disks show how the graphics work. 

  1. Boot up on the demo disk
  2. Load basic.  Hit return at “number of files” and 60000 at “memory”.
  3. LOAD “START/BAS”
  4. Select 2 to get the engine demo
  5. Select 1 to get the chess demo

Model I Floppy Disk Drive

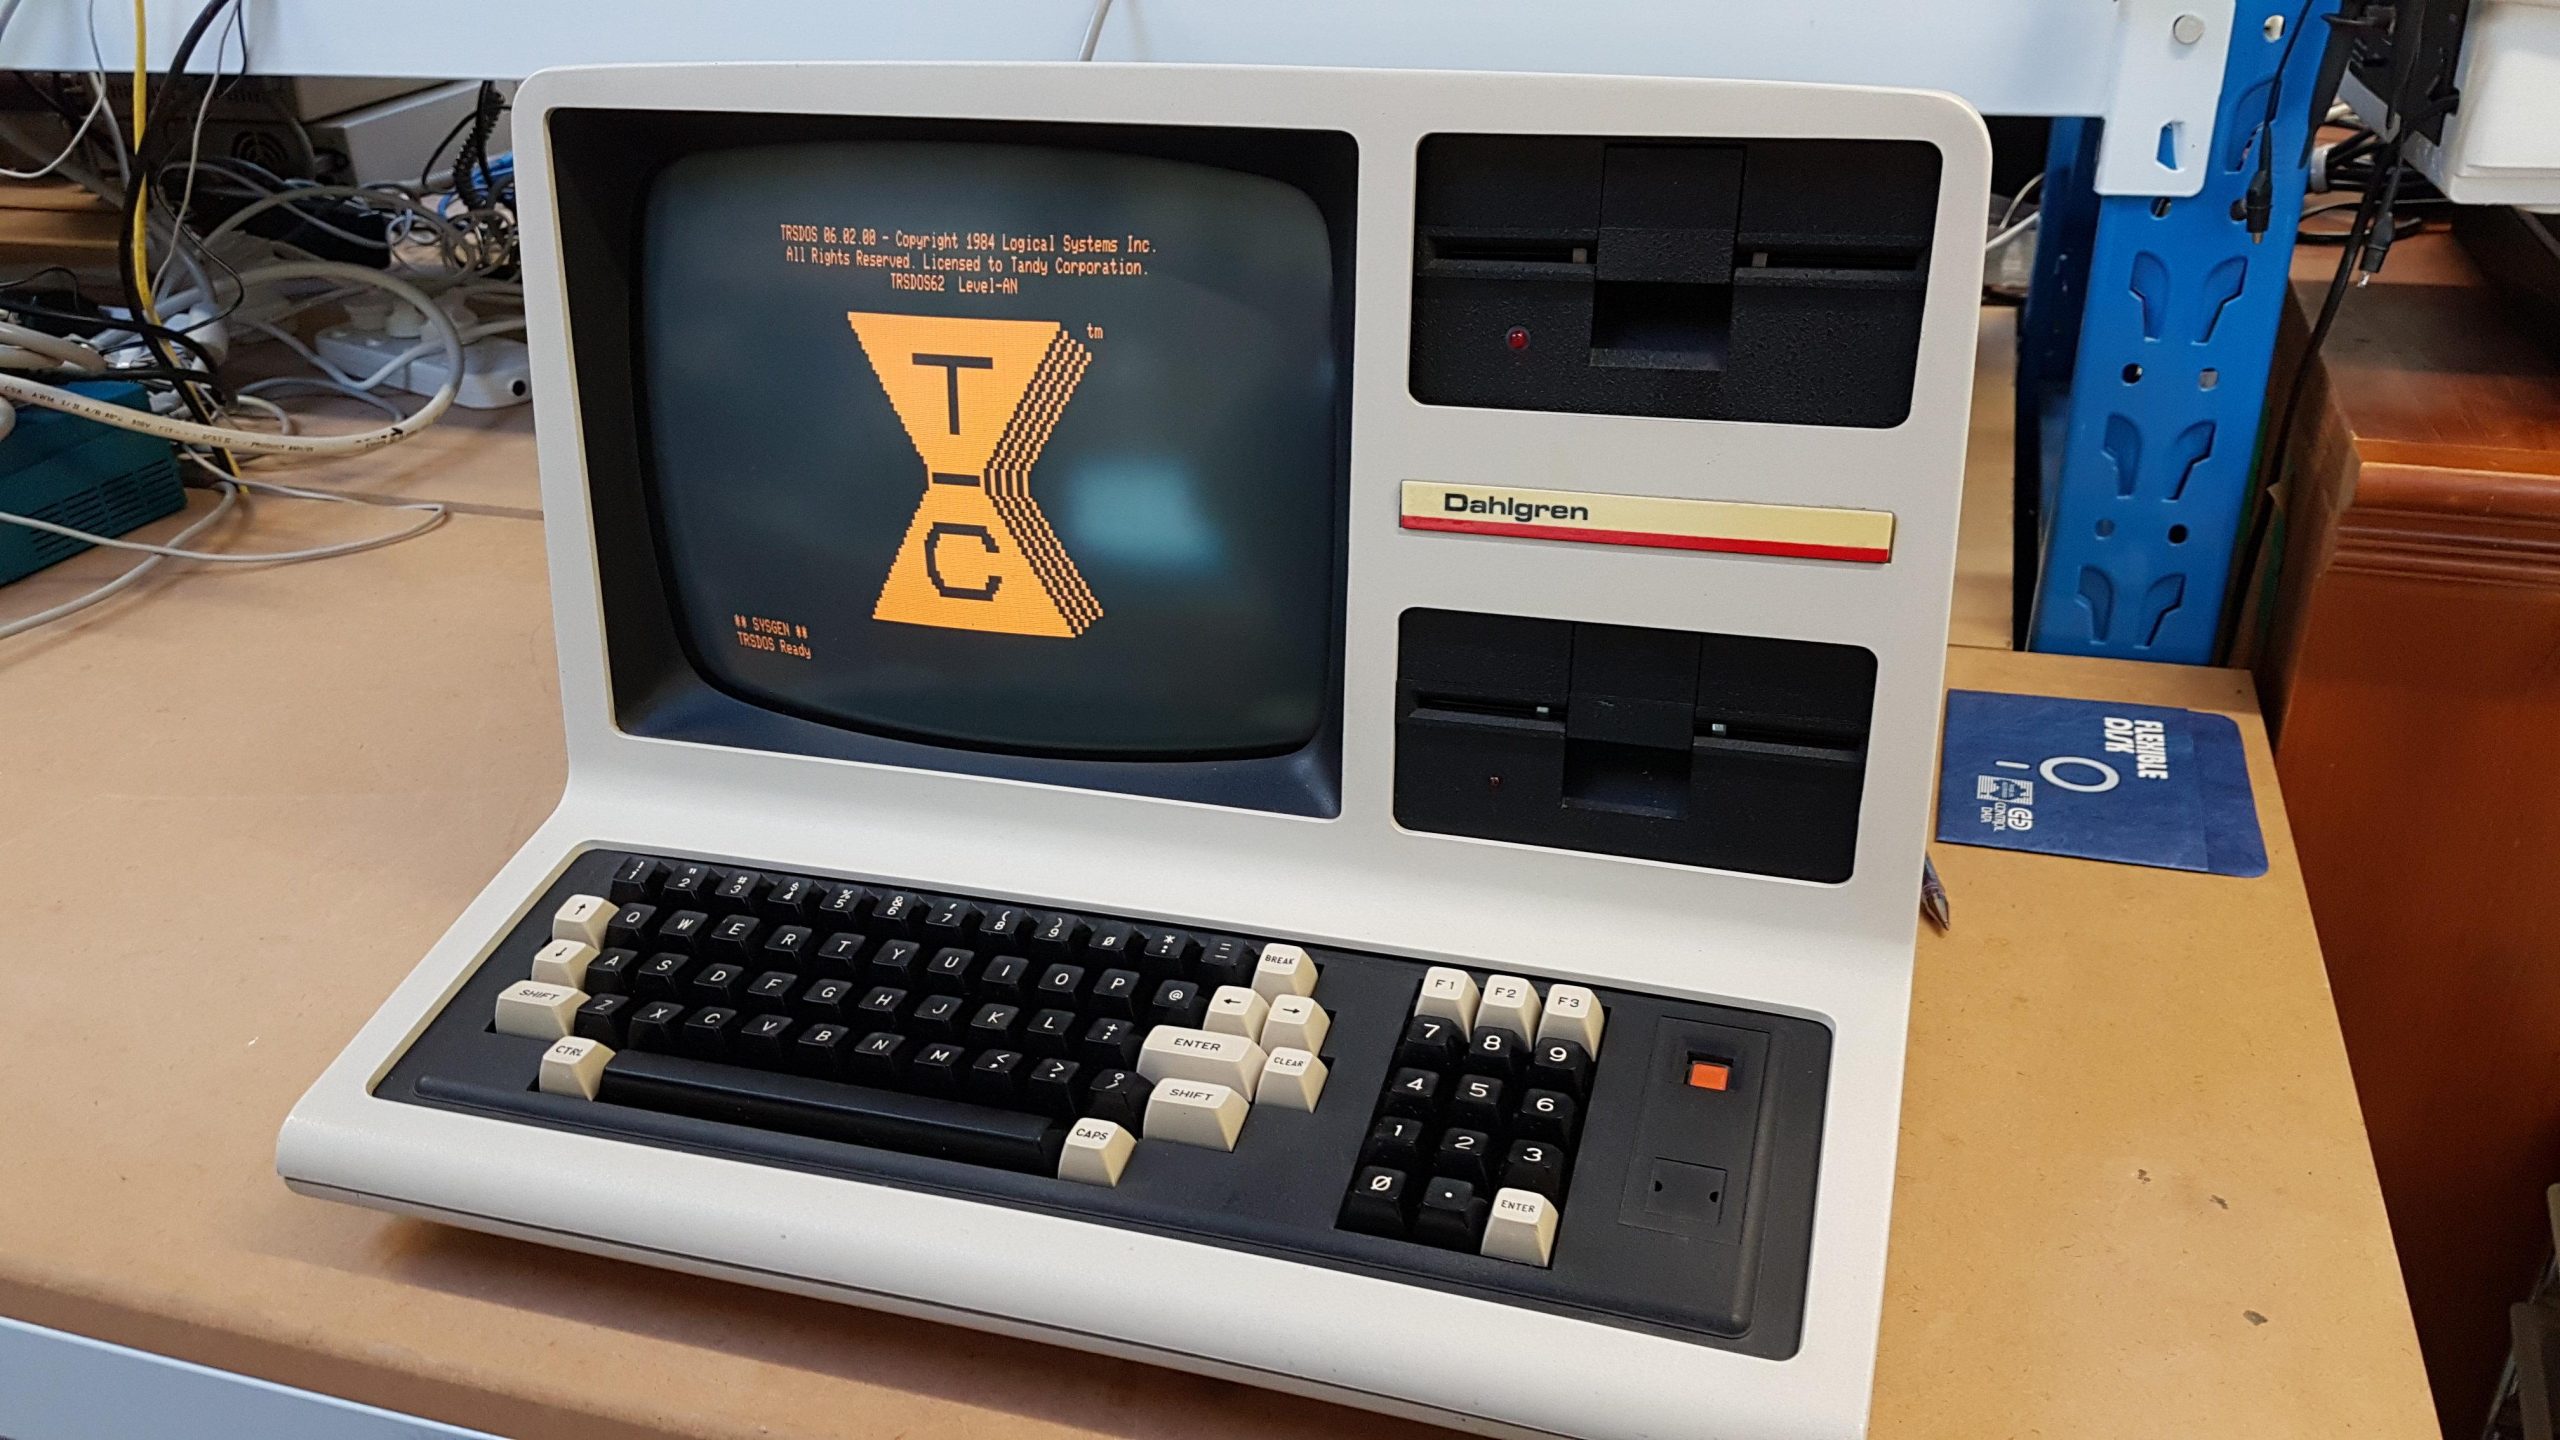
The system did not come with a floppy disk drive.  I did my set-to work using a Dick Smith drive from my System 80 and my generic drive unit.

Ben G from the Australian Vintage Computer Collectors had a genuine one, though, which he passed on at very reasonable cost (not the first time he’s helped me out).

I made up a new cable, as I’d been using the System 80 cable.  The Tandy cables used connector pin removal to set the drive numbers – all the selects are connected inside the drives.  I really need to pull some pins from the connector but for the short term I taped over DS1 (p12), DS2 (P14), and DS3 (p32) leaving just DS0 (p10) on the drive connector for the Tandy floppy drive. 

As is often the case with 40-year-old drives, it did not immediately work.  I did the usual clean up, lubrication, and alignment (using Imagedisk) but it had a peculiar issue of losing half the head steps.  This turned out to be a timing problem with two monostables that control the stepper motor.  One had an adjustment pot, but I had to change the resistor on the other one. 

Apparently i couldn’t find a schematic.

Once the timing issue was resolved, the drive could be aligned. Adjustment is by loosening the motor screws and rotating the motor body, but it didn’t have enough play, so i had to move the shaft coupling a little as well.

I found the cable unreliable and after several frustrating hours of checking and rechecking I found that the floppy drive connector on the expansion box had been ever so slightly modified.  One side had been filed down – presumably to accommodate a tight floppy cable connector. 

The connectors I used on my new cable were just a little wider, so it was possible to be out by half to one pin, resulting in shorts/opens. I need to build up the connector again, but it works fine as long as you know and position correctly!