4016 Set to Work Unit 2

I powered up with sockets empty and checked voltages.  All good.

I added socketed devices.  Three legs fell off one 6520 so that had an impact – particularly on the keyboard.  I replaced the 6502 which had a weak leg and one 6520 which had lost three legs.

On power up there was a chirp which suggested some life.

I added the monitor and was relieved to get a picture, although clearly it hadn’t booted.

I tried the card from the first unit (also with a replacement 6502 for the same reason).  It was less successful – no chirp and no picture, so it wasn’t getting as far.   For now, I’ll stick with Board 2 – at least the ROMs have checked out.

My joy at the monitor working was short-lived, as it stopped working within 30 minutes.  It produced quite horrible squiggly lines on the screen.  I was unable to find any posts that described the effect and therefore the cure, so I checked the board over as best I could.  All the transistors looked ok.  The yoke coils seemed to be good.  The flyback seemed ok.  The usual suspect resistors were ok. 

I was looking for a video that showed testing of the board without CRT connection, and in the process found a repair that involved diode D754 and the adjacent capacitor C754. 

I found diode D754 was a 10 ohm resistor, and when I checked D253 one leg fell off.  The faults may be related, or maybe not.  I replaced the original VO6E diodes with 1N4004, which have the same voltage rating and slightly better recovery.  I checked the capacitor and it seemed ok.  I see a recap in this monitor’s future, though.

Following the replacement, the monitor was back working.  I turned it all off and called it a night.  It worked for a while the following day, but D754 then became a 2 ohm resistor.  This time I replaced it with a diode with a higher reverse voltage limit 1N4007 (1kV rather than 400V) and I also replaced the C754.  I had a 400V cap rather than the original 250V.  I checked the voltage at the diode.  It seems ok.

Back to the original problem …

I made up a PETTEST rom using a 2732 EPROM.  This requires an adapter because the pinout does not quite match the ROM pinout.  Three pins cut (from a socket): 18,20,and 21, and two wires added: pin 20 of the ROM socket to pin 18 of the 2732, and pin 18 of the ROM socket to pin 20 of the 2732.

I put it in the Edit Rom socket. It didn’t work at all so I read the instructions and in this post: https://forum.vcfed.org/index.php?threads/pet-4032-blank-screen.1239174/:

Look at the part number your PET EDIT ROM.

Then look at this website
http://www.6502.org/users/andre/petindex/crtc.html and scroll to the bottom. You will find a spreadsheet called PET_CRTC.xls. Open this up and you will (hopefully) find a match for your EDIT ROM.

Use the values from the spreadsheet.

The CRTC registers are numbered from 0 through 17 (decimal) – a total of 18 numbers. The numbers in the spreadsheet are already in hexadecimal.

The CRTC initialisation table starts at byte offset 5 in my PETTESTER EPROM image. Hand-edit the 18 bytes using your EPROM programmer tools and burn the EPROM.

By adjusting the parameters you can set the PETTESTER to initialise the CRTC for 40/80 columns, 50/60 Hz frame refresh rate and for the number of raster lines per character displayed.

Just one problem – I don’t have the part number for the edit ROM because it’s an EPROM and the label was illegible.  I do have an oscilloscope though, so I measured the vertical and horizontal scan frequencies – 50Hz and 20kHz respectively.

That makes it look like the last 6 lines in the spreadsheet, but I have not been able to match my edit ROM with any of the candidates.  Tricky.  This may take some experimenting.  I started with the first one, and it worked – well, the video worked – but the video ram test failed.  Using the scope, I could see it looping the video ram.

Several video RAM chips seemed not to be working – again, using the scope I could see variation between bits written and bits read. 

Two 74LS244s also seemed to be bad because the input didn’t match the output for reads and/or writes.  I replaced the ICs using sockets.  They are FCT parts for now.  The board is not easy to work with – difficult to remove solder from holes. 

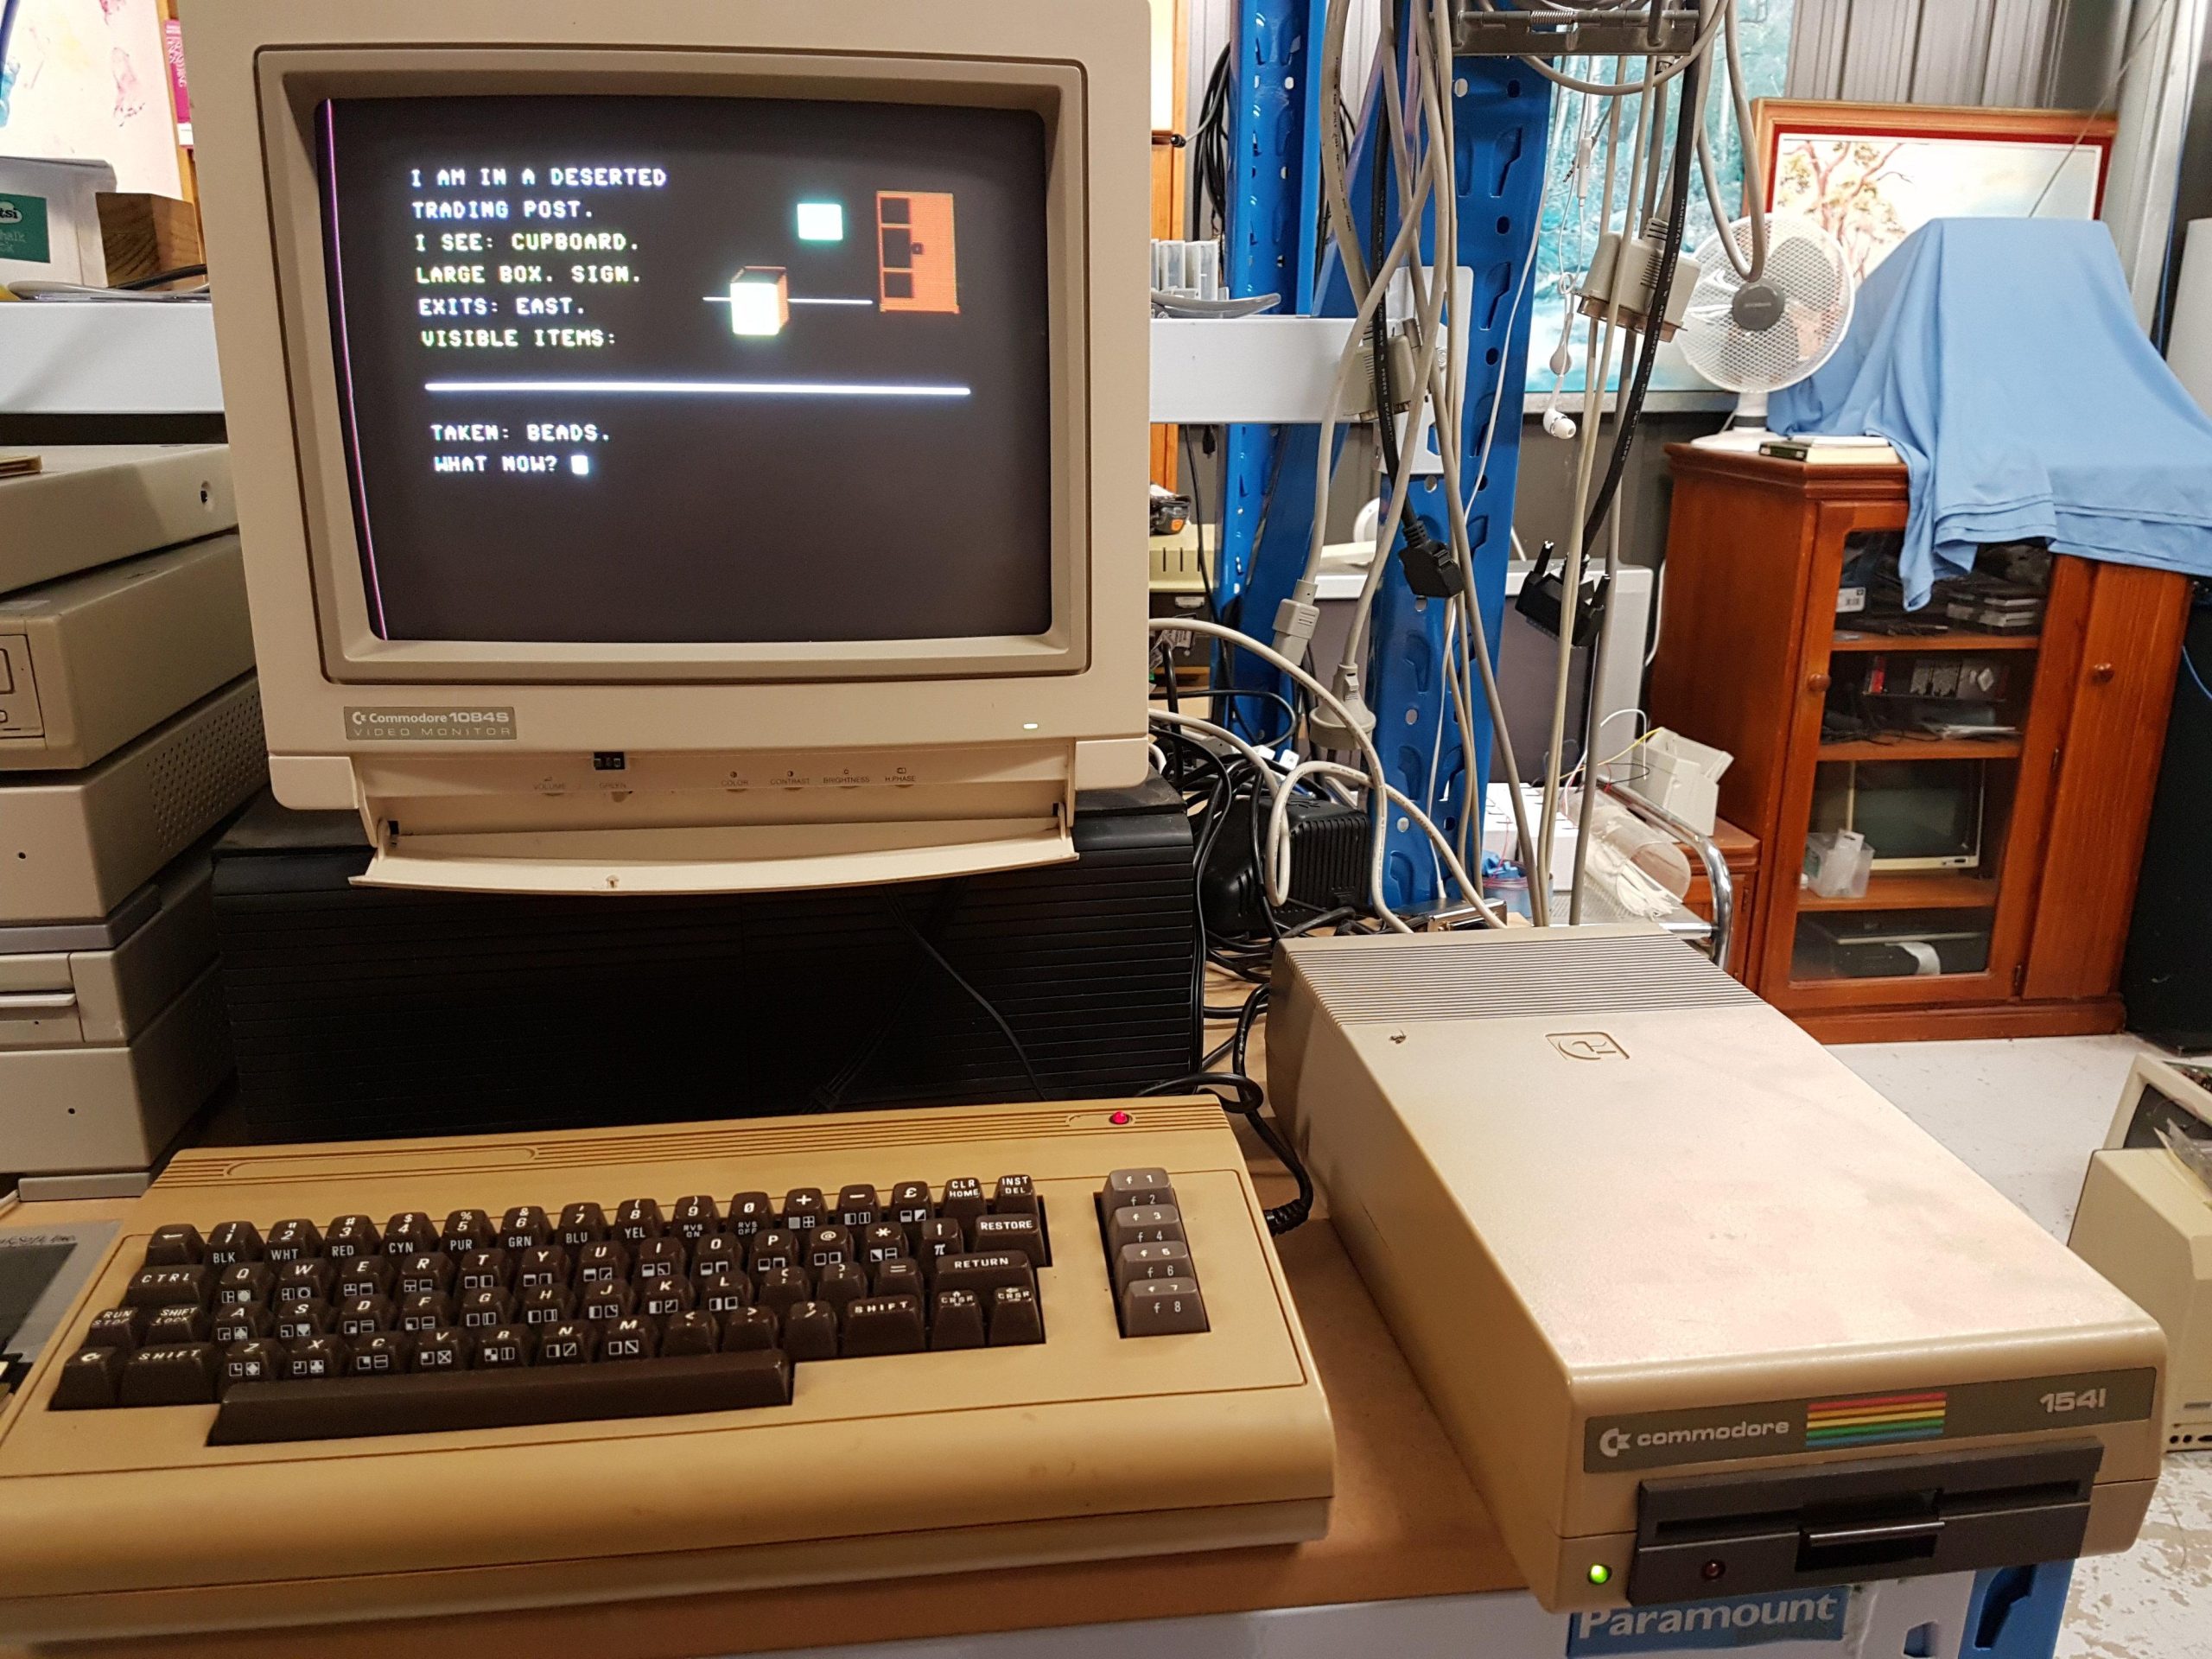
What I did notice was that having replaced the socketed video rams (two are unsocketed) and the 74LS244s, I was able to get every second character of the sign-on message using the normal edit ROM.

I replaced all the VRAM including the sockets and this resolved the missing characters.

But, I still didn’t have a cursor.  Also, the pettest still didn’t seem to operate as expected – I never resolved this.

I tried swapping over the other PIA and the VIA with spare parts but no joy.  The first PIA had already been swapped over due to corroding pins.  A general poke around showed that a lot was going on, but I eventually found some indeterminate outputs on the bottom PIA and this turned out to be a poor connection at pin 1 VSS.  I bent the pin in to put a bit more pressure on the single wipe contact and joy was had.

The full 32k of ram seems to be detected.   There is one socketed chip in each RAM bank.  Pulling the chip from the first bank causes the machine to not start.  Pulling the chip from the second bank causes only 16k to be reported.   Presumably there is at least a simple RAM test that has determined that all the RAM is OK.

At this point I wished that I had a working keyboard, but I had been putting them off because of the tedium involved in painting the contacts.  Instead, I put a little piece of foil on a cotton bud and used it as a stylus.

This is positive, but the IEEE-488 drivers need to be replaced and the remaining single wipe sockets could easily cause problems in the future. 

This gave me the necessary motivation to finish the keyboards.  Which now work well.

4016 Set to Work Unit 1

I had tried the unit one board previously, so I knew that it was not working.  I had previously replaced the processor because the legs were corroded.  (Later I tried cleaning it up, but it still did not work.)  I also replaced the GPIB buffers as they were also corroded.

I did the set to work of the Unit 1 board in the already completed Unit 2 chassis.

The screen was not scanning, so I disconnected it.

There are lots of things that could go wrong, and this board is a little more challenging than the other one because most of the larger ICs are soldered down.  This makes it difficult to just swap them out.  On the plus side, the socketed ICs tend to be more corroded than those that are soldered in.

The power supplies were good, the clock was good, and the reset was good. 

The most likely cause of failure was RAM, but there had been no RAM failures on the other board.  I probably should have just replaced the lot, but you don’t learn much doing things that way and the thought of cutting out 16 RAM chips didn’t fill me with joy.  I did it the hard way.

It’s relatively easy to see when the ROMs are accessed.  The 6502 resets to FC00, which is in the kernal (sic) ROM.  The webs suggested that the kernal calls an initialisation routine in the Edit ROM at E000.

It’s in here:

http://www.zimmers.net/anonftp/pub/cbm/src/pet/pet_rom4_disassembly.txt

The vector at FC00 jumps to FD16. The call to E000 is made at FD1B just after the stack is initialised.  This listing shows the edit ROM, but there are many edit ROMs.

This one seems to match reasonably well with the 50Hz 80 column ROM used in this board:

https://github.com/sjgray/cbm-edit-rom/blob/master/disassemblies/edit-4-80-DIN-50Hz-324243-01-disassembly-sjg.txt

Using this I could use the scope to read the address lines on the ROM one at a time to get the address. (it’s moments like these when a logic analyser would be handy but there’s not much that can’t be done with a good scope and some time.)  I added a reset button (between UD16-2 and ground) and the timing is repeatable with respect to the reset (which can be conveniently picked up on pin 40 of the processor).  This is partly because the system is so slow (1us per bus cycle) that there is time for both an access and a refresh. Not all machines are so deterministic.

CAS cycles (R10) identify accesses to RAM.   Accesses to VIA/PIA are trickier because they use multiple chip selects.  They are tucked into the E800 to EFFF space next to the Edit ROM, which is only 2k.  The other ROMs are nominally 4k.

The map is here:

https://www.zimmers.net/cbmpics/cbm/PETx/petmem.txt

I looked for where the processor seemed to lose its way and used ROM addresses to work out where execution was in the ROM. 

Suspecting RAM I looked for the first time there was a critical RAM read eg a subroutine return which I expected to be two back to back reads – it turned out to be three.  Similarly, I expected a call to be two writes, but they are always one read and two writes.  I still don’t understand this, but maybe the penny will drop one day.

Sure enough, the first return was just before the processor went rogue.  Checking the call and the return showed that the data read from RAM was very different to that written.  Very different.  Either there were a lot of dead RAM chips or something more systematic going on.

I got good at reading the data (during CAS for a write and valid at the riding edge for a read and also the row and column addresses – valid at the falling edge of RAS and CAS respectively.  Everything looked good, so I concluded that nearly all the RAM chips were duds.  And that proved to be the case.  After replacement of the lower 16k the machine came to life with a garbled display that looked a little like a sign on message but not quite.  (I checked the sync timing before reconnecting the monitor.)

After replacing the video RAM, the display improved but was still not right.  It changed with a wiggle of the character ROM.  After cleaning the legs (it is socketed) the display was good.  I could type in and run a program.

I tried some pokes and peeks in the second 16k.  It also had many failures, so it needed the same tedious treatment.  Once the second bank of RAMs was replaced, it worked.

Although the machine was doing quite well there was no chime and there were also issues detecting the datassette button presses.  That sounded like a VIA problem.  I replaced it and all was good.

I connected up the disk drive, and I was able to get a directory listing. 

The 4116 datasheet did indicate that the power should be sequenced correctly to avoid damage.  In particular, the -5V rail should power up before the others and power down after the others.  I checked just to be sure.

Having worked over the metal work and CRT I moved processor board one into its chassis.

Initially nothing appeared on the CRT.  The first problem was the spring which contacts the ground surface of the tube.  It was a little oxidised and bent.  After cleaning and adjusting it was fine.  The display was quite dim though even with the sub-bright and bright at their max.  The issue was that the 400VDC supply was only 200V.  This was because R253 had gone open circuit.  I have replaced it, but it may be a symptom of a bad capacitor – there’s quite a lot of commentary on it on the web eg:

https://forum.vcfed.org/index.php?threads/pet-12-monitor-repair.79319

4016 Power Wiring Unit 1

The power wiring was a little different to the other unit and also different from the schematic.  In particular, the switch and fuse were after the filter.  I changed it to be the same as the other unit.

Other than that, the process was much the same as for Unit 2.

The capacitor was reformed on a DC supply and the transformer voltages were checked before connecting the processor board.

All earth points were stripped of paint and checked.

4016 40 Column Downgrade

The motherboard can support 40 or 80 columns.  80 columns is probably best for business applications, but is not so good for games – and most people like games. 

The following steps were required:

  1. Move all links – there are three sets.  The instructions are on the PCB assembly diagram.
  2. Remove the extra two video RAMs.  It can’t cope with the extras being present in 40 column mode.  I learnt this by experiment.
  3. Change the Edit ROM to a 40 column ROM (now just a link on a EPROM adapter).

I’ve put in an EPROM that can hold both 40 column and 80 column ROMs. 

The ROM situation is a little complex. The 4016 has 7 ROM sockets designed for 2332 ROMs.  The Edit ROM is at UD7, but out of the factory is a 2316.  The 2316/32 ROMs

These ROMs have a no ROM feature so they can be disabled.  The machines that I have use some 2532 EPROMs.  These don’t have the disable feature, but are otherwise pin compatible with the 2332 sockets.

The problem is that 2532 EPROM are somewhat uncommon and are complex to program.  I don’t have a machine that can program them.  The closest replacement is a 2732 eprom that is available and that I can program.

They are close but not identical to the 2532.  Fortunately, a kind soul has designed a small PCB to adapt them.

https://github.com/SukkoPera/Open2327RomAdapter

This adapter can be configured to replace either 2364 or 2332 ROMs.  A larger EPROM can be used on the adapter and images selected using switches.

I’m not sure why the designer didn’t add a pin for A12.

I opted for the over-the-top 512.  They are easy to get and have been tested.

A link between pins 1 and 2 is an easy way to select between images at either 7000 (link on) or F000 (link off).  I put the 80 column ROM at F000 and the 40 column ROM at 7000.

For the 40 column ROM, I used edit-4-40-n-50Hz.901498-01.bin.

Commodore 64C Family Pack $340

This was a gifted by a Rotarian. Sale proceeds will go to the Rotary Foundation.

Commodore 64C – Nice cosmetic condition.  A little yellow on the rear panel and backs of keys.  Loads up games.  Sounded and looked good with my monitor and cable. No manual

Diagnostic cart identified faults with 6526 U2 6581 U17 and Control Port.  Sound test sounded fine. Joystick test program showed ports, joysticks, and paddles working fine.  I have not noticed any issues in use. 

Power Supply – works. 

1541 Disk Drive – passes Commodore performance test and loads games.  A few small cable “melts” on the case. Includes box, cable, and manual.

Datasette – it would detect titles but would not start loading.   Includes box and manual.

Accessories, games, and boxes including:

  • 2x Joystick – One with a homemade replacement cable.
  • Paddle set
  • Cartridges: Le Mans, International Football (both worked for me)
  • Tapes: Armchair Cricket, America’s Cup, SWAT, Desert Hawke (I only got SWAT to load)

RF Cable but no other video cables

Does not include monitor.

2031 Disk Drive & Running a Game on the 4016

The disk drive looked awful inside and out and once the loose debris was removed it still looked awful. 

The cover was very corroded and the IEEE-488 connector was broken although the pins were intact.

After a wipe over, a blowout, and a first board wash started to look a little better with the board appearing to be less corroded than the computer boards.

There was no rush to get the drive going because I didn’t have a computer to test it with, and I didn’t have a connecting cable.  I ordered a short GPIB cable from China and an edge connector locally with a view to modifying the standard cable.

PCB corrosion was treated with soapy vinegar and after two passes the board was quite acceptable. The IC legs were in much better condition than those on the computer boards.

The tin can was treated with deoxit over several days and was then cleaned and painted with zinc paint.

The drive was thoroughly cleaned and lubricated.  It had no corrosion and the head carriage moved freely.

The case was processed in much the same way as the computer bases.  See above.  The corrosion was severe enough that filler was required.  I’m at a loss to explain why the case was so corroded but the PCB was good – despite the ventilation slots on the top of the case.

Transformer voltages were checked before power on.  I was surprised to find that the drive started with a spin and then gave a solid light as per the manual.  This was a good sign.

Alas, smoke followed, which is when I realised that there was probably a Rifa hidden away inside the IEC inlet filter.

Although I had a spare filter, it was too large to fit under the wiring cover, so I have reverted to a simple inlet with no filter.  I don’t like doing this, and I will revisit in the future.

I made up the cable by unpicking one of the GPIB connectors and replacing it with an edge connector.  The supplier sent the wrong size, so I had to cut it down to suit (2×12 rather than 2×22).

I made up a 2031 demonstration disk using a greaseweazle and a 40 track drive.  I had trouble doing this via SCP, but it worked fine writing direct.  Initially the drive was unreliable, but after a more exacting cleaning of the head it ran and passed the drive performance test.

Most games were written for 40 columns, so for the 80 column machine to work it has to run in a 40 column compatible mode.  This is done by running a program which effects the changes: CBM4032.

The program was easy enough to find, but I had to put it in a disk image.  As is often the case, there’s an app for that.  I used DirMaster.  Then the image just has to be written with greaseweazle.

I found that sometimes the disk drive stopped working.  When it did, it is because the head carriage was not moving reliably.  My best guess was that there is an intermittent fault in the stepper motor drive circuit.  It did not seem to be the connector.

The soldering on the board looks very good.

When the drive worked it worked very well, so the fundamentals seem good.

I used the scope to have a look at the stepper motor drive signals.  One was not like the others.  The stepper is driven by a quad resistor array FPQ3724.  The transistor at pins 12,13,14 did not seem to be presenting a 0.7V drop in operation.  On the meter it looked fine.  Pin 14 was quite corroded, so perhaps some moisture had got in.  It’s also possible that it had just blown – not unusual. An identical array is quite hard to get so in the short term I’ve patched a BC337 transistor in parallel.  This seems to have resolved the problem for now.